- Prepare dough by mixing wheat flour, oil, salt, and water. Knead until smooth and non-sticky, then rest for at least 30 minutes.
- Divide dough into 4-5 equal balls. Roll each ball into a roti, spread with ghee or oil, sprinkle with flour, and roll inward tightly to form a cone.
- Cut the rolled dough lengthwise (leaving one end attached), and gently twist into a coil. Press the coil onto a surface sprinkled with chopped coriander leaves to help it adhere.
- Dust lightly with flour, and gently roll into a thick paratha, avoiding excessive pressure.
- Cook on a medium-heated tawa (flat griddle) with oil until golden brown and flaky on both sides. Gently tap the edges with a spatula to separate the layers before serving.
- Calories:250 kcal25%
- Energy:1046 kJ22%
- Protein:6 g28%
- Carbohydrates:35 mg40%
- Sugar:2 mg8%
- Salt:300 g25%
- Fat:8 g20%
Last Updated on 6 months ago by Neha Deshmukh
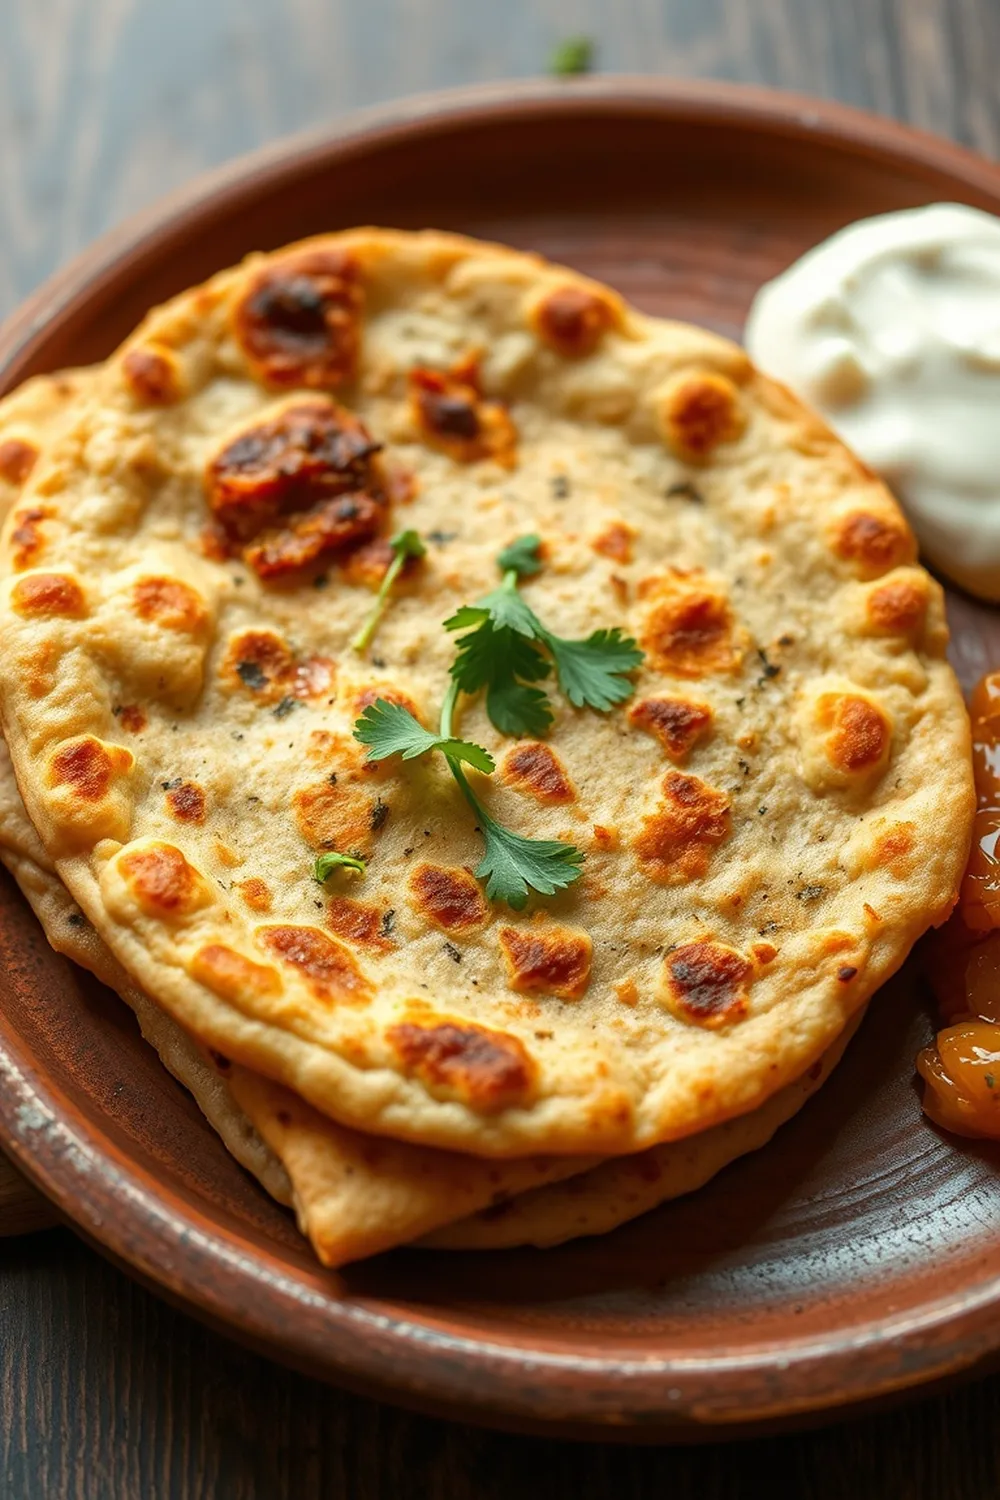
Flaky Coriander Paratha Recipe – Authentic Indian Flatbread
Hey everyone! If you’re anything like me, you absolutely love a good paratha. There’s just something so comforting about a warm, flaky flatbread, especially when it’s packed with flavour. This Coriander Paratha is a family favourite – I first made it trying to impress my in-laws, and it’s been a hit ever since! It’s a little bit more involved than a simple roti, but trust me, the extra effort is SO worth it. Let’s get cooking!
Why You’ll Love This Recipe
This isn’t just any paratha. The coriander (cilantro) adds a beautiful freshness, and the layering technique creates the most incredible flaky texture. It’s perfect for breakfast, lunch, or dinner, and honestly, it’s a great way to get a little extra green goodness into your diet. Plus, the aroma while it’s cooking? Divine!
Ingredients
Here’s what you’ll need to make these amazing parathas:
- 1 cup Wheat flour (Atta)
- 1 tablespoon Oil
- Salt (to taste)
- ?? cup Coriander leaves, finely chopped (about 1 packed cup)
- 5 tablespoons Ghee or oil (for layering and cooking)
Ingredient Notes
Let’s talk ingredients – a few little tips can make all the difference!
Wheat Flour (Atta) – Choosing the Right Type
Using good quality atta is key. I prefer whole wheat atta for a slightly nutty flavour and extra fibre. You can find different types – some are finer than others. If yours is a bit coarse, sifting it before use can help. (Approximately 130g)
Oil & Ghee – Regional Preferences & Flavor Impact
Traditionally, ghee (clarified butter) is used for layering and cooking parathas, giving them a rich, authentic flavour. But oil works perfectly well too, especially if you’re looking for a lighter option. In our family, we sometimes mix the two!
Coriander Leaves – Freshness & Quantity Considerations
Fresh coriander is a MUST for this recipe. Dried just won’t cut it. Make sure the leaves are vibrant green and smell fresh. The amount is flexible – I like a generous cup, but feel free to adjust to your taste.
Salt – Balancing the Flavors
Don’t skip the salt! It really balances the flavours and brings everything together. Start with a pinch and add more to taste.
Step-By-Step Instructions
Alright, let’s get down to business!
- Make the Dough: In a large bowl, combine the wheat flour, oil, and salt. Gradually add water, mixing until a soft, non-sticky dough forms. Knead for about 5-7 minutes until smooth and elastic. Let it rest for at least 10 minutes – this is important for a flaky texture!
- Incorporate the Coriander: Gently knead in the chopped coriander leaves into the dough until evenly distributed.
- Divide and Roll: Divide the dough into 4-5 equal balls. Roll each ball into a small roti (about 6-8 inches in diameter).
- Layer with Ghee/Oil & Flour: Spread about a teaspoon of ghee or oil evenly over the rolled roti. Sprinkle lightly with dry flour.
- The Magic Roll: Now, starting from one edge, roll the roti inwards tightly, like a Swiss roll.
- Coil and Press: Gently coil the rolled dough into a spiral shape. Press it down slightly to flatten it.
- Final Roll: Dust the coiled paratha with flour and gently roll it out into a slightly thicker paratha (about 8-10 inches in diameter). Be careful not to press too hard, or you’ll lose the layers!
- Cook to Perfection: Heat a tawa (flat griddle) or frying pan over medium heat. Place the paratha on the hot tawa and cook for about 2-3 minutes per side, or until golden brown spots appear.
- Separate the Layers: As the paratha cooks, gently tap the edges with a spatula to help separate the layers. This is where the flakiness comes from!
- Serve Hot: Serve immediately with your favourite curry, yogurt, or pickle.
Expert Tips
Here are a few things I’ve learned over the years to help you nail this recipe:
Achieving the Perfect Flakiness
Resting the dough is crucial. It allows the gluten to relax, making it easier to roll and creating those beautiful layers. Don’t skip it!
Rolling Technique for Even Layers
Roll the paratha gently. Too much pressure will flatten the layers. Think of it as coaxing the layers out, not squashing them.
Cooking on the Tawa – Heat Control & Timing
Medium heat is your friend. Too high, and the paratha will burn before it cooks through. Too low, and it will become hard. Keep an eye on it and adjust the heat as needed.
Variations
Want to switch things up? Here are a few ideas:
Vegan Coriander Paratha
Simply substitute the ghee with oil. It won’t have quite the same flavour, but it will still be delicious!
Gluten-Free Option (Using Alternative Flours)
You can try using a gluten-free atta blend, but the texture will be different. Adding a little psyllium husk can help with binding.
Spice Level Adjustment – Adding Green Chilies
If you like a bit of heat, finely chop a green chili and add it to the dough along with the coriander.
Festival Adaptations – Serving with Special Occasion Dishes
During festivals, we love serving these with Shrikhand (sweet yogurt) or a rich Dal Makhani.
Serving Suggestions
These parathas are incredibly versatile! They’re amazing with:
- Aloo Sabzi (potato curry)
- Yogurt (dahi)
- Pickle (achar)
- Chole (chickpea curry)
- Simply a dollop of butter!
Storage Instructions
Leftover parathas can be stored in an airtight container at room temperature for a day or two. Reheat them on a tawa or in a microwave. They’re best enjoyed fresh, though!
FAQs
Got questions? I’ve got answers!
What is the best way to knead the dough for parathas?
Kneading is key! Use the heel of your hand and work the dough for at least 5-7 minutes until it’s smooth and elastic.
Can I make the dough ahead of time?
Yes, you can! Just cover it with a damp cloth and let it rest in the fridge for up to 24 hours.
How do I prevent the parathas from becoming hard?
Don’t overcook them! And make sure you’re not pressing too hard when rolling.
What is the difference between a paratha and a roti?
Rotis are usually made with just flour, water, and salt, and are cooked simply on a tawa. Parathas are layered with ghee or oil and often filled, making them richer and flakier.
Can I freeze uncooked parathas?
Yes! Roll out the parathas, layer them with parchment paper to prevent sticking, and freeze them. Cook directly from frozen, adding a minute or two to the cooking time.


Neha Deshmukh
Neha holds a B.A. in History with a focus on Indian and world history, including ancient, medieval, and modern periods. At RecipesOfIndia.org — the world’s largest database of Indian recipes — she combines her love for food and history by exploring how India’s past has shaped its culinary traditions.


