- Combine milk and lemon juice in a bowl; let sit for 5-10 minutes to curdle. Add egg and stir gently.
- In a separate bowl, whisk together flour, sugar, baking powder, baking soda, and salt.
- Gently fold the milk mixture into the dry ingredients until just combined. Let batter rest for 5 minutes.
- Heat a lightly oiled griddle or skillet over medium heat.
- Pour 1/4 cup batter per pancake onto the hot surface. Cook until bubbles form on the surface and edges look set, then flip.
- Cook for another 1-2 minutes, or until golden brown. Serve immediately with butter and maple syrup.
- Calories:150 kcal25%
- Energy:627 kJ22%
- Protein:4 g28%
- Carbohydrates:24 mg40%
- Sugar:6 mg8%
- Salt:220 g25%
- Fat:4 g20%
Last Updated on 6 months ago by Neha Deshmukh
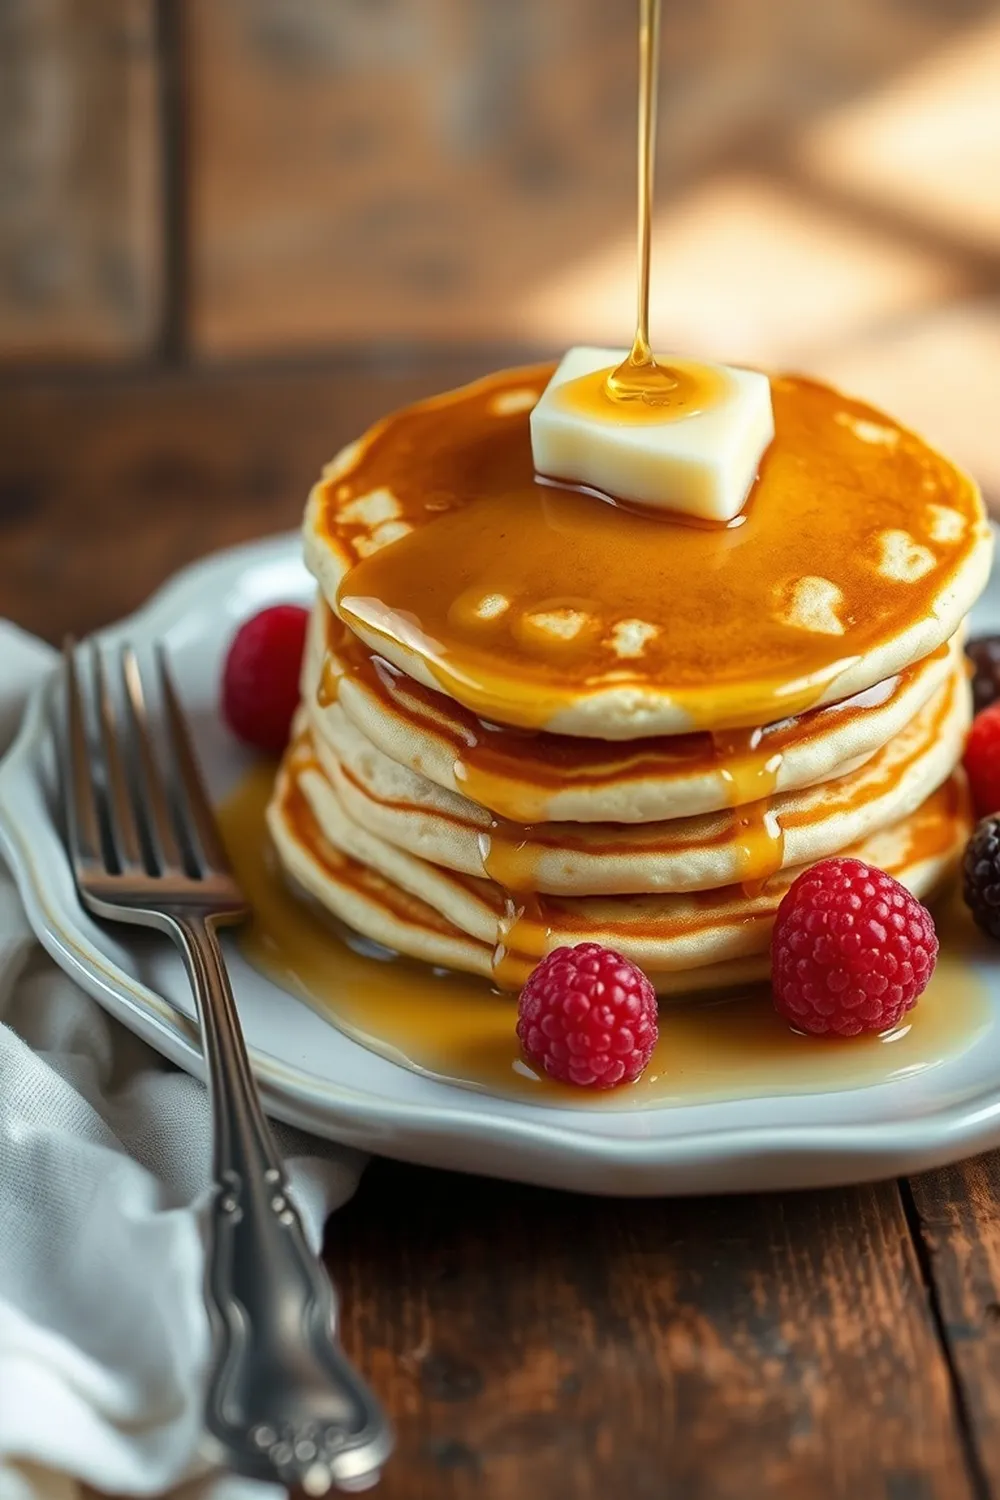
Fluffy Lemon Egg Pancakes Recipe – Easy Maida Pancake Guide
Hey everyone! Pancakes are a weekend staple at my place, and I’m so excited to share my go-to recipe with you. These aren’t just any pancakes – they’re light, fluffy, and have a lovely hint of lemon that just brightens everything up. I first made these when I was craving something a little different from the usual, and they’ve been a hit ever since! Let’s get cooking, shall we?
Why You’ll Love This Recipe
These Lemon Egg Pancakes are seriously the best. They’re quick to whip up (perfect for those lazy weekend mornings!), incredibly delicious, and the subtle lemon flavor adds a zing that’s just irresistible. Plus, using maida (all-purpose flour) gives them that beautifully soft texture. Honestly, once you try these, you’ll never go back to boring pancakes again!
Ingredients
Here’s what you’ll need to make these delightful pancakes:
- 1 cup whole milk (about 240ml)
- 2-3 tablespoons Fresh lemon juice
- 1 Egg
- 1 cup All-purpose flour (Maida) – about 120g
- 3 tablespoons Sugar
- 2 teaspoons Baking powder
- 0.5 teaspoon Baking soda
- 1 tablespoon Butter or vegetable oil (for the skillet)
- Pinch of Salt
Ingredient Notes
Let’s talk ingredients for a sec! Using maida is key here – it creates a really tender pancake. Don’t have maida? We’ll cover substitutions in the FAQs!
The lemon juice isn’t just for flavor; it reacts with the milk to create a slightly thickened base, which helps with that fluffy texture. Don’t skimp on it!
And finally, baking powder and baking soda? That’s the secret weapon for extra lift. Baking powder gives an initial rise, while baking soda reacts with the lemon juice for an extra boost. It’s a winning combo!
Step-By-Step Instructions
Alright, let’s get to the fun part!
- First, in a bowl, mix together the milk and lemon juice. Let this sit for about 5 minutes. You’ll notice it starts to thicken up a bit – that’s exactly what we want! Then, gently stir in the egg.
- In a separate bowl, whisk together the flour, sugar, baking powder, baking soda, and salt. Just a quick whisk to combine everything nicely.
- Now, gently fold the milk mixture into the dry ingredients. Don’t overmix! A few lumps are okay – overmixing develops the gluten and can make your pancakes tough. Let the batter rest for 5 minutes. This allows the gluten to relax and the baking powder to activate.
- Heat a skillet or griddle over medium heat. Add a little butter or oil to grease it up. You want just enough to prevent sticking.
- Pour about ¼ cup (60ml) of batter onto the hot skillet for each pancake. Cook until bubbles start to form on the surface and the edges look set.
- Flip those beauties and cook for another minute or so, until they’re golden brown and cooked through.
Serve immediately with your favorite toppings!
Expert Tips
- Don’t overcrowd the skillet! Cook the pancakes in batches to ensure they cook evenly.
- A hot skillet is crucial for golden-brown pancakes. Test it by flicking a few drops of water onto the surface – they should sizzle and evaporate quickly.
- Resist the urge to press down on the pancakes while they’re cooking. This will deflate them!
Variations
Want to switch things up? Here are a few ideas:
- Vegan Adaptation: Use plant-based milk (like almond or soy) and an egg replacer (like flaxseed meal mixed with water) for a delicious vegan version.
- Gluten-Free Adaptation: Swap the maida for a good quality gluten-free flour blend. You might need to add a little extra liquid to get the right consistency.
- Spice Level: My friend Priya loves adding a pinch of cardamom to the batter for a warm, fragrant twist. It’s so good!
- Festival Adaptation: During Diwali, my family loves serving these with a seasonal fruit compote – mango in the summer, apple in the fall. It makes them extra special.
Serving Suggestions
These pancakes are amazing on their own, but a little something extra never hurts! Here are a few ideas:
- Classic: Butter and maple syrup (always a winner!)
- Fruity: Fresh berries, sliced bananas, or a fruit compote.
- Sweet & Indulgent: Whipped cream, chocolate chips, or a drizzle of honey.
- Indian-Inspired: A dollop of sweetened yogurt and a sprinkle of chopped nuts.
Storage Instructions
Leftover pancakes? (If there are any!) Store them in an airtight container in the refrigerator for up to 2 days. Reheat them in a toaster, skillet, or microwave. They won’t be quite as fluffy as when they’re fresh, but still delicious!
FAQs
1. Can I use a different type of flour instead of Maida?
You can! While maida gives the best texture, you can use whole wheat flour or a 1:1 gluten-free flour blend. Just be aware that the texture might be slightly different.
2. What’s the best way to prevent the pancakes from sticking to the skillet?
Make sure your skillet is properly heated and greased. A non-stick skillet is your best friend here!
3. How do I know when the pancakes are ready to flip?
When bubbles start to form on the surface and the edges look set, it’s time to flip!
4. Can I make the batter ahead of time?
Yes, you can! Just store it in an airtight container in the refrigerator for up to 24 hours. You might need to add a splash of milk to thin it out a bit before cooking.
5. What’s the secret to getting extra fluffy pancakes?
Don’t overmix the batter! And make sure your baking powder and baking soda are fresh.
6. Can I add fruit directly to the pancake batter?
Absolutely! Berries, chopped bananas, or chocolate chips are all great additions. Just be careful not to overmix.


Neha Deshmukh
Neha holds a B.A. in History with a focus on Indian and world history, including ancient, medieval, and modern periods. At RecipesOfIndia.org — the world’s largest database of Indian recipes — she combines her love for food and history by exploring how India’s past has shaped its culinary traditions.


