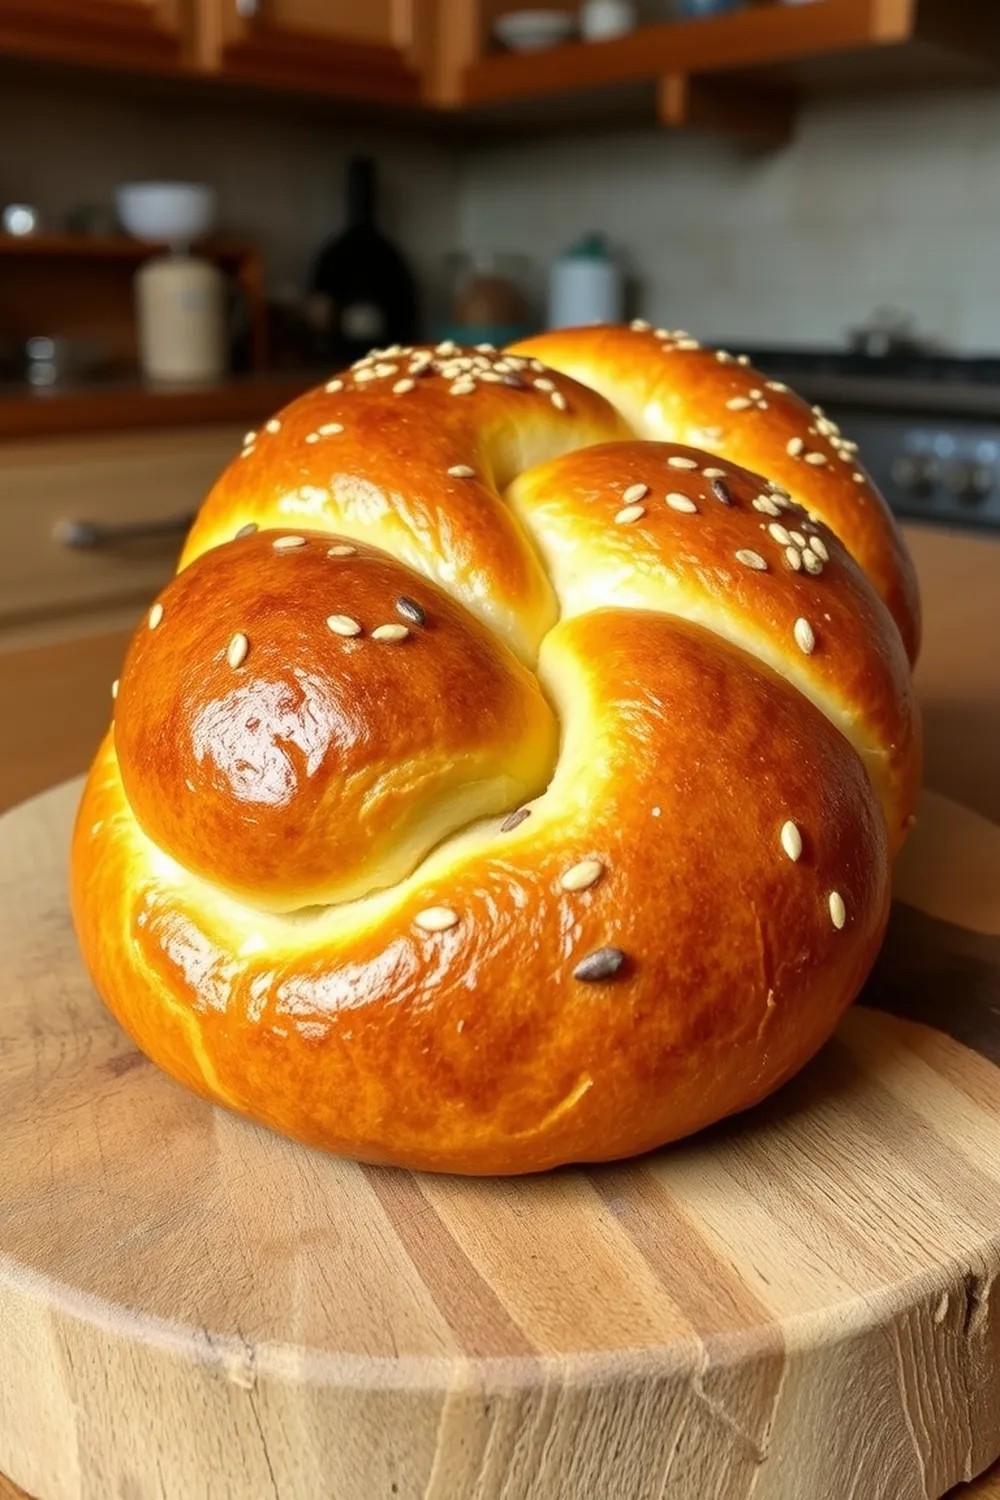
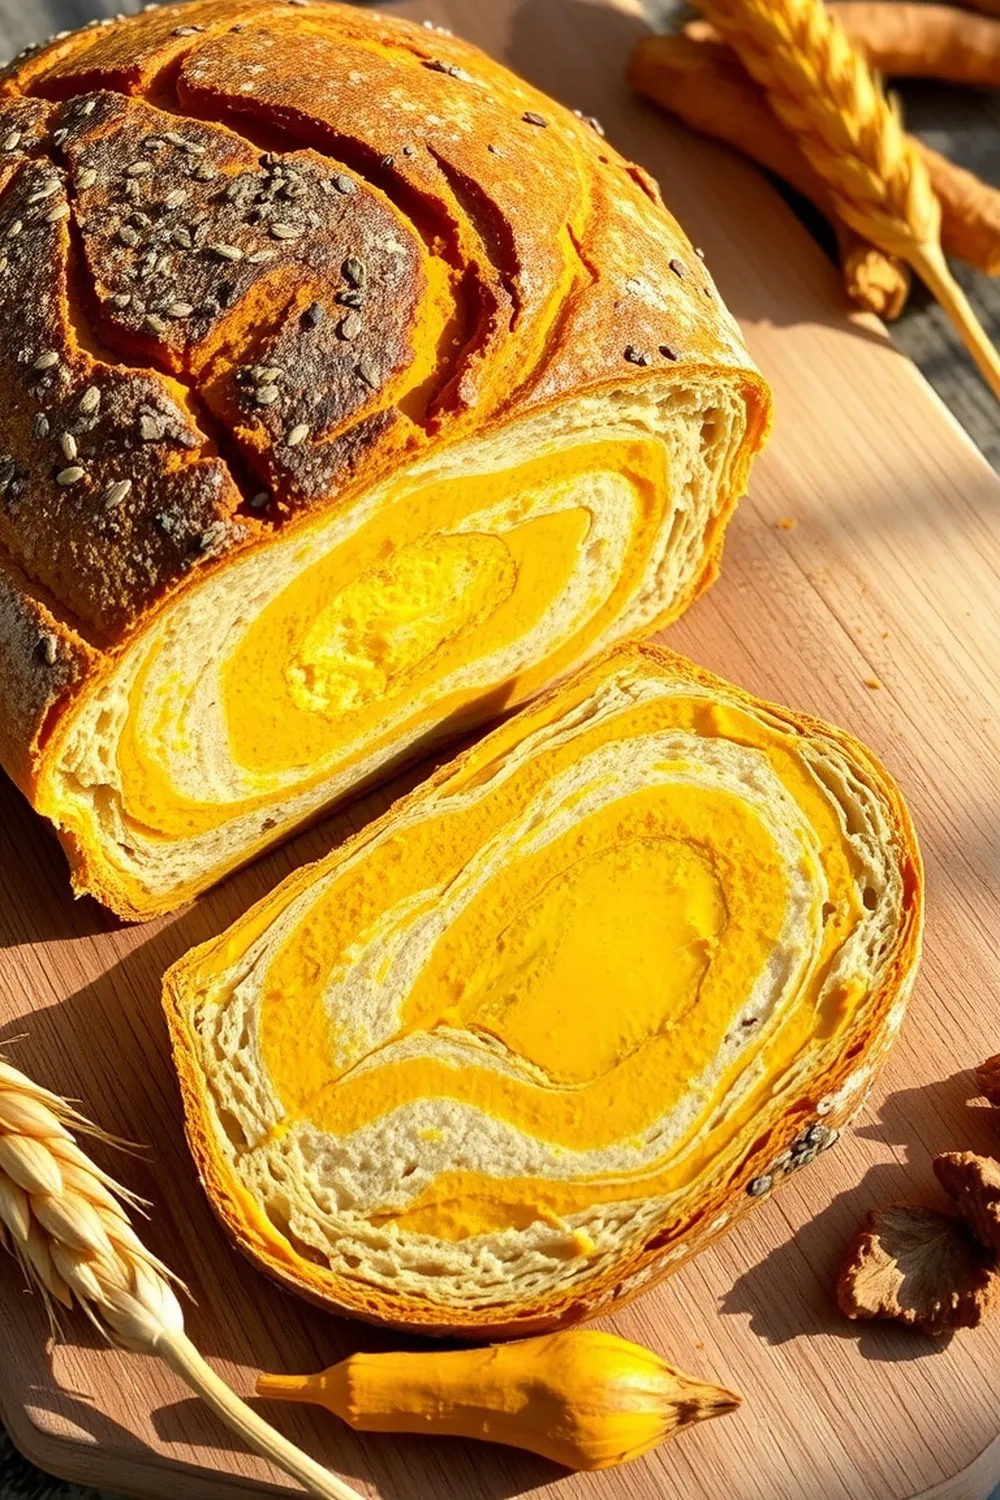
- Combine warm water, yeast, and sugar in a bowl. Let sit for 5-10 minutes until foamy.
- In a large bowl, whisk together flour and salt. Create a well, add the yeast mixture and olive oil. Knead into a smooth, soft dough.
- Cover the dough and let rise in a warm place for 1-1.5 hours, or until doubled in size.
- Divide the dough into 6 equal pieces. Place on a baking tray lined with parchment paper, and gently flatten each piece. Make shallow slits on top of each bun, and let rise for 30-45 minutes.
- In a small bowl, combine softened butter, minced garlic, and chopped coriander to make the spread.
- Preheat oven to 180°C (350°F). Fill the slits in the buns with the garlic spread.
- Bake for 20-25 minutes, or until golden brown. Serve warm.
- Calories:250 kcal25%
- Energy:1046 kJ22%
- Protein:6 g28%
- Carbohydrates:40 mg40%
- Sugar:4 mg8%
- Salt:300 g25%
- Fat:8 g20%
Last Updated on 2 months by Neha Deshmukh
Garlic Buns Recipe – Soft Maida Buns with Herb Butter
Hey everyone! If you’re anything like me, the smell of freshly baked bread is pure comfort. And these garlic buns? They take that comfort to a whole new level. I first made these when I was craving something warm and savory, and they’ve been a family favorite ever since. They’re surprisingly easy to make, and the soft, fluffy texture combined with that garlicky, buttery goodness is just… chef’s kiss. Let’s get baking!
Why You’ll Love This Recipe
These aren’t just any buns. They’re incredibly soft, thanks to the maida flour, and bursting with flavor from the garlic-coriander butter. They’re perfect as a side with your favorite Indian meal, a snack with evening tea, or even a delightful addition to a festive spread. Plus, they’re relatively quick to make – perfect for when you want something homemade without spending all day in the kitchen!
Ingredients
Here’s what you’ll need to whip up a batch of these delicious garlic buns:
- 1.5 cups Plain flour (Maida) – about 180g
- 0.75 tablespoon Active dry yeast – about 3g
- 0.5 cup Water, warm – about 120ml
- 0.75 teaspoon Salt – about 4g
- 1 tablespoon Sugar – about 12g
- 1 tablespoon Olive oil – about 15ml
- 5 Garlic cloves, minced
- 2 tablespoons Butter, softened – about 30g
- 2 tablespoons Coriander leaves, chopped
Ingredient Notes
Let’s talk ingredients! A few little tips can make all the difference.
Plain Flour (Maida) – Understanding its Texture
Maida, or all-purpose flour, is key to achieving that super soft texture. It has a lower protein content than whole wheat flour, resulting in a more tender crumb. If you’re looking for a slightly healthier option, you could substitute up to ¼ cup with whole wheat flour, but the texture will be a bit different.
Active Dry Yeast – Choosing the Right Kind
Active dry yeast needs to be “proofed” – that is, activated in warm water with a little sugar – to make sure it’s alive and kicking. Instant yeast can be added directly to the flour, but I prefer active dry for this recipe. Make sure your yeast isn’t expired!
Olive Oil – Regional Variations & Substitutions
Olive oil adds a lovely subtle flavor. You can use any good quality olive oil. If you don’t have olive oil, you can substitute it with melted butter or vegetable oil, though the flavor will be slightly altered.
Garlic – Varieties and Flavor Profiles
I love using fresh garlic for the most intense flavor. But if you’re short on time, garlic paste works too! Adjust the amount to your preference – I’m a garlic lover, so 5 cloves is perfect for me.
Coriander Leaves – Fresh vs. Dried & Regional Uses
Fresh coriander (cilantro) is essential here. It adds a bright, fresh flavor that complements the garlic beautifully. Dried coriander just doesn’t compare. In some parts of India, you might even see a touch of mint added – feel free to experiment!
Step-By-Step Instructions
Alright, let’s get baking!
- First, in a bowl, combine the warm water, yeast, and sugar. Give it a gentle stir and let it sit for about 5 minutes. You’ll know it’s working when it gets frothy and bubbly.
- In a large bowl, mix together the flour and salt. Make a well in the center, and pour in the yeast mixture and olive oil.
- Now, the fun part – kneading! Start mixing everything together until a soft dough forms. Knead for about 5-7 minutes until the dough is smooth and elastic. It shouldn’t be sticky, but it should be soft.
- Cover the dough with a clean cloth or plastic wrap and let it rise in a warm place for about an hour, or until it has doubled in size. Patience is key here!
- Once the dough has risen, gently punch it down to release the air. Divide the dough into 6 equal balls.
- Place the dough balls on a baking tray lined with parchment paper. Use your fingers to make shallow slits on top of each bun.
- While the buns are resting, let’s make the garlic butter! In a small bowl, mix together the softened butter, minced garlic, and chopped coriander.
- Now, fill those slits with the glorious garlic butter. Don’t be shy!
- Cover the buns again and let them rise for another 45 minutes.
- Preheat your oven to 180°C (350°F).
- Bake for 20-25 minutes, or until the buns are golden brown and cooked through.
- Serve warm and enjoy!
Expert Tips
- Don’t over-knead the dough, or it will become tough.
- Make sure the water isn’t too hot, or it will kill the yeast. Lukewarm is perfect.
- A warm, draft-free place is ideal for rising dough. I often turn on the oven to its lowest setting for a few minutes, then turn it off and place the dough inside.
- Brushing the buns with a little melted butter after baking will give them an extra glossy finish.
Variations
Want to switch things up? Here are a few ideas:
Vegan Garlic Buns
Substitute the butter with vegan butter and you’re good to go! My friend, Priya, swears by this version.
Gluten-Free Garlic Buns (Using Alternative Flours)
Use a gluten-free all-purpose flour blend. You might need to add a little extra liquid to get the right consistency.
Spice Level Adjustment – Adding Chili Flakes
For a little kick, add a pinch of red chili flakes to the garlic butter. My husband loves this!
Festival Adaptations – Christmas or Diwali Garlic Buns
During Christmas, I sometimes add a sprinkle of parmesan cheese to the garlic butter. For Diwali, a touch of kasuri methi (dried fenugreek leaves) adds a lovely festive aroma.
Serving Suggestions
These garlic buns are incredibly versatile. They’re amazing with:
- Dal and rice
- Vegetable curries
- Soups
- Simply enjoyed on their own with a cup of chai!
Storage Instructions
Leftover buns can be stored in an airtight container at room temperature for up to 2 days. You can also freeze them for up to a month. Reheat in the oven or microwave before serving.
FAQs
Let’s answer some common questions!
What type of flour is best for soft buns?
Maida (all-purpose flour) is the best choice for achieving that super soft texture.
Can I make the dough ahead of time?
Yes! You can make the dough a day ahead and store it in the refrigerator. Just let it come to room temperature before shaping and baking.
How do I know when the yeast is active?
The yeast is active when it’s foamy and bubbly after being mixed with warm water and sugar.
Can I freeze these garlic buns?
Absolutely! Freeze them individually wrapped for easy thawing.
What can I substitute for olive oil in this recipe?
You can use melted butter or vegetable oil as a substitute for olive oil.


