- Activate yeast: Mix warm milk, sugar, and yeast. Let sit for 5-10 minutes until foamy.
- Prepare dough: Combine activated yeast mixture, flour, salt, and oil. Knead into a smooth and elastic dough.
- First proofing: Place dough in a lightly oiled bowl, turning to coat. Cover and let rise in a warm place for 1-1.5 hours, or until doubled in size.
- Shape loaf: Gently punch down dough to release air. Shape into a loaf and place on a baking tray lined with parchment paper. Let rise for 30-60 minutes.
- Bake bread: Brush with milk or egg wash, slit the top, and bake at 180°C (356°F) for 25-30 minutes, or until golden brown and the internal temperature reaches 93°C (200°F).
- Prepare garlic butter: Mix softened butter, chopped cilantro (coriander), and minced garlic.
- Assemble: Slice cooled bread horizontally, without cutting through completely. Spread garlic butter between the slices.
- Grill/Bake: Wrap loaf in foil and bake at 180°C (356°F) for 10 minutes to warm through. Alternatively, grill briefly to crisp the outside. Serve warm.
- Calories:150 kcal25%
- Energy:627 kJ22%
- Protein:3 g28%
- Carbohydrates:20 mg40%
- Sugar:1 mg8%
- Salt:200 g25%
- Fat:6 g20%
Last Updated on 4 months by Neha Deshmukh
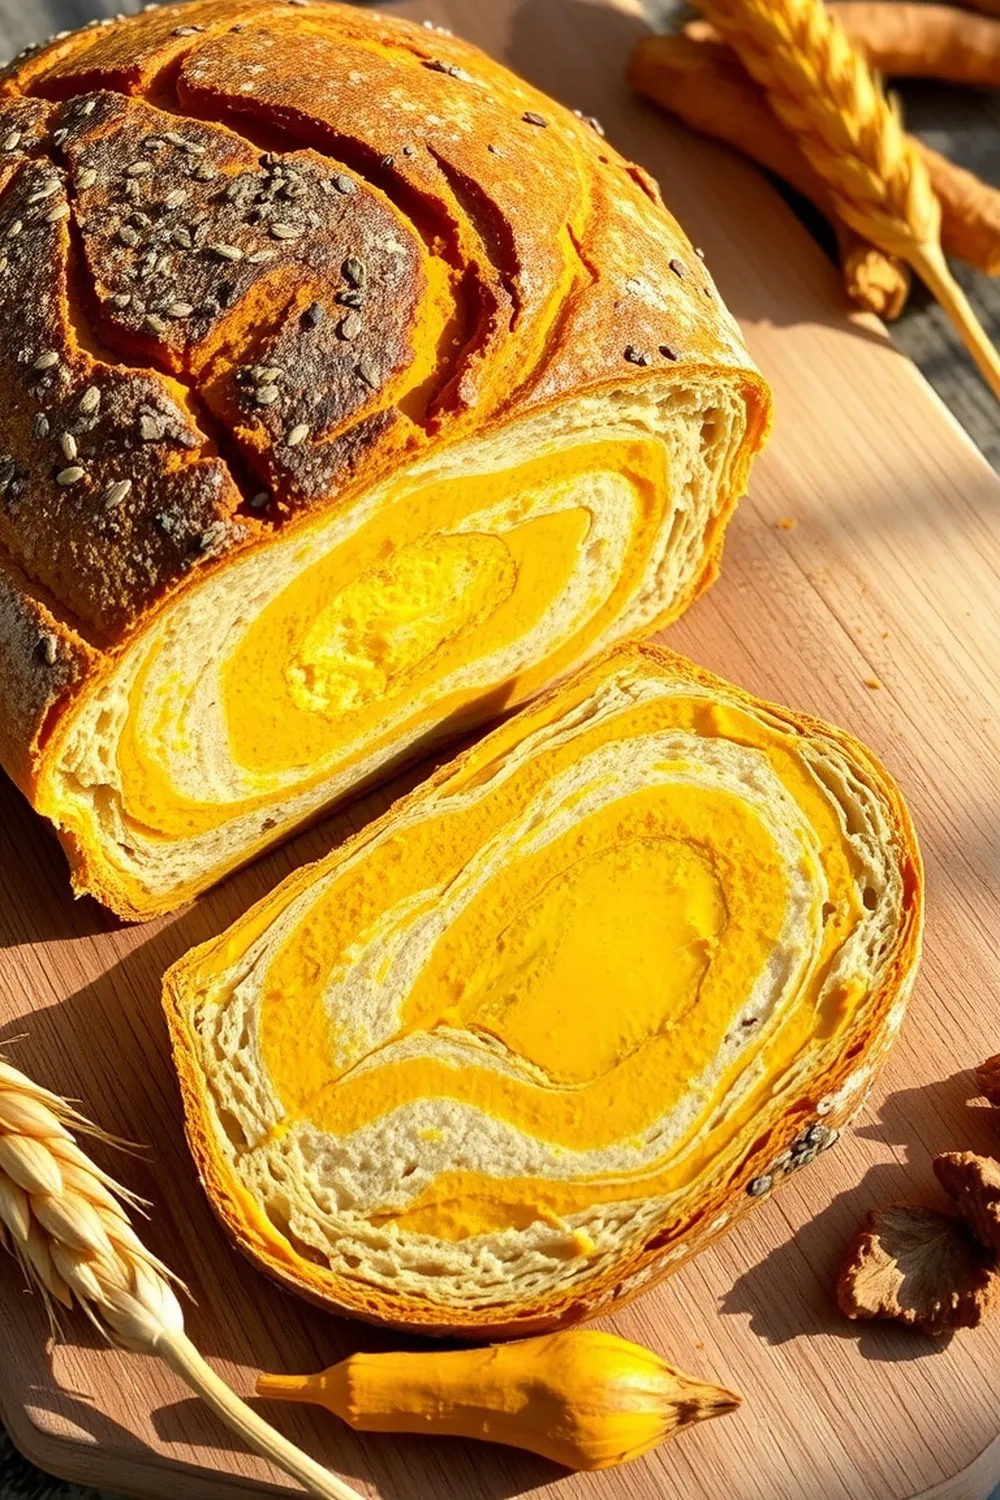
Garlic Butter Bread Recipe – Easy Indian-Style Pull-Apart Bread
Hey everyone! If you’re anything like me, you love fresh, warm bread. And honestly, is there anything better than the smell of garlic butter wafting through the kitchen? This Garlic Butter Bread is a total crowd-pleaser – it’s soft, fluffy, and bursting with flavour. I first made this for a family get-together, and it disappeared in minutes! It’s become a regular request ever since. Let’s get baking!
Why You’ll Love This Recipe
This isn’t just any bread recipe. It’s a super easy, pull-apart loaf that’s perfect for sharing (or not, no judgement!). It’s got that comforting, homemade bread vibe, but with a delicious Indian twist thanks to the generous garlic butter. Plus, it’s surprisingly simple to make, even if you’re not a seasoned baker. Seriously, if I can do it, anyone can!
Ingredients
Here’s what you’ll need to whip up this amazing Garlic Butter Bread:
- ?? cup warm milk (about 240ml)
- 1 tsp sugar
- 1 tsp dry yeast (instant or active dry will work)
- 1½ cups maida / all-purpose flour (about 180g)
- Salt to taste (around ½ tsp)
- 1 tsp oil
- 2 tbsp butter, softened
- 2 tbsp coriander leaves, chopped
- 3 garlic cloves, minced
Ingredient Notes
Let’s talk ingredients for a sec!
- Maida Flour: I’ve used maida (all-purpose flour) here because it gives the bread a lovely soft texture. You can also use bread flour for a slightly chewier result.
- Yeast: I prefer instant yeast as you don’t need to activate it separately, but active dry yeast works just as well – just make sure to activate it as per the recipe instructions.
- Garlic Butter: Now, this is where you can get creative! In some parts of India, people like to add finely chopped green chilies or a sprinkle of curry leaves to their garlic butter for an extra kick. Feel free to experiment and make it your own. My aunt always adds a pinch of red chilli powder – it’s amazing!
Step-By-Step Instructions
Alright, let’s get down to business!
- Activate yeast: In a small bowl, combine the warm milk, sugar, and yeast. Give it a gentle stir and let it sit for about 5 minutes, until it gets nice and frothy. This means the yeast is alive and kicking!
- Prepare dough: In a larger bowl, combine the activated yeast mixture, flour, salt, and oil. Mix everything together until it starts to come together. Then, knead the dough on a lightly floured surface for about 5-7 minutes, until it becomes soft and smooth.
- First proofing: Lightly grease a bowl with oil. Place the dough in the bowl, turning to coat it with oil. Cover the bowl with plastic wrap or a clean kitchen towel and let it rise in a warm place for about 2 hours, or until doubled in size. Patience is key here!
- Shape loaf: Gently punch down the dough to release the air. Roll it out into a long cylinder shape. Place the cylinder on a baking tray lined with parchment paper. Let it rise again for another hour.
- Bake bread: Preheat your oven to 180°C (356°F). Brush the loaf with a little milk and make a few slits across the top with a sharp knife. Bake for 20 minutes, or until golden brown.
- Prepare garlic butter: While the bread is baking, make the garlic butter. In a small bowl, combine the softened butter, chopped coriander, and minced garlic. Mix well.
- Assemble: Once the bread is cooled slightly, use a serrated knife to slice it almost all the way through, creating pockets. Spread the garlic butter generously between the slices.
- Grill: Wrap the loaf in foil and bake at 180°C for 10 minutes until crisp. Serve warm and enjoy!
Expert Tips
- Don’t skip the second proofing! It’s what gives the bread that light and airy texture.
- If you don’t have a warm place for the dough to rise, you can turn on your oven to the lowest setting for a few minutes, then turn it off and place the dough inside.
- Keep a close eye on the bread while it’s baking to prevent it from burning.
Variations
Want to switch things up? Here are a few ideas:
- Vegan Adaptation: Use plant-based butter and milk for a delicious vegan version.
- Gluten-Free Adaptation: Substitute the maida flour with a gluten-free flour blend. You might need to adjust the liquid slightly.
- Spice Level: Add a pinch of chili flakes to the garlic butter for a spicy kick. My friend loves this!
- Festival Adaptations: This bread is fantastic during festivals like Diwali or Christmas. It’s a great addition to any celebratory spread.
Serving Suggestions
This Garlic Butter Bread is amazing on its own, but it’s also great with:
- A bowl of hearty soup
- Your favourite curry
- A simple salad
- Just enjoyed as a snack with a cup of chai!
Storage Instructions
Leftover Garlic Butter Bread can be stored in an airtight container at room temperature for up to 2 days, or in the refrigerator for up to 5 days.
FAQs
What type of flour is best for this bread?
Maida flour gives the softest texture, but bread flour works well too for a chewier loaf.
Can I make the dough ahead of time?
Yes! You can prepare the dough up to the first proofing stage and store it in the refrigerator for up to 24 hours. Just let it come to room temperature before continuing with the recipe.
How do I know when the bread is fully baked?
The bread is done when it’s golden brown and sounds hollow when tapped on the bottom.
Can I freeze the garlic butter bread?
Yes, you can! Wrap the cooled bread tightly in plastic wrap and then in foil. It will keep in the freezer for up to 2 months.
What is the best way to reheat leftover garlic butter bread?
Wrap the bread in foil and bake at 180°C (356°F) for about 10-15 minutes, or until warmed through. You can also reheat it in a microwave, but it won’t be as crispy.


Neha Deshmukh
Neha holds a B.A. in History with a focus on Indian and world history, including ancient, medieval, and modern periods. At RecipesOfIndia.org — the world’s largest database of Indian recipes — she combines her love for food and history by exploring how India’s past has shaped its culinary traditions.