- Whip heavy cream in a mixer or blender until it thickens and forms stiff peaks. Continue whipping until the cream separates into butter solids and buttermilk.
- Strain the mixture using cheesecloth to collect the butter. Reserve the buttermilk for other uses.
- Rinse the butter under cold water multiple times, pressing with a spatula to remove all traces of buttermilk until the water runs clear.
- Shape the butter into a block or store it in an airtight container. Refrigerate to maintain freshness.
- Calories:717 kcal25%
- Energy:2999 kJ22%
- Protein:0.9 g28%
- Carbohydrates:0.1 mg40%
- Sugar:0.0 mg8%
- Salt:16 g25%
- Fat:81.0 g20%
Last Updated on 5 months ago by Neha Deshmukh
Homemade Butter Recipe – Easy Whipped Cream to Golden Goodness
Okay, let’s be real. Making butter at home feels… magical, doesn’t it? I remember the first time I made this – I was a kid, and utterly fascinated watching cream transform into something completely different. It’s surprisingly easy, and the taste? Unbeatable. Forget store-bought, once you’ve tasted homemade butter, you’ll never go back!
Why You’ll Love This Recipe
This isn’t just a recipe; it’s a little kitchen project that yields seriously delicious results. It’s incredibly simple, needing just one ingredient, and takes only about 10 minutes of active work. Plus, you get buttermilk as a bonus! Honestly, what’s not to love? It’s a fantastic way to connect with the food you eat and appreciate the simple pleasures of cooking.
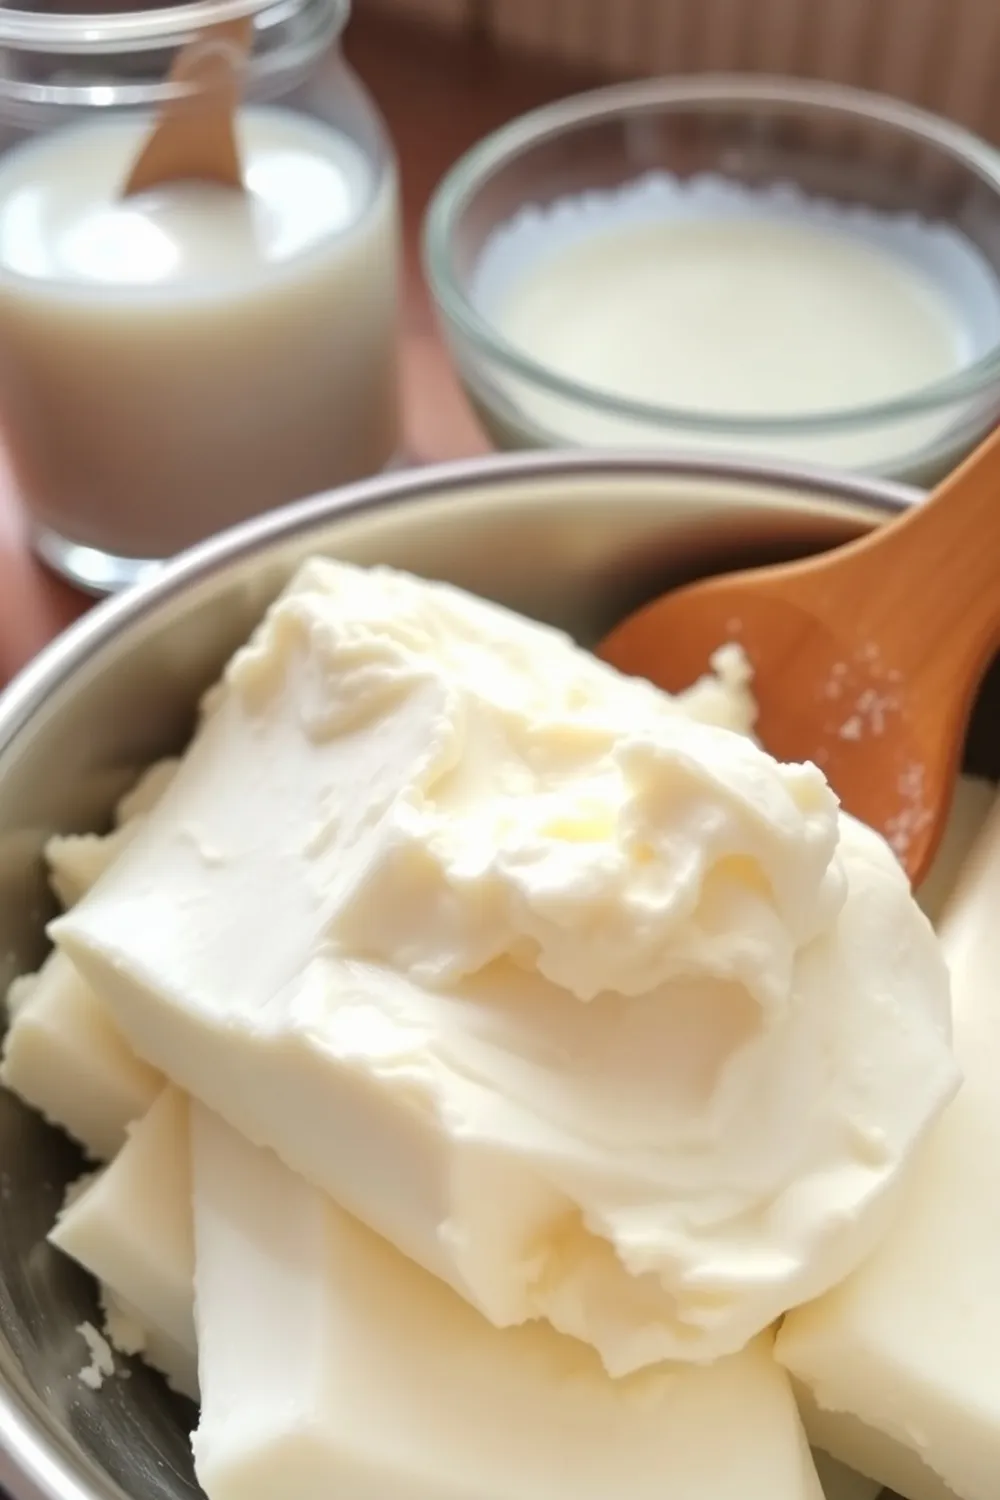
Ingredients
Here’s what you’ll need to whip up a batch of golden goodness:
- 2-3 cups (473-710 ml) heavy cream (35-50% milkfat)
Ingredient Notes
Let’s talk cream! This is the key ingredient, so getting it right makes all the difference.
- Heavy Cream: Fat Content & Quality You absolutely need heavy cream with a high fat content – ideally between 35% and 50% milkfat. The higher the fat content, the faster it will churn and the more butter you’ll get. Look for good quality cream, preferably from grass-fed cows if you can find it. It really does impact the flavour!
Step-By-Step Instructions
Alright, let’s get churning!
- Pour the heavy cream into the bowl of your mixer (or a high-powered blender). Start on medium speed and let it go!
- At first, it will look like whipped cream – light and fluffy. Keep going! Don’t stop now.
- As you continue to whip, the cream will thicken further. Then, something amazing happens. It will start to look grainy, and you’ll see pale yellow liquid separating. This is the magic!
- Keep whipping until the solids clump together and are clearly separated from the buttermilk. You’ll have a beautiful mass of butter solids floating in a pool of liquid.
- Now, strain the mixture using cheesecloth placed over a bowl. This will collect the butter and separate it from the buttermilk. Don’t throw that buttermilk away – it’s liquid gold!
- Rinse the butter under cold water, pressing with a spatula to squeeze out any remaining buttermilk. Keep rinsing until the water runs completely clear. This is important for preventing the butter from going rancid quickly.
- Finally, shape the butter into a block, or store it in an airtight container. Pop it in the fridge, and you’re good to go!
Expert Tips
A few little things I’ve learned along the way:
- Cold Cream is Key: Starting with very cold cream helps it whip up faster.
- Don’t Overmix: Once the butter separates, stop mixing! Overmixing can make it tough.
- Patience is a Virtue: It takes time for the butter to fully separate. Don’t get discouraged if it doesn’t happen immediately.
Variations
Want to get creative? Here are a few ideas:
- Vegan Butter Variation: While this recipe is for traditional dairy butter, you can find fantastic vegan heavy cream alternatives now! The process is exactly the same.
- Salted vs. Unsalted Butter: Add ½ – 1 teaspoon of fine sea salt after rinsing the butter, and knead it in for salted butter. I usually make unsalted, as I like to control the salt level in my cooking.
- Spice Infused Butter Variations: My friend Priya swears by adding a pinch of turmeric and chili powder to her butter for a vibrant colour and subtle spice. I love adding finely chopped herbs like rosemary or thyme.
Festival Adaptations (e.g., Makar Sankranti Butter Recipes)
In India, butter (or makhan) is often associated with festivals. During Makar Sankranti, for example, freshly made butter is used in traditional sweets like tilgul. You can infuse your homemade butter with sesame seeds for an extra festive touch!
Serving Suggestions
Honestly, homemade butter makes everything better.
- Spread it on warm roti or paratha.
- Use it in your favourite Indian curries.
- Melt it over steamed rice.
- Simply enjoy it with a slice of crusty bread.
Storage Instructions
Homemade butter will last in the refrigerator for about 1-2 weeks. For longer storage, you can freeze it for up to 3 months. Make sure it’s well-wrapped to prevent freezer burn.
FAQs
Got questions? I’ve got answers!
What is the best cream to use for making butter?
Heavy cream with a fat content of 35-50% is best. The higher the fat content, the better!
Can I make butter in a food processor instead of a mixer?
Yes, you can! A food processor works well, but you might need to scrape down the sides more frequently.
How can I tell when the butter is fully separated?
The butter will form a solid mass, and the liquid (buttermilk) will be clearly separated. It will look grainy and pale yellow.
What can I do with the leftover buttermilk?
Buttermilk is amazing! Use it in pancakes, waffles, biscuits, marinades, or even Indian dishes like kadhi.
How long does homemade butter last in the refrigerator?
About 1-2 weeks, if stored properly in an airtight container.


Neha Deshmukh
Neha holds a B.A. in History with a focus on Indian and world history, including ancient, medieval, and modern periods. At RecipesOfIndia.org — the world’s largest database of Indian recipes — she combines her love for food and history by exploring how India’s past has shaped its culinary traditions.


