- Grind ginger, garlic, turmeric, chili powder, coriander powder, black pepper, fennel, cardamom, cinnamon, and cloves into a smooth paste with 2 tablespoons of water. Add vinegar and blend briefly.
- Marinate chicken pieces with the ground paste and set aside for at least 30 minutes.
- Heat coconut oil in a pressure cooker. Sauté sliced onions until golden brown.
- Add marinated chicken and cook on medium-high heat for 2-3 minutes, until the color changes.
- Pour in thin coconut milk or water, mix well, and bring to a boil. Seal the pressure cooker and cook on high heat until the first whistle. Reduce heat to low and cook for 8-10 minutes. Let the pressure release naturally (10-15 minutes).
- Open the cooker and stir. Simmer uncovered to thicken the gravy if desired.
- For the tempering (tadka): Heat oil, crackle mustard seeds, fry shallots and curry leaves until golden brown. Pour over the curry.
- Let the curry rest for 30 minutes before serving with rice, roti, or appam.
- Calories:300 kcal25%
- Energy:1255 kJ22%
- Protein:25 g28%
- Carbohydrates:10 mg40%
- Sugar:3 mg8%
- Salt:500 g25%
- Fat:15 g20%
Last Updated on 2 months by Neha Deshmukh
Kerala Chicken Curry Recipe – Authentic Ginger Garlic Spice Blend
Introduction
Oh, Kerala Chicken Curry. Just the aroma transports me straight back to my grandmother’s kitchen! This isn’t just a recipe; it’s a hug in a bowl. I first made this when I was craving a taste of home, and it instantly became a family favourite. It’s a little bit spicy, a little bit tangy, and completely delicious. Get ready to experience the vibrant flavours of God’s Own Country!
Why You’ll Love This Recipe
This Kerala Chicken Curry is special. It’s all about the balance of flavours – the warmth of the spices, the richness of the coconut, and the tender chicken. It’s surprisingly easy to make, even if you’re new to Indian cooking. Plus, it’s incredibly versatile. Serve it with rice, roti, or even appam – it’s amazing with everything!
Ingredients
Here’s what you’ll need to create this Kerala magic:
- 850g Chicken, cut into pieces
- 1-1.5 tbsp Chopped ginger & garlic
- ½ tsp Turmeric powder
- 2 tsp Chilli powder (adjust to your spice preference!)
- 3 tsp Coriander powder
- ½ – 1 tsp Whole black pepper
- 1 tsp Fennel seeds
- 3 Cardamom seeds
- 1 small Cinnamon piece
- 4 Cloves
- 1 tbsp Vinegar
- 3 medium Onions, sliced
- 1 – 1.25 cups Thin coconut milk / water
- ½ tsp Mustard seeds
- 5 Small onion / shallots, thinly sliced
- Coconut oil, for cooking
- Salt, to taste
- Curry leaves, a handful
Ingredient Notes
Let’s talk ingredients! A few things make this Kerala Chicken Curry truly authentic.
- Coconut Oil: Don’t skimp on the coconut oil! It adds a beautiful flavour that you just can’t replicate with other oils.
- Thin Coconut Milk: Using thin coconut milk (or water, in a pinch) is key to getting that lovely, flavourful gravy. Don’t use thick coconut milk here, it will make the curry too heavy.
- The Spice Blend: This is where the magic happens. The combination of fennel seeds, cardamom, and cloves is what gives this curry its unique Kerala flavour. Don’t be afraid to toast the spices lightly before grinding for an even more intense aroma!
- Spice Levels: Kerala cuisine can vary in spice levels. Feel free to adjust the chilli powder to your liking. Some families add green chillies too!
Step-By-Step Instructions
Alright, let’s get cooking!
- First, we need to make the spice paste. Grind the chopped ginger, garlic, turmeric powder, chilli powder, coriander powder, black pepper, fennel seeds, cardamom seeds, cinnamon piece, cloves, and vinegar with 2 tbsp of water into a really smooth paste. A little patience here pays off!
- Now, marinate the chicken pieces with this fragrant paste. Give it a good mix, ensuring every piece is coated, and let it sit for about 15 minutes. This allows the flavours to really penetrate the chicken.
- Heat a generous amount of coconut oil in a pressure cooker. Add the sliced onions and sauté until they turn a beautiful golden brown. Patience is key here – nicely browned onions are the foundation of a great curry.
- Add the marinated chicken to the pressure cooker and cook on medium-high heat for 2-3 minutes, until the colour changes. You’re not cooking it through, just searing it to lock in the juices.
- Pour in the thin coconut milk or water, give it a good mix, and bring it to a boil. Seal the pressure cooker and cook on high heat until you hear the first whistle. Then, reduce the heat to low and cook for another 8-10 minutes. Let the pressure release naturally – this takes about 10-15 minutes.
- Once the pressure has released, open the cooker and stir. If you prefer a thicker gravy, simmer uncovered for a few minutes until it reaches your desired consistency.
- Time for the tadka! In a separate small pan, heat a little oil. Crackle the mustard seeds, then fry the thinly sliced shallots and curry leaves until they’re golden brown and crispy. Pour this over the curry – it adds a wonderful aroma and texture.
- Finally, let the curry rest for at least 30 minutes before serving. Trust me, the flavours develop even more as it sits!
Expert Tips
- Spice Grinding: For the best flavour, grind your own spices. If you don’t have a spice grinder, you can use a mortar and pestle.
- Browning the Onions: Don’t rush this step! Golden brown onions add so much depth of flavour.
- Pressure Cooker Safety: Always follow the manufacturer’s instructions for your pressure cooker.
Variations
- Vegan Adaptation: Swap the chicken for jackfruit or mushrooms for a delicious vegan version. Jackfruit works particularly well, mimicking the texture of chicken.
- Gluten-Free: This recipe is naturally gluten-free!
- Spice Level Adjustment: If you’re sensitive to spice, reduce the amount of chilli powder. Or, if you like it hot, add a pinch of cayenne pepper!
- Festival Adaptations: This curry is often made during Onam and Vishu celebrations in Kerala. Some families add a touch of jaggery for a slightly sweet flavour during these festivals.
Serving Suggestions
Kerala Chicken Curry is incredibly versatile. Here are a few of my favourite ways to serve it:
- With steaming hot rice – a classic combination!
- With roti or paratha – perfect for soaking up all that delicious gravy.
- With appam – a traditional Kerala breakfast dish that’s amazing with curry.
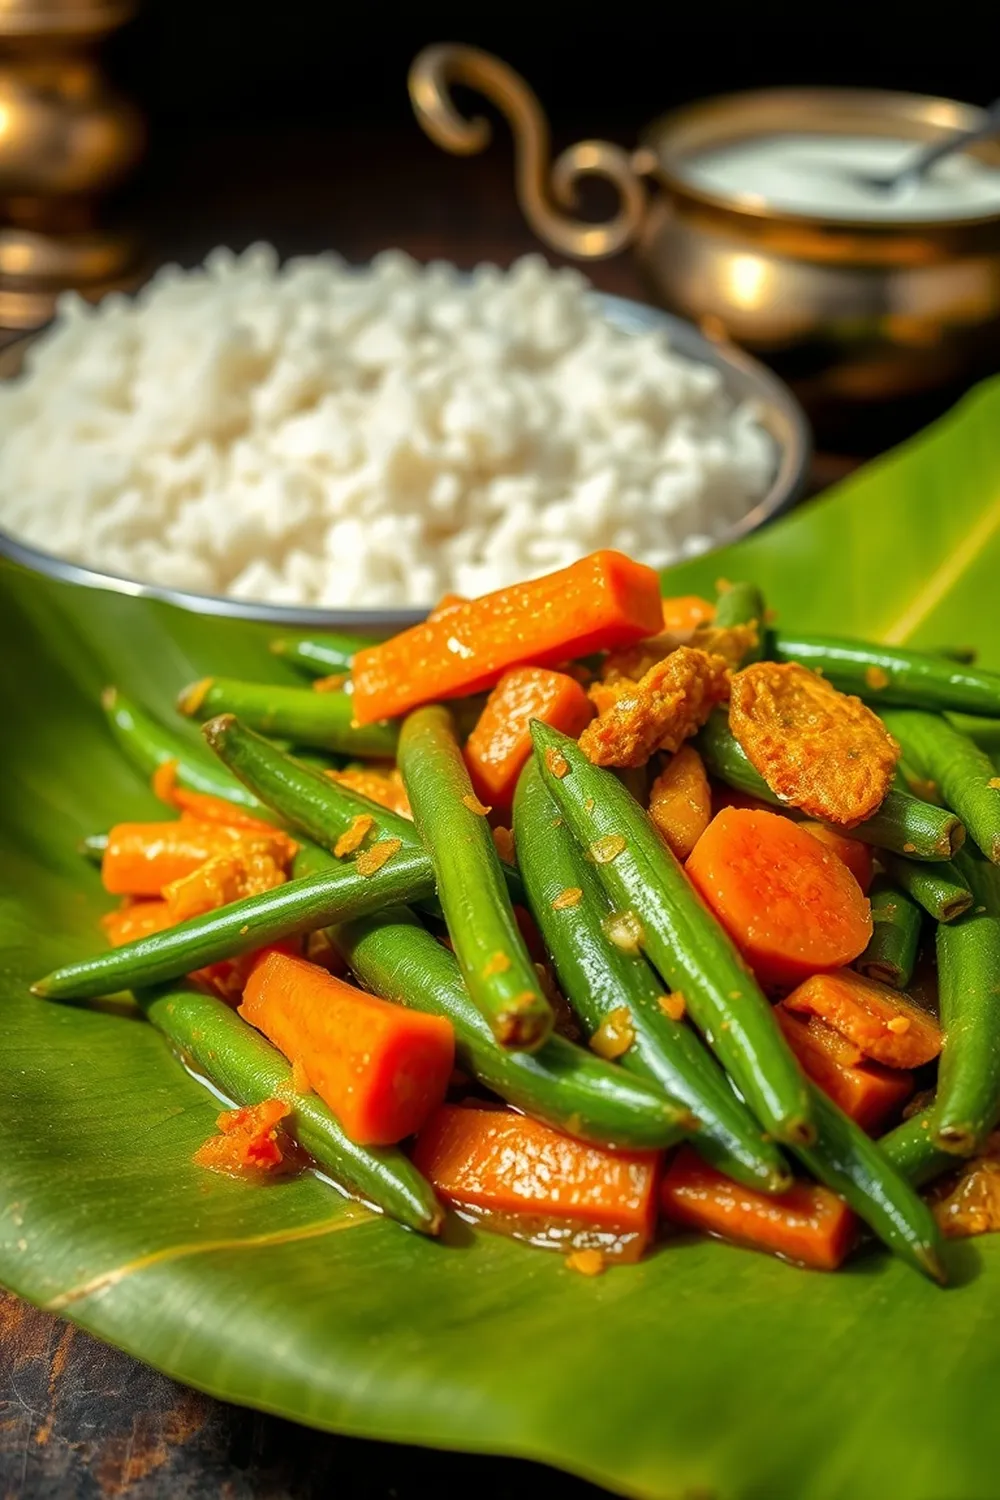
- A side of simple thoran (stir-fried vegetables) completes the meal.
Storage Instructions
Leftovers? Lucky you! Store the curry in an airtight container in the refrigerator for up to 3 days. It actually tastes even better the next day as the flavours meld together. You can also freeze it for up to 2 months.
FAQs
What type of rice pairs best with Kerala Chicken Curry?
Matta rice (Kerala red rice) is the traditional choice, but any long-grain rice like basmati will work beautifully.
Can I use store-bought curry paste instead of making my own?
While you can, the flavour won’t be quite the same. Making your own spice paste allows you to control the ingredients and achieve that authentic Kerala taste.
How can I adjust the thickness of the gravy?
If the gravy is too thin, simmer it uncovered for a few minutes to reduce the liquid. If it’s too thick, add a little more water or coconut milk.
What is the best way to grind the spices for this recipe?
A spice grinder is ideal, but a mortar and pestle works well too. You can also use a small coffee grinder dedicated to spices.
Can this curry be made ahead of time?
Absolutely! In fact, it’s even better the next day. Make the curry a day in advance and let the flavours develop overnight.


Neha Deshmukh
Neha holds a B.A. in History with a focus on Indian and world history, including ancient, medieval, and modern periods. At RecipesOfIndia.org — the world’s largest database of Indian recipes — she combines her love for food and history by exploring how India’s past has shaped its culinary traditions.