- Combine peanut butter and honey in a non-stick saucepan. Warm over medium-low heat, stirring constantly, until mixture becomes smooth and pourable.
- Remove from heat. Stir in chocolate chips, flax meal, and Honey Bunches of Oats cereal until fully coated.
- Line a baking pan with parchment paper. Transfer mixture to the pan, pressing firmly to create an even layer.
- Optional: Press raisins into the top for added sweetness.
- Chill in the freezer or refrigerator for 30-45 minutes, or until firm.
- Remove from pan using the parchment paper. Cut into bars and store in airtight containers for up to 10 days.
- Calories:200 kcal25%
- Energy:836 kJ22%
- Protein:5 g28%
- Carbohydrates:20 mg40%
- Sugar:10 mg8%
- Salt:50 g25%
- Fat:10 g20%
Last Updated on 4 months by Neha Deshmukh
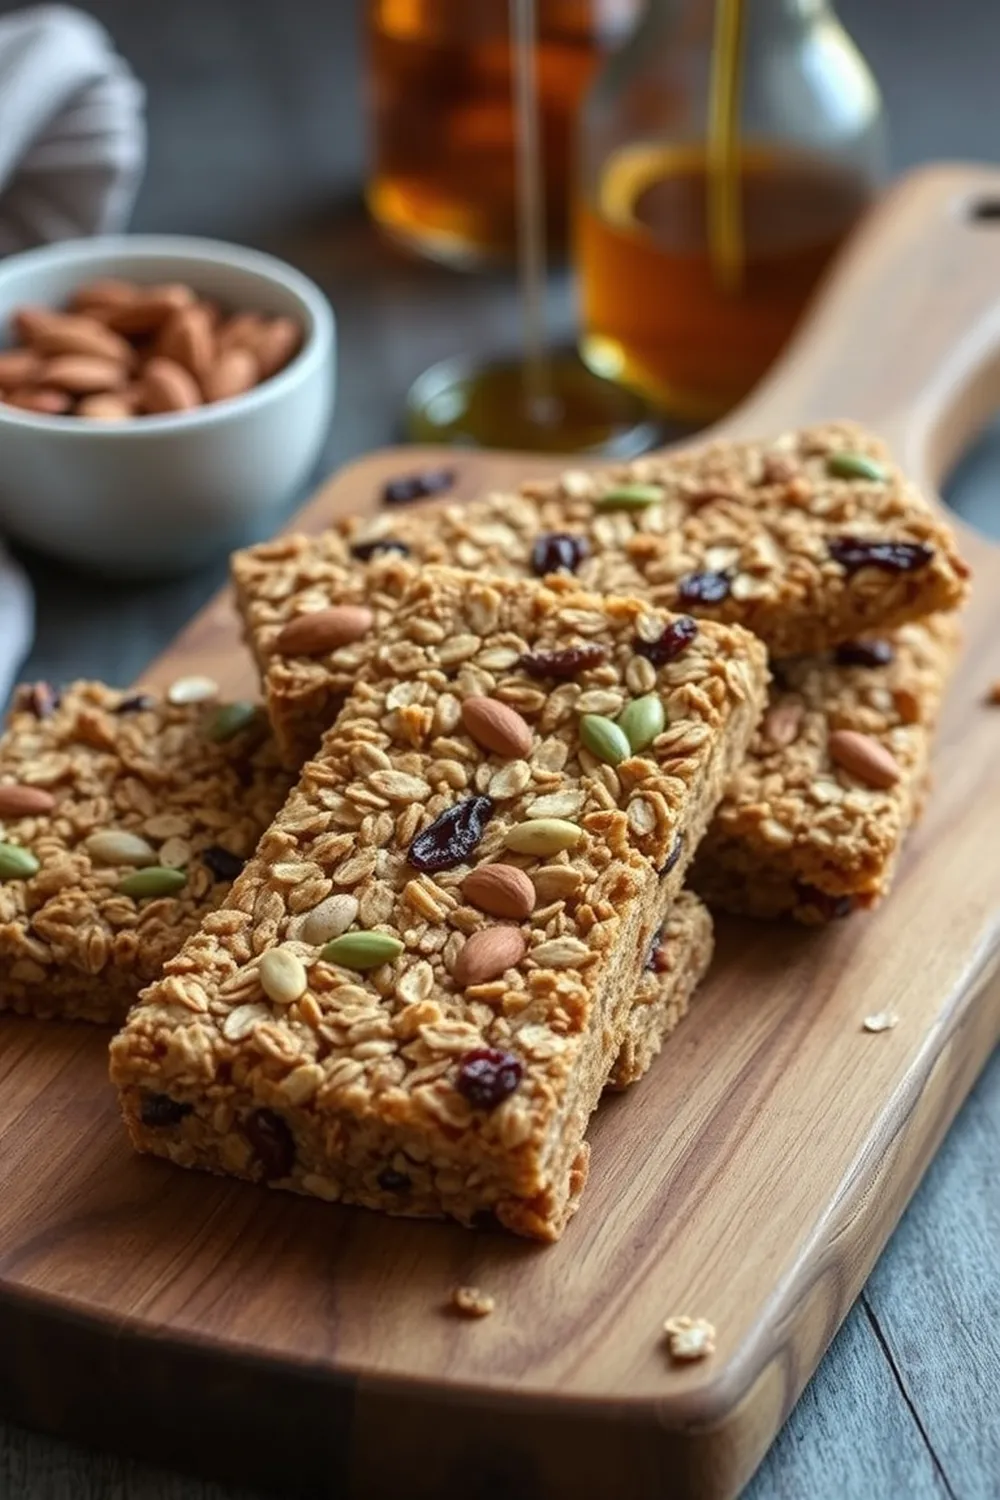
Peanut Butter Chocolate Oat Bars Recipe – Easy No-Bake Snack
Hey everyone! If you’re anything like me, you’re always on the lookout for quick, easy snacks that don’t require a ton of effort. Especially when that sweet craving hits! These Peanut Butter Chocolate Oat Bars are my go-to. They’re no-bake, super satisfying, and honestly, disappear way too fast in my house. I first made these when my niece was visiting, and they were a HUGE hit – now she requests them every time! Let’s get into it, shall we?
Why You’ll Love This Recipe
These bars are seriously the best. They’re perfect for a quick breakfast, an afternoon pick-me-up, or a healthy-ish dessert. Plus, they come together in just 10 minutes (plus chilling time, of course!). No oven needed, minimal ingredients, and maximum deliciousness. What’s not to love? They’re also great for getting kids involved in the kitchen – it’s a super simple recipe for little hands to help with.
Ingredients
Here’s what you’ll need to whip up a batch of these yummy bars:
- 0.5 cup (approx. 120g) peanut butter
- 1 tablespoon (approx. 15ml) honey
- 0.25 cup (approx. 50g) chocolate chips
- 2 tablespoons (approx. 16g) flax meal
- 1 cup (approx. 60g) Honey Bunches of Oats cereal
Ingredient Notes
Let’s talk ingredients for a sec! A few little things can make all the difference.
- Peanut Butter: I recommend using a smooth, natural peanut butter for the best texture. The kind where the oil separates is perfect – just give it a good stir before measuring! You can use crunchy if you prefer a little extra texture, but it will change the overall feel of the bars.
- Flax Meal: Don’t skip this! Flax meal adds a lovely nutty flavour and a boost of omega-3s and fibre. It also helps bind the bars together. You can find it easily in most supermarkets these days.
- Honey Bunches of Oats: This cereal is the secret weapon! It adds a fantastic crunch and a unique texture that you just don’t get with other cereals. The little clusters stay nice and defined in the bars.
Step-By-Step Instructions
Alright, let’s get baking (well, no-baking!). It’s so easy, you won’t believe it.
- First, combine the peanut butter and honey in a non-stick saucepan.
- Warm it over medium-low heat, stirring constantly, until everything is smooth and pourable. Don’t let it burn!
- Remove the pan from the heat. Now, stir in the chocolate chips, flax meal, and Honey Bunches of Oats cereal.
- Keep stirring until everything is fully coated in that delicious peanut butter-chocolate goodness.
- Line a baking pan (around 8×8 inches is ideal) with parchment paper. This makes it SO much easier to get the bars out later.
- Transfer the mixture to the pan and press it down firmly to create an even layer. I like to use the back of a spoon or a piece of cling film to help with this.
- (Optional) If you’re feeling fancy, press some raisins into the top for added sweetness. My grandma always did this, and it’s a lovely touch!
- Now, chill the pan in the freezer for about 30-45 minutes, or in the refrigerator for a couple of hours, until the mixture is firm.
- Finally, remove the bars from the pan using the parchment paper. Cut them into bars and store them in airtight containers.
Expert Tips
Here are a few things I’ve learned over the years to make these bars perfect every time:
- Don’t overheat the peanut butter and honey mixture. You just want it warm enough to combine easily.
- Pressing the mixture firmly into the pan is key to getting bars that hold their shape.
- If you don’t have parchment paper, you can grease the pan well with coconut oil or butter.
Variations
Want to switch things up? Here are a few ideas:
- Vegan Adaptation: Swap the honey for maple syrup and use vegan chocolate chips. Easy peasy!
- Gluten-Free Adaptation: Just make sure the Honey Bunches of Oats cereal you use is certified gluten-free. There are plenty of options available now.
- Festival Adaptations: These make a fantastic Diwali snack! They’re sweet, satisfying, and perfect for gifting.
- Spice Level: N/A
Serving Suggestions
These bars are great on their own, but you can also serve them with:
- A glass of cold milk (my personal favourite!)
- A cup of chai or coffee
- A side of fresh fruit
Storage Instructions
Store the bars in airtight containers at room temperature for up to 10 days, or in the refrigerator for up to 2 weeks. They also freeze well – just wrap them individually in cling film before freezing.
FAQs
Got questions? I’ve got answers!
1. Can I use a different type of cereal?
You can, but the texture won’t be quite the same. Honey Bunches of Oats really does add something special. If you do swap it, try to find a cereal with clusters for a similar crunch.
2. How can I make these bars less sweet?
Reduce the amount of honey you use, or use a sugar-free maple syrup alternative. You could also use dark chocolate chips instead of milk chocolate.
3. What’s the best way to press the mixture into the pan?
I find using the back of a spoon or a piece of cling film works best. It prevents the mixture from sticking to your hands.
4. Can these be made ahead of time?
Absolutely! You can make these bars a day or two in advance and store them in the refrigerator.
5. How do I prevent the bars from being too crumbly?
Make sure you press the mixture firmly into the pan, and don’t skip the flax meal – it helps bind everything together.


Neha Deshmukh
Neha holds a B.A. in History with a focus on Indian and world history, including ancient, medieval, and modern periods. At RecipesOfIndia.org — the world’s largest database of Indian recipes — she combines her love for food and history by exploring how India’s past has shaped its culinary traditions.