- Rinse quinoa and rice together, then soak in water for 4-6 hours. Separately soak urad dal and methi seeds.
- Drain soaked quinoa-rice mixture and blend with 1 cup of cold water until smooth.
- Grind soaked urad dal and methi seeds with 1/2 cup + 2-4 tablespoons water to form a smooth batter.
- Combine both batters in a large container. Add sendha namak and mix thoroughly with hands for 2 minutes.
- Cover and ferment batter in a warm place (Instant Pot yogurt mode or oven with the light on) for 12-14 hours.
- Check fermentation by dropping a small amount of batter in water; if it floats, it’s ready.
- Grease idli plates, pour batter into the molds, and steam in an Instant Pot or steamer for 10-12 minutes.
- Let cool slightly, then serve with sambar and coconut chutney.
- Calories:120 kcal25%
- Energy:502 kJ22%
- Protein:6 g28%
- Carbohydrates:20 mg40%
- Sugar:1 mg8%
- Salt:200 g25%
- Fat:2 g20%
Last Updated on 4 months by Neha Deshmukh
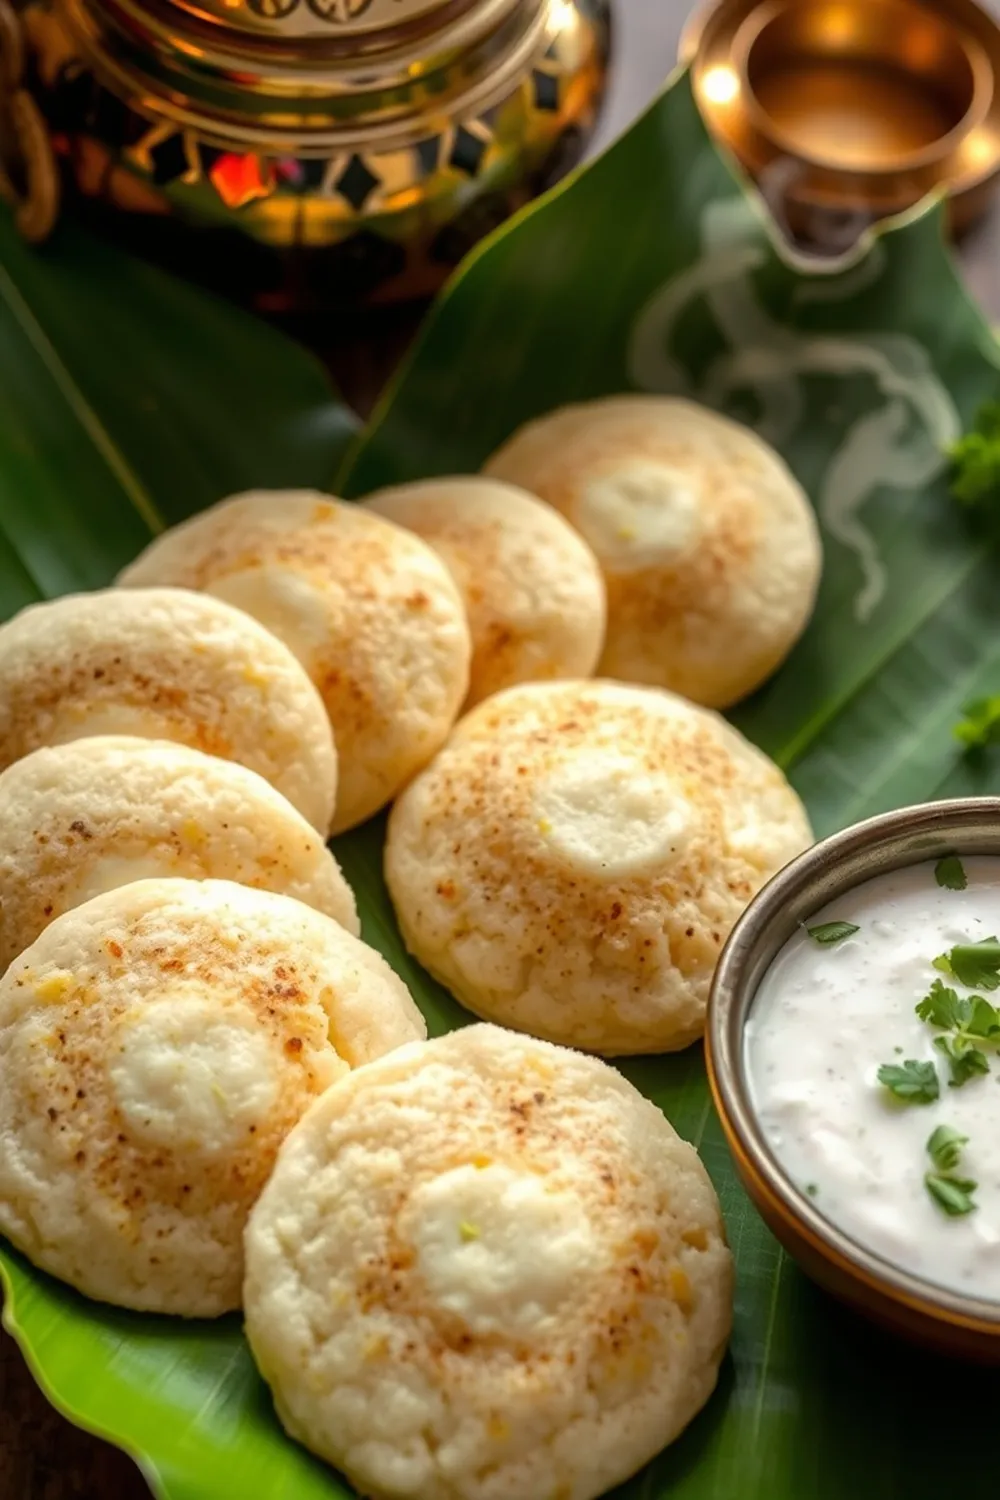
Quinoa Idli Recipe – Authentic Indian Fermented Rice & Lentil Cakes
Introduction
Okay, let’s be real – idli is comfort food at its finest! Soft, fluffy, and incredibly versatile, it’s a staple in many South Indian homes (and increasingly, in mine!). I remember the first time I tried making idli… it was a bit of a learning curve, but so worth it. Today, I’m sharing a slightly healthier twist on this classic: Quinoa Idli! It’s got all the goodness of traditional idli, with a boost of protein and nutrients from quinoa. Trust me, you won’t even miss the usual proportions of rice.
Why You’ll Love This Recipe
This quinoa idli recipe is a winner for so many reasons. It’s naturally gluten-free, packed with goodness, and surprisingly easy to make once you get the hang of the fermentation process. Plus, it’s a fantastic way to introduce quinoa into your diet in a familiar and delicious form. It’s perfect for a quick breakfast, a light dinner, or even a healthy snack.
Ingredients
Here’s what you’ll need to whip up a batch of these delightful idlis:
- 1.5 cup quinoa
- 0.5 cup idli rice
- 0.5 cup urad dal gota (split black lentils, without skin)
- 1 teaspoon methi seeds (fenugreek seeds)
- 1 teaspoon sendha namak (rock salt)
Ingredient Notes
Let’s talk ingredients! Getting these right makes all the difference.
Quinoa: Benefits and Selection
I prefer using white quinoa for this recipe, as it has a milder flavor. Red quinoa works too, but it has a slightly nuttier taste that will be noticeable. Rinse your quinoa really well before soaking – it helps remove the saponins, which can give it a bitter taste. (About 225g quinoa)
Idli Rice: Understanding the Grain
Idli rice is a short-grain rice specifically used for making idli and dosa. It’s what gives the idlis their soft texture. You can find it at most Indian grocery stores. (About 115g idli rice)
Urad Dal Gota: Choosing the Right Lentils
Urad dal gota is the key to that fluffy texture! Make sure you’re using the gota variety – that means the lentils are split and the skin has been removed. (About 115g urad dal gota)
Methi Seeds: The Aromatic Spice
Don’t skip the methi seeds! They add a lovely aroma and aid in the fermentation process. (About 5g methi seeds)
Sendha Namak: The Significance of Rock Salt
Sendha namak, or rock salt, is traditionally used in fasting recipes and is believed to be purer than regular table salt. It also contributes to the fermentation process. (About 6g sendha namak)
Step-By-Step Instructions
Alright, let’s get cooking!
- First, rinse the quinoa and idli rice together thoroughly. Then, soak them in plenty of water for at least 6 hours, or even overnight.
- Separately, soak the urad dal and methi seeds in water for the same amount of time.
- Drain the soaked quinoa-rice mixture and blend it with 1 cup of cold water until you get a smooth, slightly grainy paste. Don’t add more water than needed – we want a thick batter.
- Next, grind the soaked urad dal and methi seeds with about ¾ cup + 2-4 tablespoons of water to form a very smooth batter. This is important for fluffy idlis!
- Combine both batters in a large container. Add the sendha namak and mix really well with your hands for a good 2 minutes. This helps activate the fermentation.
- Cover the container and let the batter ferment in a warm place for 12-14 hours. I often use the yogurt mode on my Instant Pot, or simply leave it in the oven with the light on.
- To check if it’s fermented, drop a tiny spoonful of batter into a glass of water. If it floats, it’s ready! If it sinks, give it a few more hours.
- Grease your idli plates well. Pour the batter into the idli molds, filling each cavity about ¾ full.
- Steam the idlis in an Instant Pot (using the steam function) or a regular steamer for 13-15 minutes.
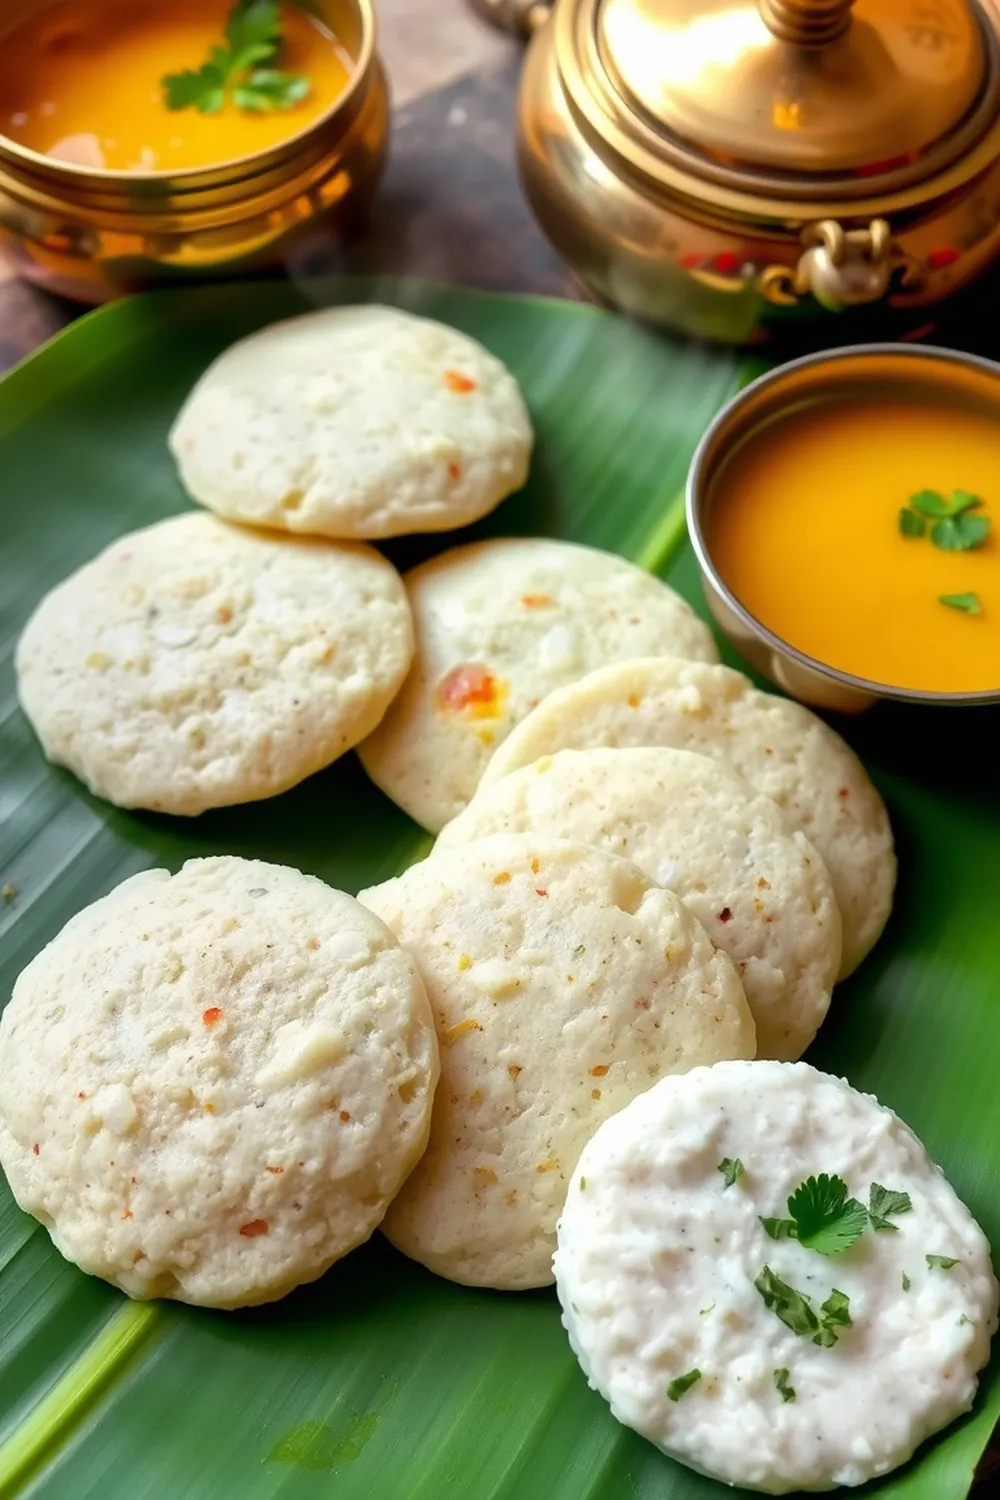
- Let them cool slightly before gently removing them from the plates. Serve immediately with sambar and coconut chutney!
Expert Tips
Here are a few things I’ve learned along the way:
Achieving the Perfect Fermentation
Warmth is key! The ideal temperature for fermentation is around 75-85°F (24-29°C). In colder weather, you might need to extend the fermentation time.
Blending Techniques for Smooth Batters
A high-powered blender really helps achieve that smooth batter, especially for the urad dal. If you don’t have one, you might need to grind the lentils in batches and add water gradually.
Steaming for Fluffy Idlis
Don’t overfill the idli molds! This can result in dense, unevenly cooked idlis. Also, avoid lifting the lid of the steamer during the cooking process, as this can release steam and affect the texture.
Variations
Want to switch things up? Here are a few ideas:
Vegan Quinoa Idli
This recipe is already naturally vegan! Just ensure your sambar and chutney are also vegan-friendly.
Gluten-Free Quinoa Idli
Naturally gluten-free! Perfect for those with dietary restrictions.
Spice Level Adjustments (Green Chili Addition)
My friend loves a little kick, so I sometimes add 1-2 finely chopped green chilies to the batter.
Navratri/Fasting Adaptation (Using Sabudana)
For fasting days, you can add 2-3 tablespoons of soaked sabudana (tapioca pearls) to the batter.
Serving Suggestions
Idli is best enjoyed hot with sambar and coconut chutney. But don’t stop there! You can also serve it with:
- Tomato Chutney
- Sesame Chutney
- Vegetable Sambar
- A dollop of ghee (clarified butter)
Storage Instructions
Leftover idlis can be stored in an airtight container in the refrigerator for up to 3 days. Reheat them by steaming or microwaving. You can also freeze them for longer storage.
FAQs
Let’s tackle some common questions:
What is the ideal consistency of the idli batter?
The batter should be smooth and pourable, but not too runny. It should be similar to the consistency of pancake batter.
Can I use a regular blender instead of a high-powered one?
Yes, but you might need to grind the lentils in batches and add water gradually to achieve a smooth consistency.
How do I adjust the fermentation time based on the weather?
In warmer weather, fermentation will happen faster. In colder weather, it will take longer. Check the batter after 12 hours and adjust accordingly.
What can I do if my idli batter doesn’t ferment properly?
Make sure the batter is kept in a warm place. You can also add a pinch of sugar to help kickstart the fermentation process.
Can I make the batter ahead of time and store it for later use?
Yes, you can make the batter a day ahead and store it in the refrigerator. Just remember to bring it to room temperature before fermenting.

Neha Deshmukh
Neha holds a B.A. in History with a focus on Indian and world history, including ancient, medieval, and modern periods. At RecipesOfIndia.org — the world’s largest database of Indian recipes — she combines her love for food and history by exploring how India’s past has shaped its culinary traditions.


