- Combine ragi flour, rice flour, besan, asafoetida, ajwain, and salt in a mixing bowl. Add hot oil and mix thoroughly.
- Gradually add water and knead to form a smooth, pliable dough (neither too stiff nor sticky).
- Fill the murukku mold with dough and press into spiral shapes directly onto a greased ladle or baking sheet.
- Carefully slide the shaped murukku into hot oil. Fry until golden brown and crisp.
- Flip the murukku halfway through and cook until golden brown on both sides.
- Drain on paper towels. Cool completely before storing in airtight containers.
- Calories:350 kcal25%
- Energy:1464 kJ22%
- Protein:6 g28%
- Carbohydrates:45 mg40%
- Sugar:2 mg8%
- Salt:200 g25%
- Fat:18 g20%
Last Updated on 6 months ago by Neha Deshmukh
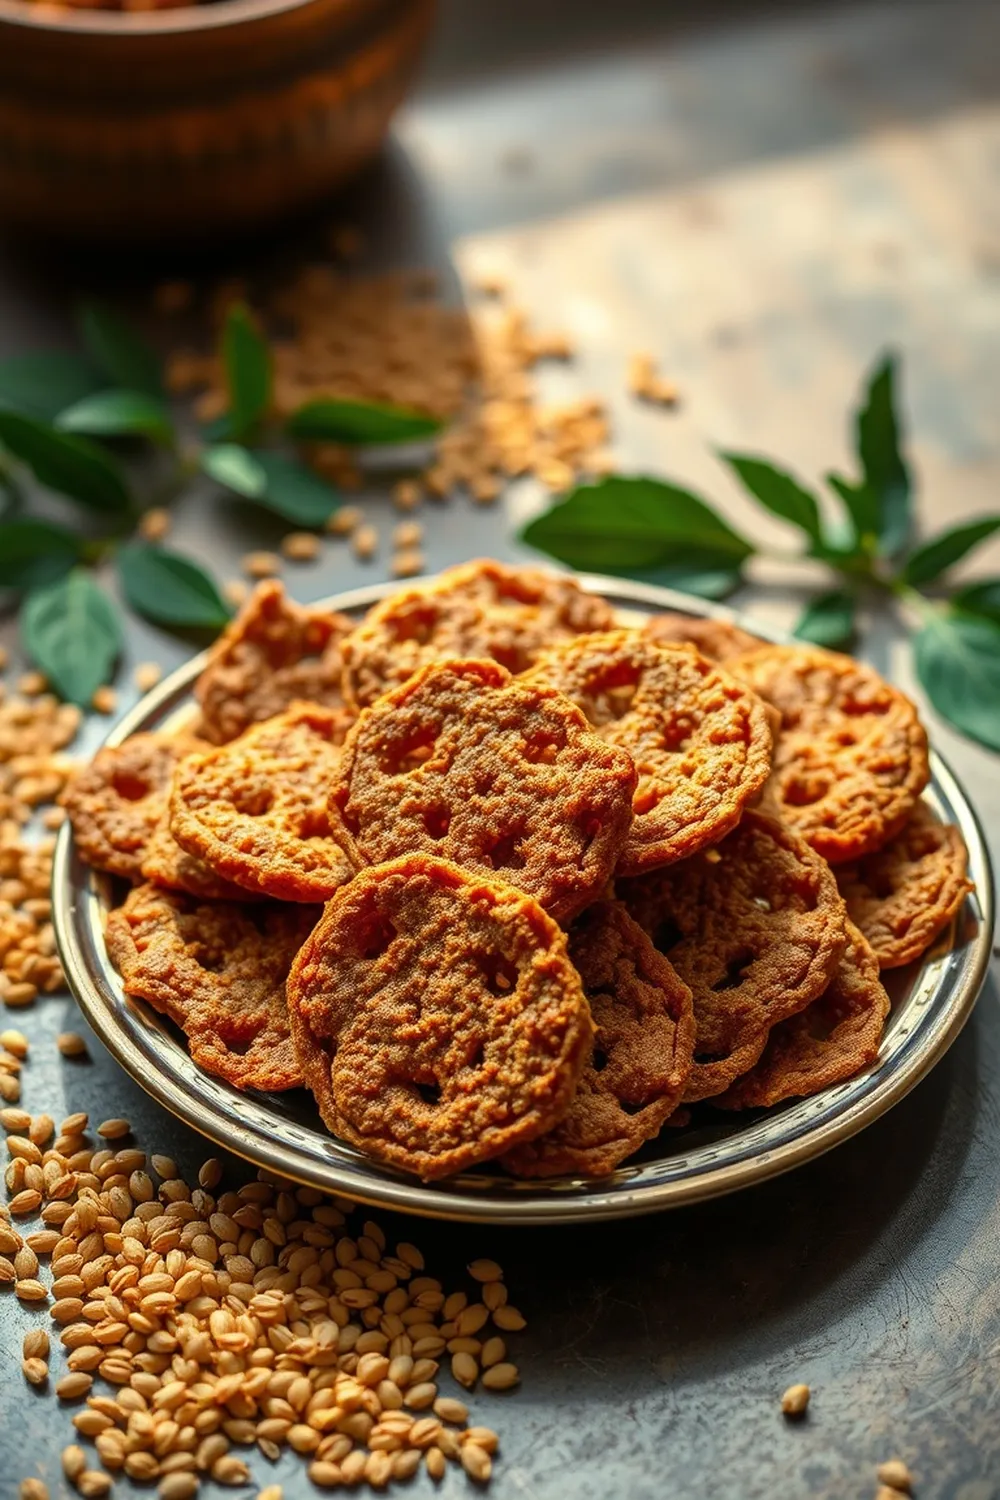
Ragi Murukku Recipe – Crispy & Flaky Indian Snack
Hey everyone! If you’re anything like me, you love a good crunchy snack with your evening chai. And honestly, nothing beats a homemade one, right? Today, I’m sharing my go-to recipe for Ragi Murukku – these crispy, flaky spirals are seriously addictive, and surprisingly easy to make once you get the hang of it. I first made these for Diwali a few years ago, and they’ve been a family favorite ever since!
Why You’ll Love This Recipe
This Ragi Murukku recipe isn’t just about satisfying your snack cravings. It’s about enjoying a delicious treat that’s also good for you! Ragi (finger millet) is a nutritional powerhouse, and when combined with the other ingredients, it creates a wonderfully textured and flavorful snack. Plus, the aroma while they’re frying? Heavenly!
Ingredients
Here’s what you’ll need to whip up a batch of these beauties:
- ?? cup Ragi Flour
- ?? cup Rice Flour
- 1 tablespoon Besan (Gram Flour)
- 1 teaspoon Hot Oil
- 2 pinch Asafoetida (Hing)
- ?? teaspoon Ajwain (Carom Seeds)
- Salt to taste
Ingredient Notes
Let’s talk ingredients – a few little tips can make all the difference!
Ragi Flour: Health Benefits & Flavor Profile
Ragi flour is the star of the show! It’s packed with calcium, iron, and fiber. It has a slightly earthy flavor that pairs beautifully with the other ingredients. You can usually find it at Indian grocery stores or online. (Around 100g per cup).
Rice Flour: Choosing the Right Type
I prefer using fine rice flour for a smoother texture. Avoid coarse varieties, as they can make the murukku a bit grainy. (Around 150g per cup).
Besan (Gram Flour): Its Role in Texture
Besan adds a lovely binding quality and a subtle nutty flavor. It helps create that perfect crispness. (Around 90g per tablespoon).
Hot Oil: Temperature & Type for Frying
Using hot oil is crucial for the initial sizzle and to help the murukku hold its shape. I usually use vegetable oil or sunflower oil – something with a neutral flavor and high smoke point.
Asafoetida (Hing): A Unique Spice & Its Uses
Don’t skip the asafoetida! It adds a unique savory depth. A little goes a long way, so just a pinch is perfect. It also aids digestion – a bonus!
Ajwain (Carom Seeds): Digestive Benefits & Flavor
Ajwain gives these murukku a lovely aromatic flavor and is known for its digestive properties. It’s a classic addition to Indian snacks. (Around 5g per teaspoon).
Salt: Adjusting to Taste
Salt is, of course, essential! Start with about ½ teaspoon and adjust to your liking.
Step-By-Step Instructions
Alright, let’s get cooking!
- First, in a nice big mixing bowl, combine the ragi flour, rice flour, besan, asafoetida, ajwain, and salt.
- Now, pour in that hot oil! This is important – it helps with the texture. Mix everything really well with your hands until it resembles breadcrumbs.
- Gradually add water, a little at a time, and start bringing the dough together. You want a smooth, pliable dough that’s neither too stiff nor sticky. It should feel nice and soft.
- Once your dough is ready, fill your murukku mold with it. Then, press those beautiful spiral shapes directly onto a greased ladle or a clean kitchen towel.
- Carefully slide the shaped murukku into hot oil that’s heated to medium. You’ll know it’s ready when the murukku initially sizzles.
- Fry until the sizzling subsides, then gently flip them over. Continue cooking on medium-low heat until the bubbling stops and they turn a lovely golden brown.
- Remove the murukku and drain them on paper towels. Let them cool completely before storing – this is key for maximum crispness!
Expert Tips
A few things I’ve learned over the years…
Achieving the Perfect Dough Consistency
The dough is the most important part! If it’s too dry, the murukku will break. Too wet, and they won’t hold their shape. Add water very gradually.
Ensuring Crispy Murukku: Oil Temperature & Frying Time
Medium heat is your friend. Too hot, and they’ll burn on the outside before cooking through. Too low, and they’ll absorb too much oil.
Troubleshooting: Murukku Breaking or Not Holding Shape
If they’re breaking, add a tiny bit more water to the dough. If they’re not holding shape, it could be the mold isn’t tightly filled, or the oil isn’t hot enough.
Using the Murukku Maker Effectively
Make sure your murukku maker is clean and dry. A little oil on the plunger can help the dough move smoothly.
Variations
Want to switch things up? Here are a few ideas:
Vegan Ragi Murukku
This recipe is naturally vegan! Just double-check your oil is plant-based.
Gluten-Free Ragi Murukku (Naturally Gluten-Free!)
Ragi and rice flour are naturally gluten-free, making this a fantastic option for those with sensitivities.
Spice Level: Adding Chili Powder for Heat
My friend loves adding ½ teaspoon of chili powder to the dough for a spicy kick!
Festival Adaptations: Diwali & Janmashtami Snack
These are perfect for festive occasions! I often make a big batch for Diwali and Janmashtami.
Different Flour Combinations: Exploring Regional Variations
Some people add a little wheat flour for a slightly different texture. Feel free to experiment!
Serving Suggestions
These are best enjoyed with a cup of hot chai or coffee. They’re also great as a standalone snack or as part of a larger Indian snack platter.
Storage Instructions
Store cooled murukku in an airtight container at room temperature. They should stay crispy for up to a week (if they last that long!).
FAQs
Let’s answer some common questions:
What is the best way to store Ragi Murukku to maintain its crispness?
Airtight containers are your best bet! Make sure they’re completely cool before storing.
Can I make the dough ahead of time? If so, how should I store it?
Yes, you can! Store the dough in an airtight container in the refrigerator for up to 2 days. Bring it to room temperature before using.
What type of oil is best for frying Ragi Murukku?
Vegetable oil or sunflower oil are great choices. They have a neutral flavor and high smoke point.
My Ragi Murukku is too hard. What did I do wrong?
You likely added too little water to the dough. Next time, add water more gradually until you achieve a pliable consistency.
Can I bake Ragi Murukku instead of frying? What adjustments would I need to make?
You can try baking, but they won’t be as crispy. Preheat your oven to 180°C (350°F) and bake for 15-20 minutes, flipping halfway through.
What is the significance of Ajwain in this recipe?
Ajwain adds a lovely flavor and is known for its digestive benefits – a common addition to Indian snacks!
Enjoy making these delicious Ragi Murukku! Let me know how they turn out in the comments below. Happy snacking!


Neha Deshmukh
Neha holds a B.A. in History with a focus on Indian and world history, including ancient, medieval, and modern periods. At RecipesOfIndia.org — the world’s largest database of Indian recipes — she combines her love for food and history by exploring how India’s past has shaped its culinary traditions.