- Combine raspberries in a saucepan and bring to a boil over medium heat.
- Mash the berries thoroughly with a potato masher until pulpy.
- Stir in sugar and simmer over low heat for 8-10 minutes, stirring constantly, until thickened.
- Optional: Strain through a fine-mesh sieve to remove seeds for a smoother texture.
- Transfer to a sterilized jar while warm and let cool completely before sealing.
- Calories:120 kcal25%
- Energy:502 kJ22%
- Protein:1 g28%
- Carbohydrates:30 mg40%
- Sugar:25 mg8%
- Salt:5 g25%
- Fat:0.5 g20%
Last Updated on 2 months by Neha Deshmukh
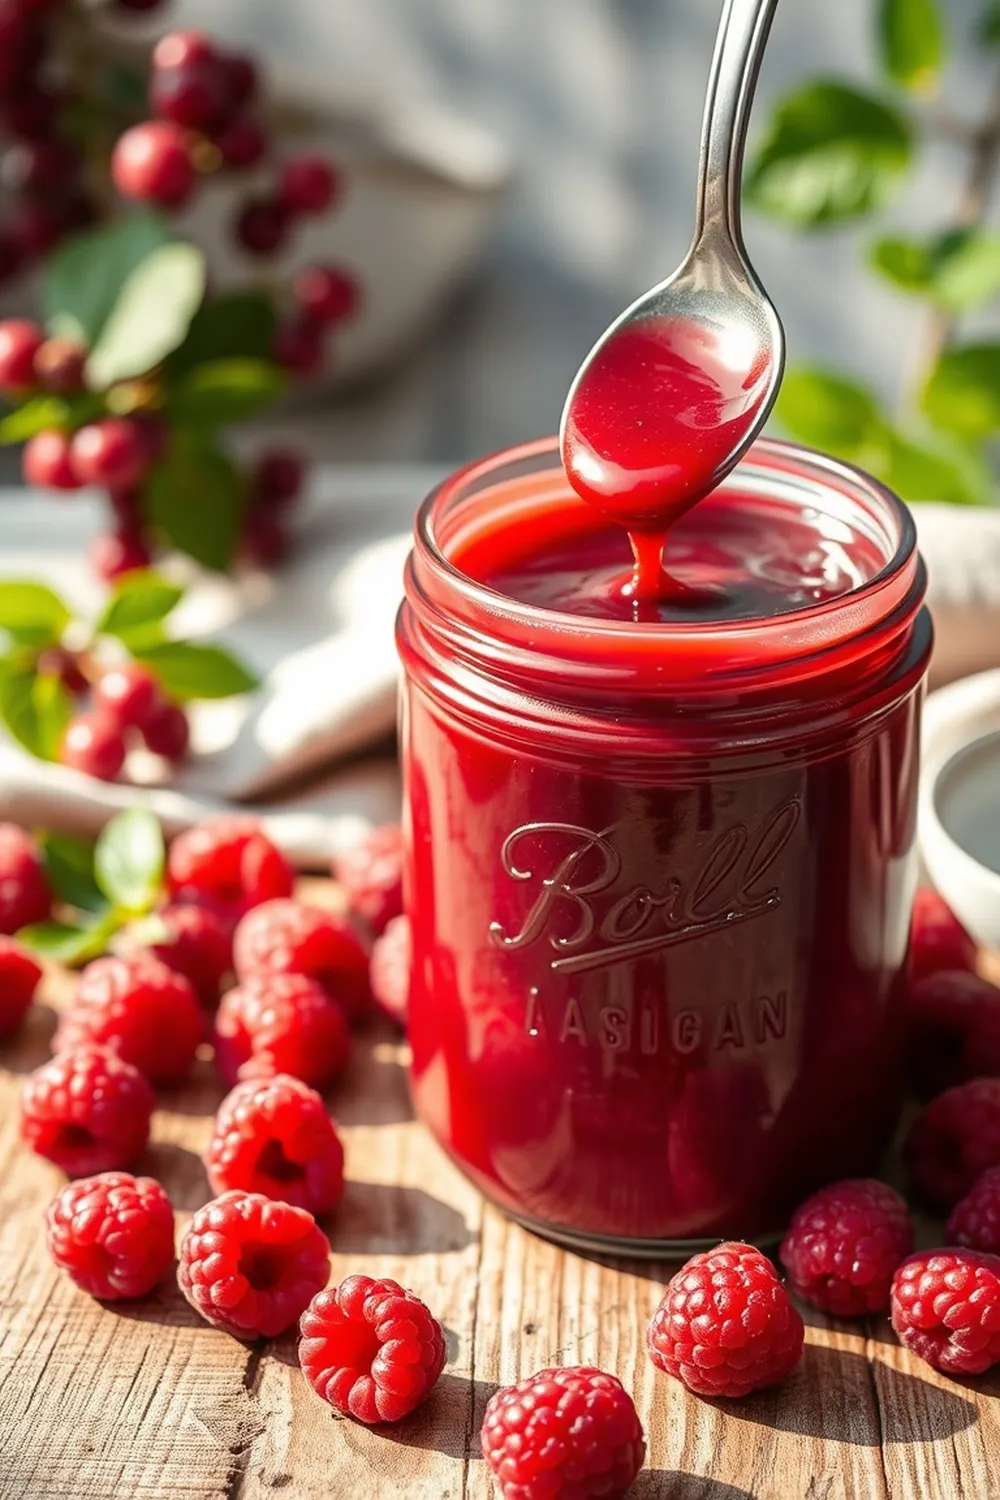
Raspberry Recipe – Easy Homemade Raspberry Jam in Under 15 Minutes
Hey everyone! If you’re anything like me, you absolutely adore the sweet-tart burst of raspberries. And honestly, nothing beats a spoonful of homemade jam on a warm piece of roti or paratha. I first made this raspberry jam when I was craving something special to go with my morning chai, and it’s been a family favourite ever since. It’s so simple, so quick, and tastes a million times better than anything you can buy in a jar. Let’s get cooking!
Why You’ll Love This Recipe
This raspberry jam recipe is a total winner for a few reasons. First, it’s unbelievably easy – seriously, under 15 minutes from start to finish! Second, it uses just two main ingredients, making it super affordable. And finally, the flavour? Oh, the flavour! It’s bright, fresh, and perfectly balanced. It’s the kind of jam that just makes everything taste a little bit better.
Ingredients
Here’s what you’ll need to whip up a batch of this deliciousness:
- 2 cups raspberries (about 300g)
- ½ cup granulated sugar (about 100g)
Ingredient Notes
Let’s talk raspberries for a sec! There are a couple of main types you’ll find:
- Summer-bearing raspberries: These give you one big harvest in the summer. They tend to be a bit more flavorful, which is perfect for jam.
- Everbearing raspberries: These give you smaller harvests throughout the summer and fall. They’re still delicious, but might need a tiny bit more sugar to balance the tartness.
Don’t worry too much about the variety though – any raspberries will work beautifully! If you want a super smooth jam, you can strain out the seeds after cooking (more on that later!). And remember, using ripe, good-quality raspberries will give you the best flavour.
Step-By-Step Instructions
Alright, let’s make some jam!
- First, gently pour your 2 cups of raspberries into a saucepan.
- Place the saucepan over medium heat and bring the raspberries to a boil.
- Now, grab your potato masher (yes, a potato masher!) and gently mash the berries. You want them pulpy, but don’t go overboard – a little texture is nice.
- Stir in the ½ cup of sugar.
- Reduce the heat to low-medium and simmer for 8-10 minutes, stirring constantly. This is important to prevent sticking and burning! You’ll notice the jam thickening as it cooks.
- Once it’s thickened to your liking, remove from the heat.
- Carefully transfer the warm jam to a sterilized jar. Let it cool completely before sealing.
And that’s it! Seriously, wasn’t that easy?
Expert Tips
Here are a few little tricks I’ve learned over the years:
- Sterilizing your jar is key! Wash it in hot, soapy water, then boil it for 10 minutes. This prevents mold and keeps your jam fresh.
- Don’t skip the stirring! Seriously, constant stirring is your friend.
- To test for set: Place a small spoonful of jam on a chilled plate. If it wrinkles when you push it with your finger, it’s ready!
Variations
Want to get creative with your jam? Here are a few ideas:
- Spice Level: My auntie always adds a tiny pinch of cardamom or black pepper to her raspberry jam. It adds a lovely warmth.
- Festival Adaptations: This jam makes a wonderful gift! Package it up nicely for Diwali or Christmas – everyone will love it.
- Sugar Alternatives: If you’re watching your sugar intake, you can try using honey or jaggery instead of granulated sugar. Just adjust the amount to taste.
- Vegan Adaptation: This recipe is naturally vegan! No changes needed.
- Gluten-Free: Naturally gluten-free, too!
Serving Suggestions
Okay, so what do you do with all this delicious jam? Here are a few of my favourite ways to enjoy it:
- Spread it on warm roti or paratha.
- Swirl it into yogurt.
- Use it as a filling for cakes and pastries.
- Serve it with scones and clotted cream (a little bit fancy, I know!).
Storage Instructions
To keep your jam fresh for as long as possible:
- Store it in a cool, dark place.
- Once opened, keep it refrigerated.
- Properly stored, it should last for at least 6 months.
FAQs
Got questions? I’ve got answers!
- How long does homemade raspberry jam last? Properly stored, it should last for at least 6 months.
- Can I use frozen raspberries for this recipe? Absolutely! Just thaw them completely and drain off any excess liquid before using.
- What do I do if my jam is too runny? Simmer it for a few more minutes, stirring constantly.
- How can I prevent mold from growing on my raspberry jam? Make sure your jar is properly sterilized!
- Can I adjust the sweetness level of the jam? Yes, definitely! Start with less sugar and add more to taste.


Neha Deshmukh
Neha holds a B.A. in History with a focus on Indian and world history, including ancient, medieval, and modern periods. At RecipesOfIndia.org — the world’s largest database of Indian recipes — she combines her love for food and history by exploring how India’s past has shaped its culinary traditions.