- Rinse sabudana thoroughly and soak in 2 cups of water for 4-6 hours, or until softened.
- Drain the soaked sabudana completely.
- In a heavy-bottomed pan, combine the drained sabudana with 2 cups of milk.
- Add sugar and cardamom powder. Stir well.
- Cook on low heat, stirring frequently, until the sabudana is completely soft and the kheer thickens (approximately 20-25 minutes).
- Stir in cashews and raisins during the last 5 minutes of cooking.
- Adjust sugar to taste if needed.
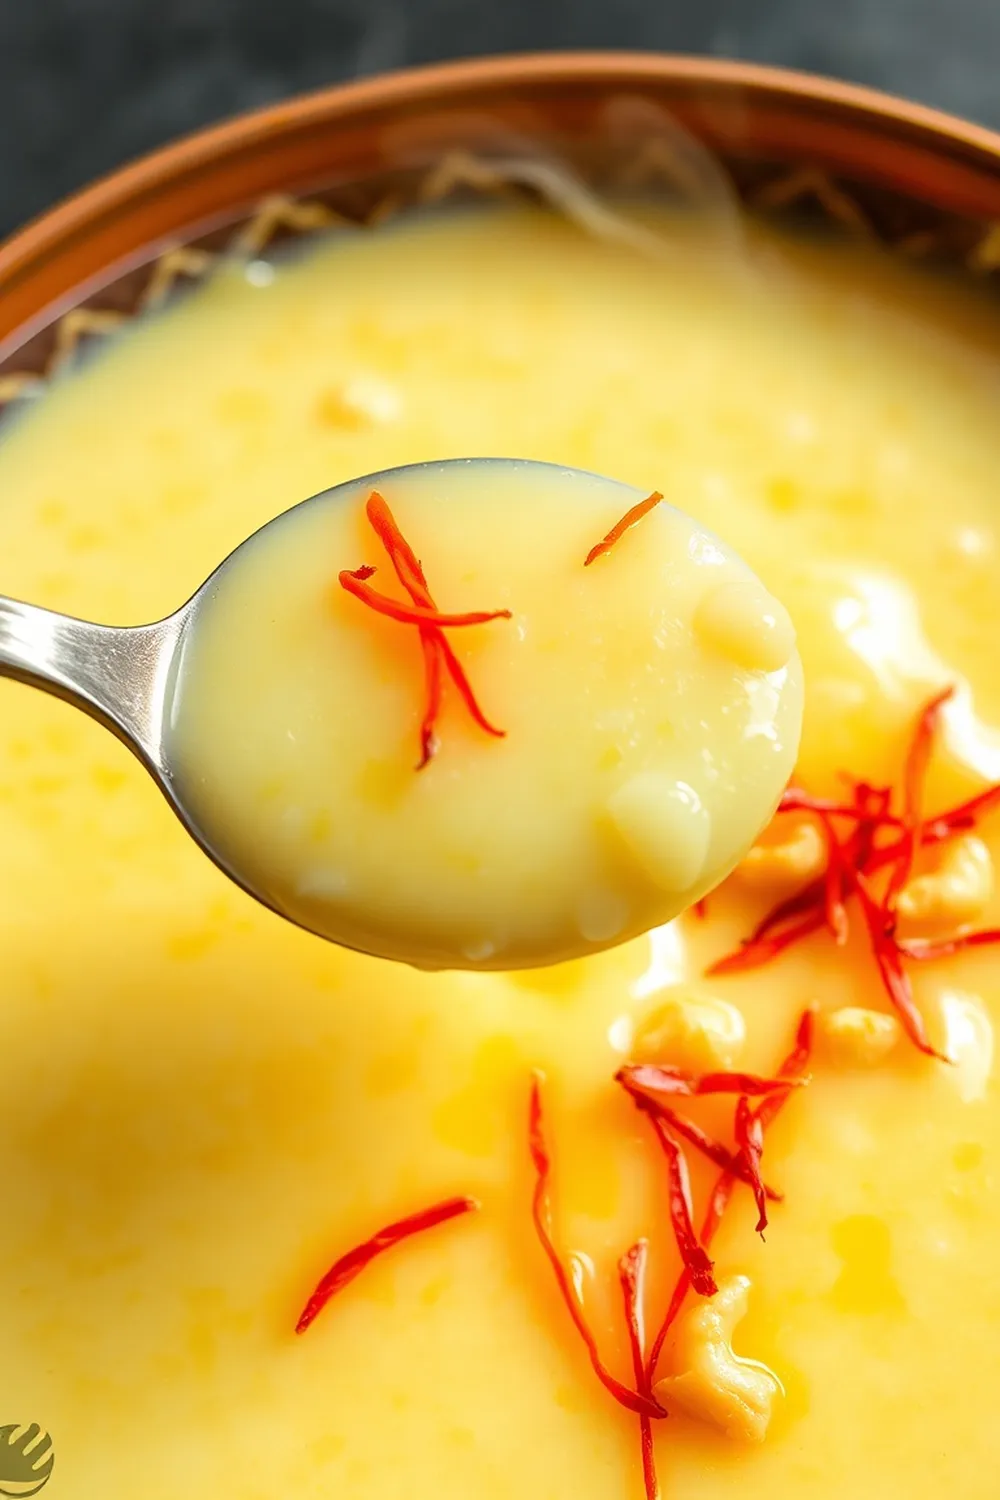
- Serve hot, warm, or chilled. Garnish with saffron strands and chopped nuts before serving.
- Calories:280 kcal25%
- Energy:1171 kJ22%
- Protein:4 g28%
- Carbohydrates:50 mg40%
- Sugar:25 mg8%
- Salt:40 g25%
- Fat:8 g20%
Last Updated on 6 months ago by Neha Deshmukh
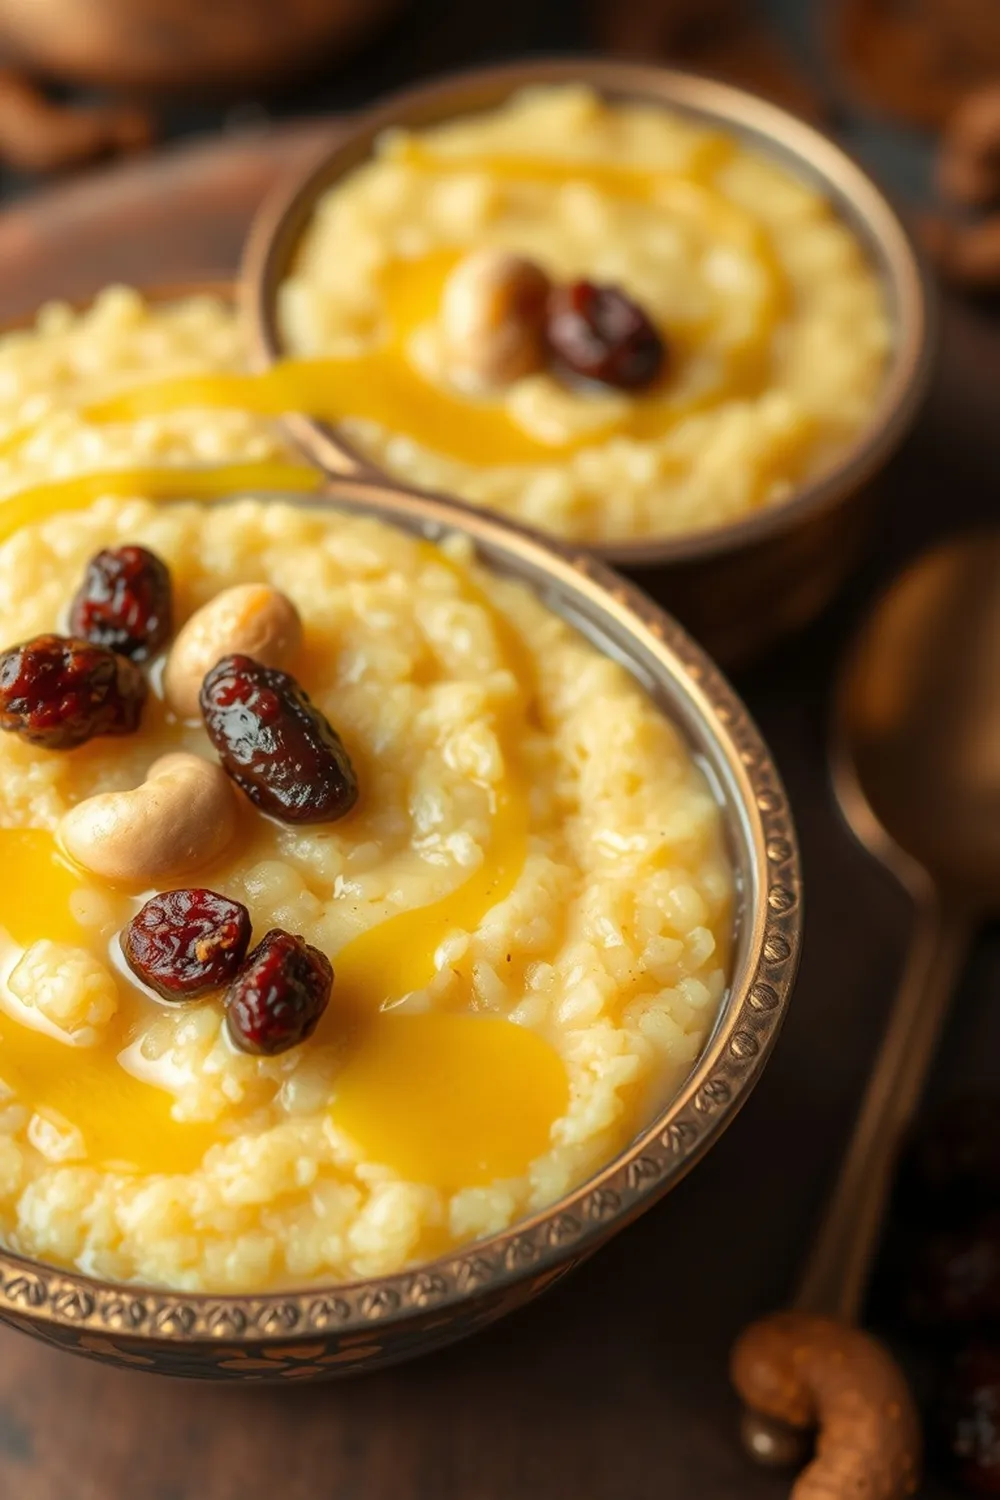
Sabudana Kheer Recipe – Easy Sago Pudding with Cardamom & Nuts
Hey everyone! If you’re looking for a comforting, subtly sweet dessert that’s surprisingly easy to make, you have to try this Sabudana Kheer. It’s a classic Indian pudding, and honestly, it’s one of those recipes that always reminds me of my grandmother. She used to make it for special occasions, and now I’m so excited to share her (slightly tweaked!) version with you. It’s perfect for a cozy night in, or even a festive celebration.
Why You’ll Love This Recipe
This Sabudana Kheer is more than just a dessert; it’s a little bit of nostalgia in every spoonful. It’s creamy, delicately flavored with cardamom, and has a lovely texture from the soft sabudana pearls. Plus, it’s a relatively quick dessert to whip up – perfect when you’re craving something sweet but don’t want to spend hours in the kitchen! It’s also a great option if you’re looking for a vegetarian dessert.
Ingredients
Here’s what you’ll need to make this delicious Sabudana Kheer:
- 1 cup sabudana (sago) – about 180g
- 2 cups water – 480ml
- 2 cups whole milk – 480ml
- ½ – 1 teaspoon green cardamom powder – 1-2g
- 4-5 tablespoons raw sugar (or to taste) – 50-60g
- Cashews and raisins (optional) – a small handful
Ingredient Notes
Let’s talk ingredients! A few little things can make a big difference:
- Sabudana Varieties: You’ll find different types of sabudana – small pearl, medium pearl, and even larger ones. I prefer the small pearl variety for kheer, as it cooks more evenly and gives a smoother texture.
- Milk Options: Full-fat milk definitely gives the richest, creamiest kheer. But, if you’re watching your fat intake, you can absolutely use low-fat milk. It will still taste delicious!
- Cardamom Quality: Freshly ground cardamom powder is always best. The aroma and flavor are so much more vibrant. If you’re using store-bought powder, make sure it’s relatively fresh. A little goes a long way!
Step-By-Step Instructions
Alright, let’s get cooking!
- First, give the sabudana a really good rinse under cold water. This helps remove any excess starch. Then, soak it in 2 cups of water for about 15-20 minutes. You’ll notice the pearls start to plump up – that’s exactly what we want!
- Now, pour the soaked sabudana (along with the water it soaked in) into a heavy-bottomed pan. Cook it on low-medium heat, stirring occasionally, until the pearls turn translucent. This usually takes about 5-6 minutes. Don’t rush this step – we want the sabudana to be nicely softened.
- Pour in the 2 cups of milk, add the cardamom powder, and the sugar. Give everything a good stir to combine.
- Bring the mixture to a gentle simmer. Now comes the slightly patient part! Continue to simmer for 20-25 minutes, stirring frequently, until the kheer thickens and the sabudana is completely soft. The mixture will start to coat the back of a spoon.
- If you’re using them, stir in the cashews and raisins during the last 5 minutes of cooking. Taste and adjust the sugar if needed. I usually add a little extra because I have a sweet tooth!
Expert Tips
Here are a few things I’ve learned over the years:
- Stir, Stir, Stir: Seriously, don’t skip the frequent stirring! This prevents the sabudana from sticking to the bottom of the pan and ensures even cooking.
- Low and Slow: Cooking on low-medium heat is key. It allows the sabudana to soften gradually without burning.
- Consistency is Key: The kheer will thicken as it cools, so don’t worry if it seems a little thin while it’s still hot.
Variations
Want to switch things up? Here are a few ideas:
- Vegan Adaptation: Swap the whole milk for your favorite plant-based milk – almond, cashew, or oat milk all work beautifully.
- Gluten-Free: This recipe is naturally gluten-free!
- Spice Level: If you love a bit more warmth, add a pinch of nutmeg or a tiny bit of saffron along with the cardamom.
- Festival Adaptations: During Navratri or Vrat (fasting periods), you can skip the cashews and raisins, and use rock sugar (misri) instead of regular sugar. My friend, Priya, always makes it this way for her family!
Serving Suggestions
Sabudana Kheer is delicious served hot, warm, or chilled. I personally love it slightly warm, with a sprinkle of chopped nuts on top. A few strands of saffron also look beautiful and add a lovely aroma. It’s a wonderful dessert to enjoy after a hearty Indian meal.
Storage Instructions
Leftover Sabudana Kheer can be stored in an airtight container in the refrigerator for up to 3 days. It might thicken a bit as it sits, so you can add a splash of milk when reheating to restore its creamy consistency.
FAQs
Let’s answer some common questions:
- How do I prevent the sabudana from becoming sticky? Rinsing the sabudana well before soaking and stirring frequently while cooking are the keys to preventing stickiness.
- What is the best type of sabudana to use for kheer? Small pearl sabudana works best for a smooth, even texture.
- Can I make this kheer ahead of time? Yes, you can! It actually tastes even better the next day after the flavors have had a chance to meld.
- Can I use jaggery instead of sugar? Absolutely! Jaggery will give the kheer a lovely caramel-like flavor. Use about the same amount as sugar, but you might need to adjust it to your taste.
- How do I adjust the sweetness level in this kheer? Start with 4 tablespoons of sugar and taste as you go. Add more, one tablespoon at a time, until you reach your desired sweetness.
Enjoy making this classic Indian dessert! I hope it brings as much joy to your kitchen as it does to mine. Let me know how it turns out in the comments below!


Neha Deshmukh
Neha holds a B.A. in History with a focus on Indian and world history, including ancient, medieval, and modern periods. At RecipesOfIndia.org — the world’s largest database of Indian recipes — she combines her love for food and history by exploring how India’s past has shaped its culinary traditions.