- Prepare all ingredients: Cube butter, measure cream, and have salt and a strainer ready.
- In a light-colored saucepan, combine sugar and water. Swirl to moisten sugar, then cook over medium heat without stirring for 10-12 minutes.
- After 9-10 minutes, remove the lid to monitor color. Once sugar turns amber, remove from heat. Carefully pour in cream while whisking (mixture will bubble vigorously).
- Add butter cubes and whisk until melted and smooth. Stir in salt.
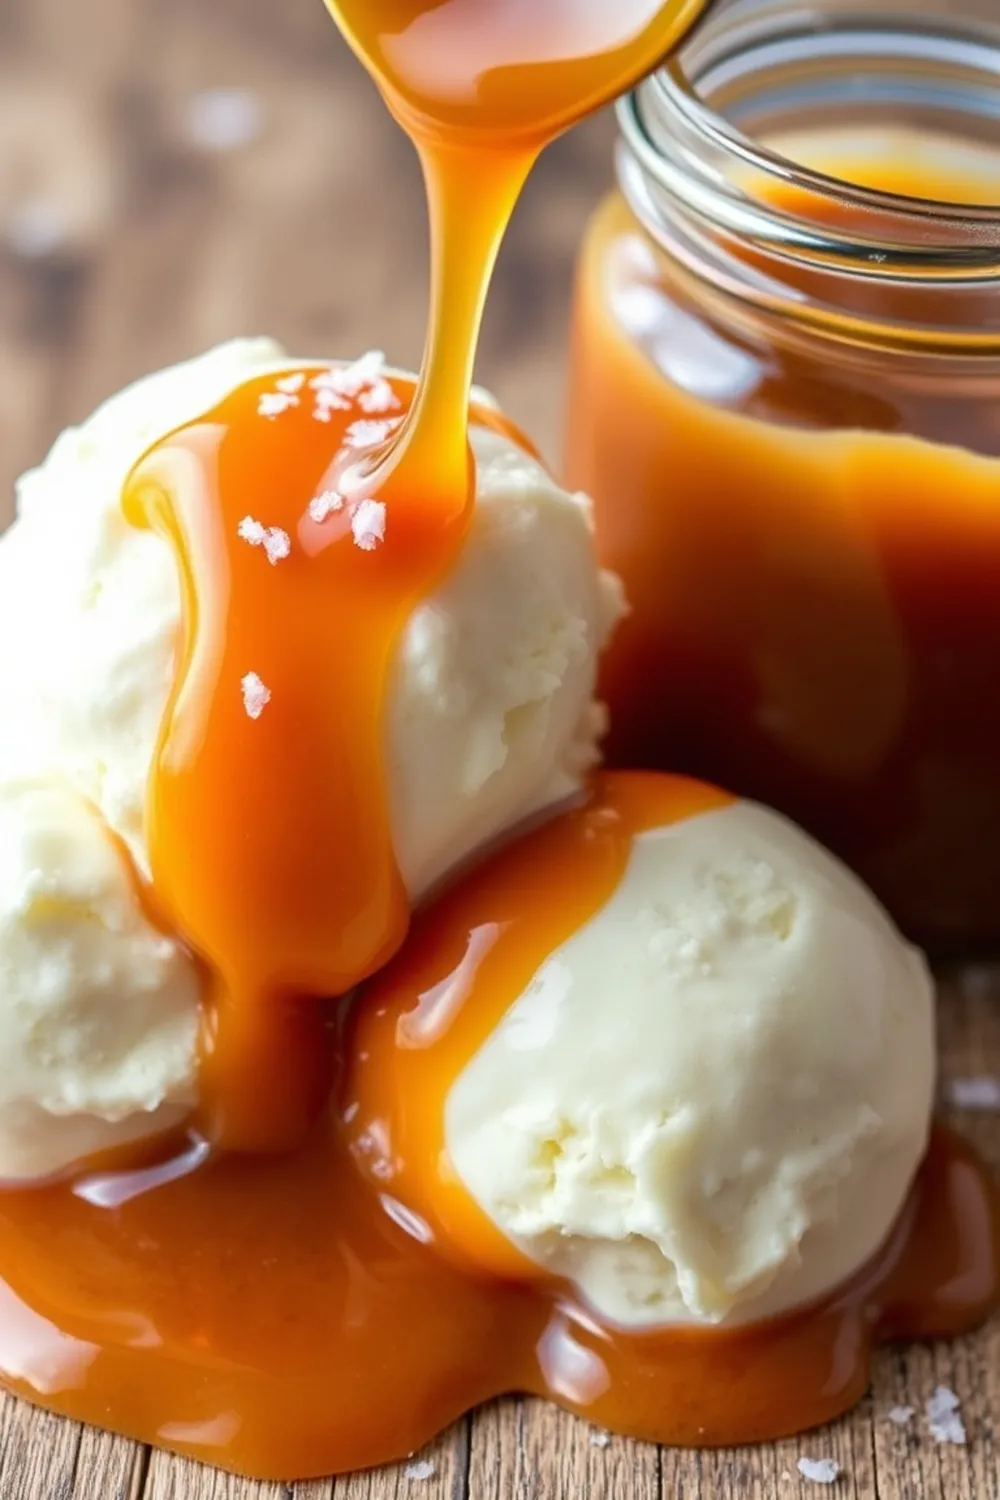
- Strain caramel into an airtight jar. Sprinkle with extra salt. Let cool; it thickens as it cools. Refrigerate for a thicker consistency.
- Calories:450 kcal25%
- Energy:1882 kJ22%
- Protein:2 g28%
- Carbohydrates:50 mg40%
- Sugar:40 mg8%
- Salt:200 g25%
- Fat:25 g20%
Last Updated on 2 months by Neha Deshmukh
Salted Caramel Recipe – Easy Homemade Indian Fusion Sweet Treat
Hey everyone! If you’re anything like me, you have a serious sweet tooth. And honestly, is there anything more comforting than a rich, buttery, perfectly salted caramel? I first stumbled upon making caramel from scratch when I was craving something really special, and let me tell you, it’s surprisingly easy. This isn’t your grandma’s caramel recipe (though I bet she’d love it!). We’re giving it a little Indian twist with the option of using Kala Namak – more on that later! Get ready to impress your friends and family with this homemade goodness.
Why You’ll Love This Recipe
This salted caramel is seriously addictive. It’s the perfect balance of sweet and salty, and the creamy texture is just divine. Plus, making it yourself means you control the quality of ingredients and can customize it to your liking. It’s fantastic drizzled over ice cream, stirred into coffee, or even just eaten straight from the jar (no judgement!). It’s a simple recipe that delivers maximum flavour – and it’s a fun project for a weekend afternoon.
Ingredients
Here’s what you’ll need to create this magic:
- 1 cup white granulated sugar (about 200g)
- 2 tablespoons water (30ml)
- ?? cup heavy cream (amount depends on desired consistency – see variations!) (about 120-240ml)
- 3 tablespoons unsalted butter, cubed (about 42g)
- 1 teaspoon salt (or to taste)
Ingredient Notes
Let’s talk ingredients, because a few little things can make a big difference.
- Heavy Cream: Please, please use good quality heavy cream! It really impacts the final texture. Look for one with at least 36% milkfat.
- Butter: I usually use a good quality Indian butter, which tends to have a slightly higher fat content. But European-style butter works beautifully too. The key is unsalted, so you can control the saltiness yourself.
- Salt: This is where we can get a little fun! While regular table salt works perfectly, I love using Kala Namak (black salt) for a subtle sulphurous flavour that adds a really interesting dimension. It’s a little secret my grandmother taught me! It elevates the caramel to something truly special.
Step-By-Step Instructions
Alright, let’s get cooking! Don’t be intimidated, it’s easier than you think.
- First, let’s prep everything. Cube your butter, measure out your cream, and have your salt and a strainer ready to go. This makes the process so much smoother.
- In a light-colored saucepan (this helps you see the color change!), combine the sugar and water. Gently swirl the pan to moisten all the sugar. Then, cover it with a glass lid.
- Cook over medium heat without stirring for about 10-12 minutes. Seriously, resist the urge to stir! This is crucial for preventing crystallization.
- After about 9 minutes, carefully remove the lid to keep a close eye on the colour. You want the sugar to turn a beautiful amber colour. Once it does, immediately turn off the heat.
- Now, this is the tricky part – carefully pour in the heavy cream while whisking constantly. It will bubble up vigorously, so be careful! Keep whisking until everything is combined.
- Add the cubed butter and continue whisking until it’s completely melted and the caramel is smooth and glossy.
- Stir in the salt. Taste and adjust if needed – you can always add more!
- Strain the caramel through a fine-mesh strainer into an airtight jar. This removes any stray sugar crystals. Sprinkle a little extra salt on top.
- Let it cool completely. It will thicken as it cools. For a thicker consistency, refrigerate for a few hours.
Expert Tips
A few things I’ve learned along the way…
- Don’t Stir! I can’t stress this enough. Stirring can cause the sugar to crystallize, resulting in grainy caramel.
- Use a Light-Colored Pan: It helps you monitor the colour of the caramel accurately.
- Be Careful with the Hot Caramel: It’s extremely hot! Take your time and be cautious.
Variations
Want to get creative? Here are a few ideas:
- Vegan Adaptation: Swap the heavy cream for full-fat coconut cream for a delicious vegan caramel. It will have a subtle coconut flavour, which is lovely!
- Spice Level: Infuse the caramel with a pinch of cardamom powder while it’s simmering for a warm, aromatic twist. My family loves this one, especially during the cooler months.
- Festival Adaptations: Package this caramel in pretty jars and ribbon for Diwali gifting! It’s a thoughtful and delicious homemade present.
- Consistency: For a runny caramel, use less cream (about 1/2 cup). For a thicker caramel, use the full cup and refrigerate longer.
Serving Suggestions
Oh, the possibilities!
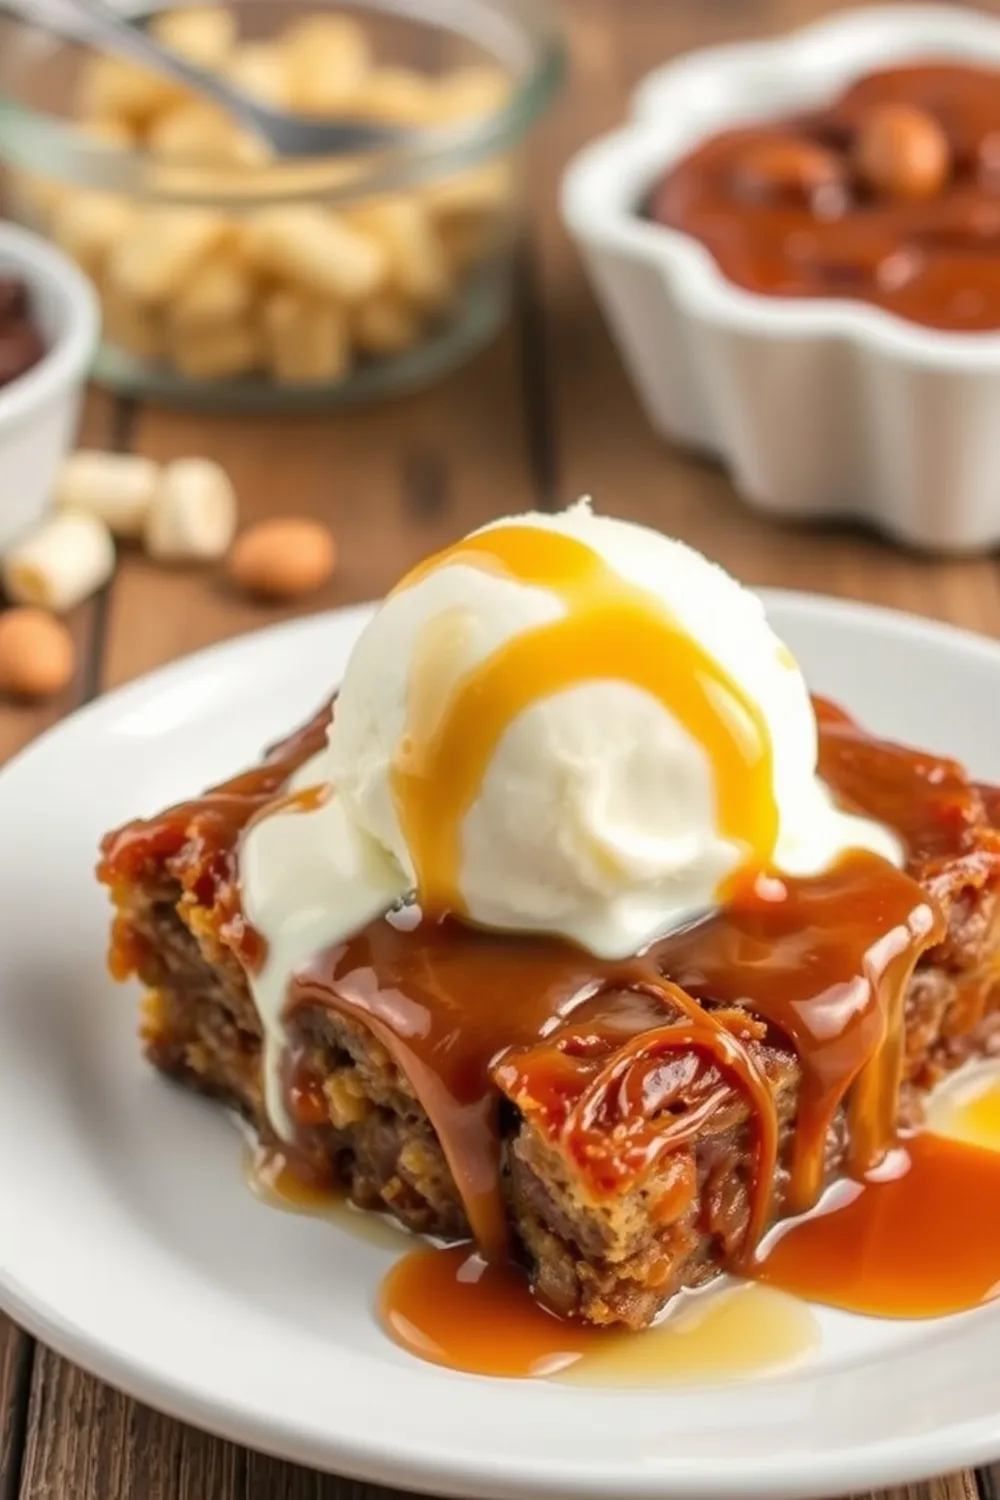
- Drizzle over vanilla ice cream.
- Swirl into your morning coffee.
- Use as a dip for apples or pears.
- Spread between layers of a chocolate cake.
- Honestly? Just eat it with a spoon!
Storage Instructions
Store the cooled caramel in an airtight jar in the refrigerator for up to 2 weeks. It will thicken as it chills, so you may need to gently warm it up before using.
FAQs
Let’s tackle some common questions:
- How do I prevent my caramel from burning? Keep a close eye on the colour and remove it from the heat as soon as it turns amber. Using a light-colored pan helps!
- Can I make this caramel ahead of time? Absolutely! It actually tastes even better after a day or two.
- What is the best way to clean a burnt caramel saucepan? Fill the pan with water and add a tablespoon of baking soda. Bring to a boil and let it simmer for 10-15 minutes. This should loosen the burnt caramel.
- Can I use a different type of salt? Yes, but I highly recommend trying Kala Namak! It adds a unique flavour.
- How can I adjust the sweetness of the caramel? You can reduce the amount of sugar slightly, but be careful as it affects the texture.


Neha Deshmukh
Neha holds a B.A. in History with a focus on Indian and world history, including ancient, medieval, and modern periods. At RecipesOfIndia.org — the world’s largest database of Indian recipes — she combines her love for food and history by exploring how India’s past has shaped its culinary traditions.