- Proof active dry yeast if using (skip for instant yeast). Grease a large bowl.
- Combine flour, salt, yeast, and sugar in a bowl. Gradually add water and olive oil while kneading.
- Knead dough on a floured surface for 7-10 minutes until smooth and elastic.
- Transfer dough to a greased bowl, turning to coat. Cover and let rise in a warm place until doubled in size (1-1.5 hours).
- Punch down dough, divide into 16 equal pieces, and shape into balls. Arrange in a greased baking tin, cover, and let proof for 20-30 minutes.
- Preheat oven to 200°C (390°F). Brush buns with milk or water and bake for 20-25 minutes, or until golden brown.
- Brush baked buns with melted butter. Cool slightly before serving.
- Calories:180 kcal25%
- Energy:753 kJ22%
- Protein:4 g28%
- Carbohydrates:32 mg40%
- Sugar:1 mg8%
- Salt:220 g25%
- Fat:3 g20%
Last Updated on 4 months by Neha Deshmukh
Soft Pav Recipe – Indian Dinner Rolls with Olive Oil & Milk Powder
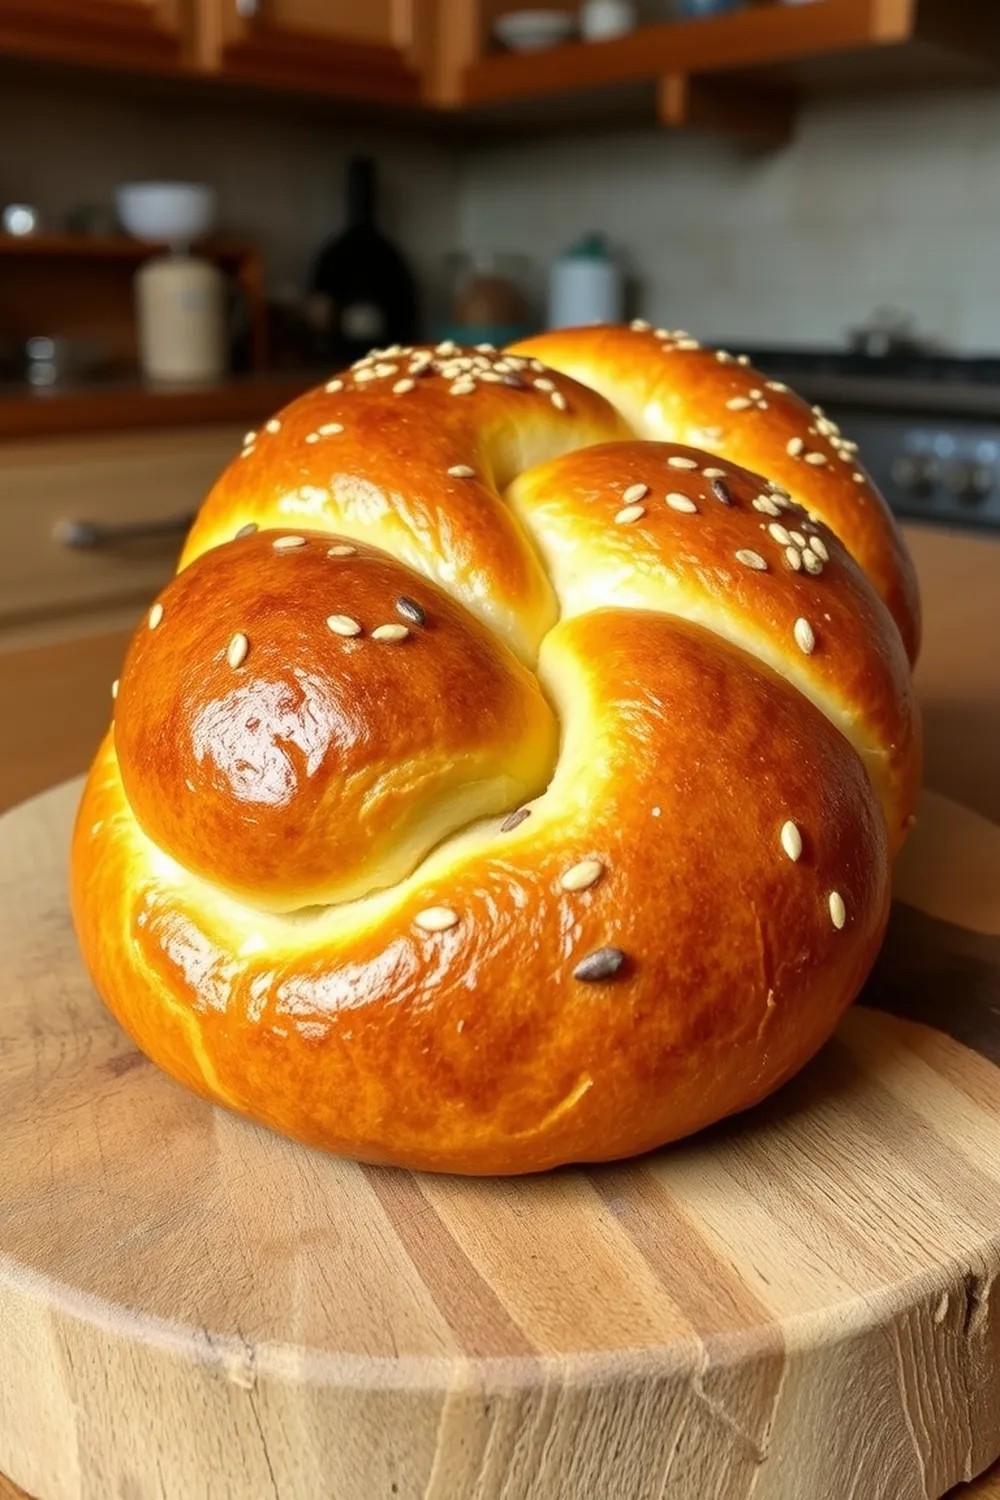
Hey everyone! If you’ve ever enjoyed a delicious plate of Pav Bhaji or Keema Pav, you know how crucial a good pav (dinner roll) is. Honestly, the pav can make or break the dish! I remember the first time I tried making pav at home – it was a bit of a disaster, honestly. But after a lot of experimenting, I’ve landed on a recipe that consistently delivers soft, fluffy, and flavorful pavs. And I’m so excited to share it with you!
Why You’ll Love This Recipe
This isn’t just any dinner roll recipe. These pavs are special. They’re incredibly soft, thanks to a little secret ingredient (we’ll get to that!). The olive oil adds a lovely subtle flavour, and they’re perfect for soaking up all those delicious curries. Plus, they’re surprisingly easy to make – even if you’re new to baking. Trust me, once you try these, you’ll never want to buy store-bought pav again!
Ingredients
Here’s what you’ll need to create these delightful Indian dinner rolls:
- 3 ½ cups (420g) All Purpose flour
- 1 tbsp (7g) Instant Dry Yeast
- 3 tbsp (45ml) Olive Oil
- 1-2 cups (240-480ml) Lukewarm Water
- 2 tbsp Milk Powder – this is our secret weapon!
- 2 tsp Sugar
- 1 ½ tsp Salt
- 1-2 tsp Butter, for brushing
Ingredient Notes
Let’s talk ingredients for a sec! A few things make this recipe shine.
- Milk Powder: Don’t skip the milk powder! It really does make a difference in the softness of the pav. It helps retain moisture and creates a wonderfully tender crumb.
- Olive Oil: I love using olive oil for its flavour, but you can substitute it with melted butter or vegetable oil if you prefer.
- Yeast: You can use either instant dry yeast or active dry yeast. If you’re using active dry yeast, you’ll need to proof it first in a little warm water with a pinch of sugar for about 5-10 minutes until it gets foamy. Instant yeast can be added directly to the flour.
Step-By-Step Instructions
Alright, let’s get baking!
- First, if you’re using active dry yeast, go ahead and proof it. Otherwise, simply combine the flour, salt, yeast, sugar, and milk powder in a large bowl.
- Gradually add the lukewarm water, starting with 1 cup, and begin kneading. You might need to add a little more water to bring the dough together – it should be soft but not sticky.
- Now for the fun part! Knead the dough on a lightly floured surface for 7-10 minutes. Add the olive oil gradually while kneading, until the dough becomes smooth and elastic. It’s a good workout, but totally worth it!
- Grease a large bowl with a little oil. Transfer the dough to the bowl, turning to coat it in oil. Cover the bowl with plastic wrap or a clean kitchen towel and let it rise in a warm place for 1-1.5 hours, or until doubled in size.
- Once the dough has risen, gently punch it down to release the air. Divide the dough into 16 equal pieces.
- Shape each piece into a smooth ball and arrange them in a greased baking tin (around 8×8 inches works well). Cover again and let them proof for another 20-30 minutes. They should puff up a bit.
- Preheat your oven to 200°C (392°F). Brush the pavs gently with milk or water.
- Bake for 20-30 minutes, or until they’re golden brown on top. Keep an eye on them – ovens vary!
- As soon as they come out of the oven, brush them generously with melted butter. This gives them that lovely shine and extra flavour.
- Let them cool slightly before serving.
Expert Tips
- Don’t over-knead the dough: Over-kneading can result in tough pavs.
- Warm environment for rising: A warm place helps the dough rise faster. You can even turn on your oven to the lowest setting for a few minutes, then turn it off and place the bowl inside.
- Gentle handling: Be gentle when shaping the pavs to avoid deflating the dough.
Variations
Want to switch things up? Here are a few ideas:
- Vegan Pav: Use plant-based milk powder and vegan butter for a completely vegan version. My friend, Priya, swears by this adaptation!
- Gluten-Free Pav: Substitute the all-purpose flour with a good quality gluten-free flour blend. You might need to adjust the amount of water slightly.
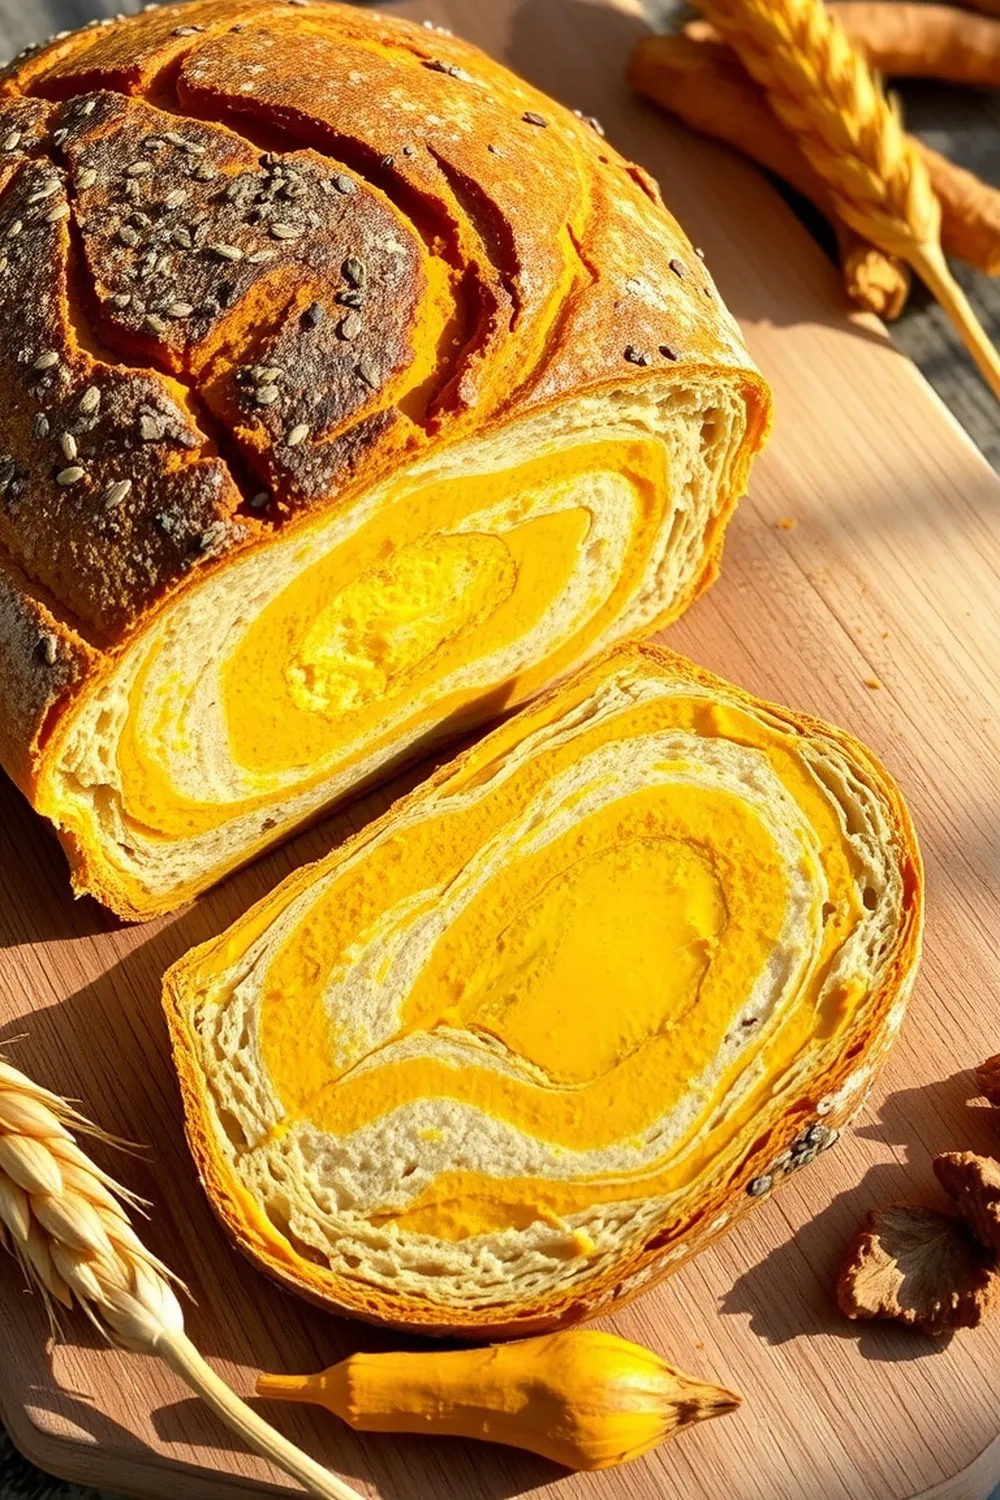
- Spice it Up: Add a pinch of turmeric powder to the dough for a beautiful golden colour and a subtle flavour.
- Festival Special: During Ganesh Chaturthi, these pavs are amazing served with a spicy Misal Pav. Or, during Diwali, they’re perfect with a rich and flavourful Chole.
Serving Suggestions
Pav is incredibly versatile! Here are a few of my favourite ways to enjoy it:
- Pav Bhaji: The classic pairing!
- Keema Pav: Spicy minced meat served with pav.
- Vada Pav: A popular Mumbai street food – a deep-fried potato patty served in a pav.
- Simply with Butter & Jam: Sometimes, simple is best!
Storage Instructions
- Room Temperature: Store leftover pav in an airtight container at room temperature for up to 2 days.
- Refrigerator: For longer storage, you can refrigerate them for up to a week. Reheat gently before serving.
FAQs
Let’s answer some common questions:
- What is Pav traditionally served with? Pav is most famously served with Pav Bhaji, but it’s also delicious with Keema, Vada, and various curries.
- Can I make the dough ahead of time? Yes! You can prepare the dough and let it rise in the refrigerator overnight. Just bring it to room temperature before shaping and baking.
- How do I know when the pav is perfectly baked? The pavs should be golden brown on top and sound hollow when tapped.
- What’s the best way to store leftover pav? Store in an airtight container at room temperature or in the refrigerator.
- Can I freeze pav? Absolutely! Wrap them tightly in plastic wrap and then place them in a freezer-safe bag. They’ll keep for up to 2 months. Thaw at room temperature before reheating.
Enjoy baking these soft and delicious pavs! I hope they bring as much joy to your table as they do to mine. Let me know how they turn out in the comments below!


