- Heat olive oil in a skillet. Sauté onions, green chilies, and curry leaves until translucent. Add coriander leaves and set aside.
- Melt butter in the microwave and let it cool.
- In a stand mixer, combine flour, yeast, sugar, salt, cayenne pepper, and egg. Mix until combined.
- Add melted butter and mix. Gradually add water to form a sticky dough.
- Switch to a dough hook. Add sautéed onion mixture and knead for 6-8 minutes until dough passes the windowpane test.
- Shape dough into a ball, place in a greased bowl, cover, and let rise for 2-2.5 hours.
- Deflate dough and divide into 7 large (124g) and 1 small (72g) portions. Shape into balls and flatten into 3-inch rounds.
- Place on a baking sheet, cover, and let rise for 1-1.5 hours.
- Preheat oven to 375°F (190°C). Bake for 17-20 minutes until golden.
- Brush baked buns with melted butter and cool on a rack.
- Calories:280 kcal25%
- Energy:1171 kJ22%
- Protein:6 g28%
- Carbohydrates:40 mg40%
- Sugar:4 mg8%
- Salt:350 g25%
- Fat:12 g20%
Last Updated on 5 months ago by Neha Deshmukh
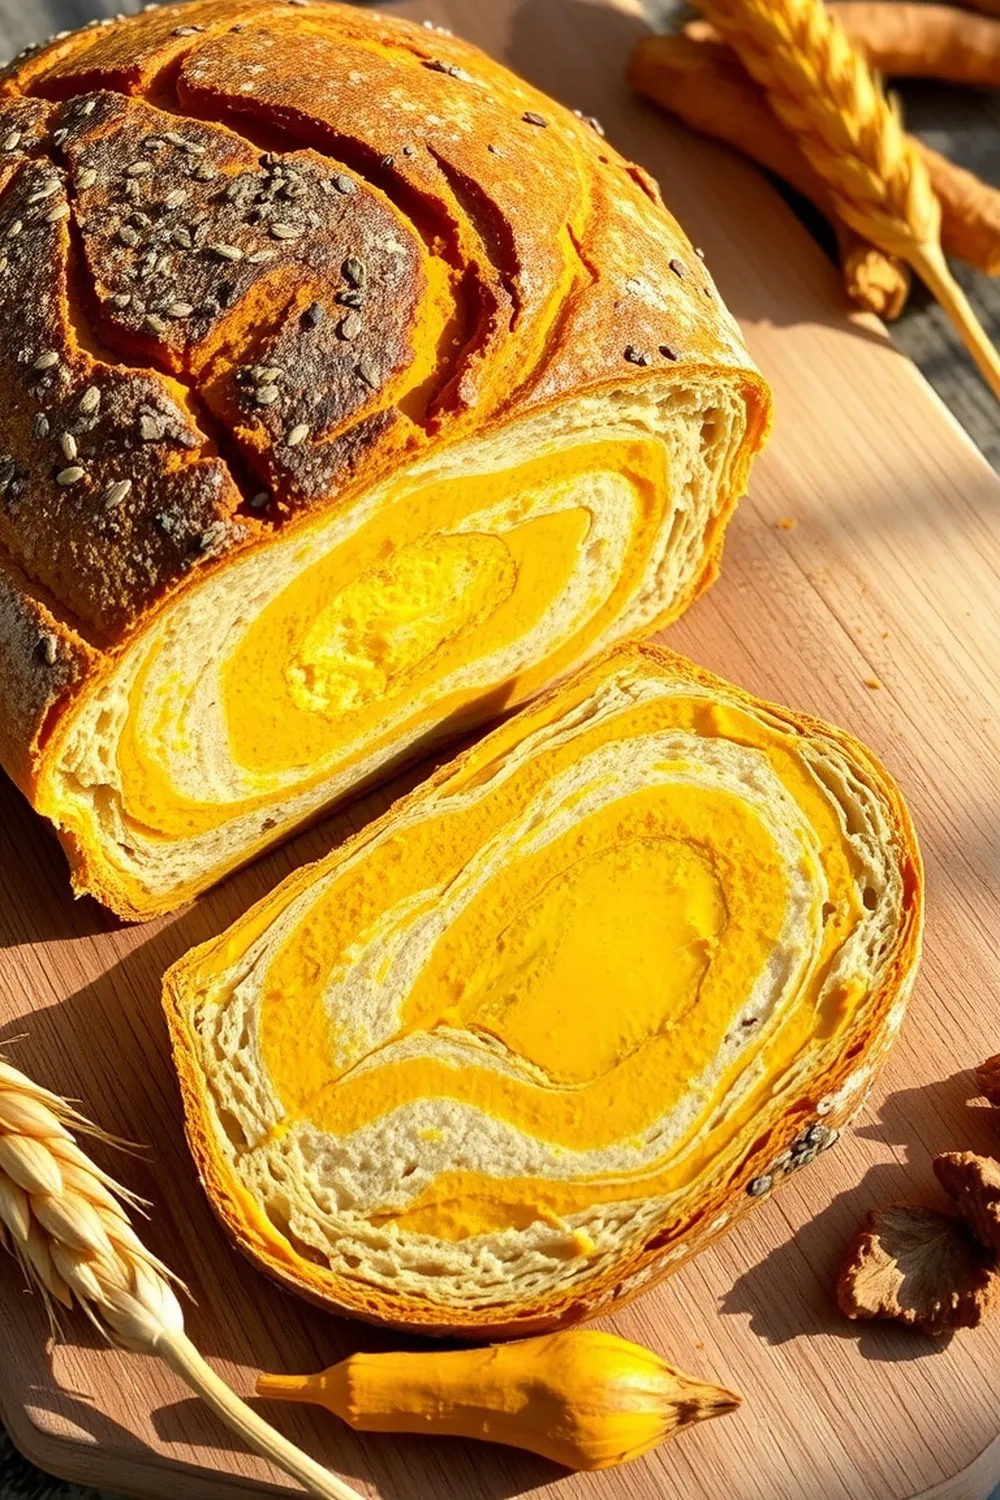
Spicy Onion & Curry Leaf Buns Recipe – Indian-Style Baking
Hey everyone! I’m so excited to share this recipe with you – these Spicy Onion & Curry Leaf Buns are a little slice of heaven. They’re soft, fluffy, and packed with flavour, bringing a touch of Indian spice to classic baking. I first made these when I was craving something comforting but a little different, and they’ve been a hit ever since! They’re perfect for a weekend brunch, a tasty snack, or even as a side with your favourite curry.
Why You’ll Love This Recipe
These aren’t your average buns! The combination of fragrant curry leaves, a kick from green chilies, and the sweetness of caramelized onions creates a truly unique flavour profile. Plus, the soft, slightly chewy texture is just so satisfying. If you’re looking to expand your baking repertoire and explore some Indian-inspired flavours, you absolutely have to try these.
Ingredients
Here’s what you’ll need to make these delicious buns:
- 504g (3 cups + 1 tablespoon) Unbleached all-purpose flour (Maida)
- 26g (2 tablespoons) Unsalted butter
- 10g (2 teaspoons) Salt
- 7g (3/4 tablespoon) Instant yeast
- 6g (1 ½ teaspoons) Granulated sugar
- 185g (1 ¾ cup) Chopped red onion
- 1 ½ tablespoons Green chilies (Serrano pepper)
- ¼ teaspoon Cayenne pepper
- 1 sprig Curry leaves
- 2 tablespoons Coriander leaves
- 288g (1 cup) Water
- 1 tablespoon Olive oil
Ingredient Notes
Let’s talk ingredients! A few of these might be new to you, so here’s a little breakdown:
- Maida Flour: This is the Indian name for all-purpose flour. It creates a wonderfully soft texture, perfect for these buns. It’s a staple in Indian baking, used for everything from naan to pastries.
- Curry Leaves: These little leaves are huge in South Indian cooking. They have a unique, almost citrusy aroma and add a fantastic depth of flavour. You can usually find them at Indian grocery stores – fresh is best, but frozen works in a pinch!
- Serrano Peppers: These pack a punch! If you’re sensitive to spice, start with less, or substitute with jalapeños for a milder heat.
- Instant Yeast: I love using instant yeast because it’s so convenient – no proofing needed! If you only have active dry yeast, you’ll need to proof it in warm water with a little sugar for about 10 minutes before using.
- Olive Oil: While ghee is traditionally used in Indian cooking, olive oil works beautifully here, adding a lovely flavour and helping to create a soft crumb.
Step-By-Step Instructions
Alright, let’s get baking!
- First, heat the olive oil in a skillet over medium heat. Add the chopped red onion, green chilies, and curry leaves. Sauté until the onions are translucent and softened – about 5-7 minutes. Stir in the coriander leaves and set aside to cool. This fragrant mixture is the heart of our flavour!
- While the onion mixture cools, melt the butter in the microwave (about 20-30 seconds) and let it cool slightly. We don’t want it to cook the egg!
- In the bowl of a stand mixer, combine the flour, yeast, sugar, salt, and cayenne pepper. Add the egg and mix until everything is just combined.
- Add the melted butter and mix again. Now, gradually add the water, mixing until a sticky dough forms. Don’t worry if it seems a little wet – that’s what we want!
- Switch to the dough hook attachment. Add the sautéed onion mixture and knead for about 6 minutes, until the dough passes the windowpane test (meaning you can stretch a small piece of dough thin enough to see light through it without tearing).
- Shape the dough into a ball, place it in a lightly greased bowl, cover with plastic wrap, and let it rise in a warm place for about 2 hours and 27 minutes, or until doubled in size. Patience is key here!
- Gently deflate the dough and divide it into 7 large (124g) and 1 small (72g) portions. Shape each portion into a ball, then flatten it into a 3-inch round.
- Place the rounds on a baking sheet lined with parchment paper, cover loosely, and let them rise again for about 1 hour and 30 minutes.
- Preheat your oven to 375°F (190°C). Bake the buns for 17 minutes, or until they’re golden brown and sound hollow when tapped.
- Brush the baked buns with melted butter while they’re still warm. This gives them a beautiful sheen and extra flavour. Let them cool on a wire rack before enjoying!
Expert Tips
- Don’t overknead the dough! Overkneading can result in tough buns.
- Make sure your water isn’t too hot, or it will kill the yeast. Lukewarm is perfect.
- A warm, draft-free environment is essential for proper rising.
Variations
Want to switch things up? Here are a few ideas:
- Vegan Adaptation: Use plant-based butter and an egg replacer (like flaxseed meal mixed with water) to make these buns vegan-friendly. My friend, Priya, swears by this version!
- Gluten-Free Adaptation: Use a good quality gluten-free flour blend designed for baking. You might need to adjust the amount of water slightly.
- Spice Level: Adjust the amount of cayenne pepper and green chilies to your liking. If you’re not a fan of heat, omit the cayenne pepper altogether.
- Festival Adaptation: These buns are fantastic served during Diwali or other Indian celebrations. They pair beautifully with savoury snacks and sweets.
Serving Suggestions
These buns are delicious on their own, but they’re even better with a little something extra! Try them with:
- A dollop of chutney
- A side of dal
- Your favourite Indian curry
- A simple cup of chai
Storage Instructions
- Room Temperature: Store leftover buns in an airtight container at room temperature for up to 2 days.
- Freezer: For longer storage, freeze the buns in an airtight container for up to 2 months. Thaw overnight in the refrigerator before reheating.
FAQs
1. Can I use active dry yeast instead of instant yeast? What adjustments do I need to make?
Yes, you can! You’ll need to proof the active dry yeast in warm water (around 105-115°F) with a teaspoon of sugar for about 10 minutes, until it becomes foamy. Then, use it as you would instant yeast.
2. What is Maida flour and can I substitute it with whole wheat flour?
Maida flour is Indian all-purpose flour. While you can substitute it with whole wheat flour, the texture will be different – the buns will be denser and less soft. I recommend using a 50/50 blend of maida and whole wheat for a healthier option.
3. How can I adjust the spice level of these buns?
Easily! Reduce the amount of cayenne pepper and green chilies, or omit them altogether if you prefer a milder flavour. You can also remove the seeds from the green chilies to reduce the heat.
4. Can these buns be made ahead of time? What’s the best way to store the dough?
Yes! You can prepare the dough up to the first rise. Punch it down, wrap it tightly in plastic wrap, and store it in the refrigerator for up to 24 hours. Let it come to room temperature for about 30 minutes before continuing with the recipe.
5. What is the significance of curry leaves in Indian cuisine and can I use dried curry leaves?
Curry leaves are a staple in South Indian cooking, adding a unique flavour and aroma to many dishes. While fresh curry leaves are best, you can use frozen ones. Dried curry leaves don’t have the same flavour, so I don’t recommend them.
6. Can I freeze these buns after baking?
Absolutely! Let the buns cool completely, then freeze them in an airtight container for up to 2 months. Thaw overnight in the refrigerator before enjoying.


Neha Deshmukh
Neha holds a B.A. in History with a focus on Indian and world history, including ancient, medieval, and modern periods. At RecipesOfIndia.org — the world’s largest database of Indian recipes — she combines her love for food and history by exploring how India’s past has shaped its culinary traditions.