
- In a pressure cooker, combine toor dal, chopped bottle gourd, onion, tomato, green chilies, turmeric powder, 1 tsp oil, tamarind, and water.
- Pressure cook for 4-5 whistles until the dal is soft. Let the steam release naturally.
- Mash the cooked dal mixture and add salt to taste.
- Prepare the tempering: Heat 2 tbsp oil in a pan. Add cumin seeds, mustard seeds, dried red chilies, and curry leaves. Let them crackle.
- Pour the tempering over the dal and mix well.
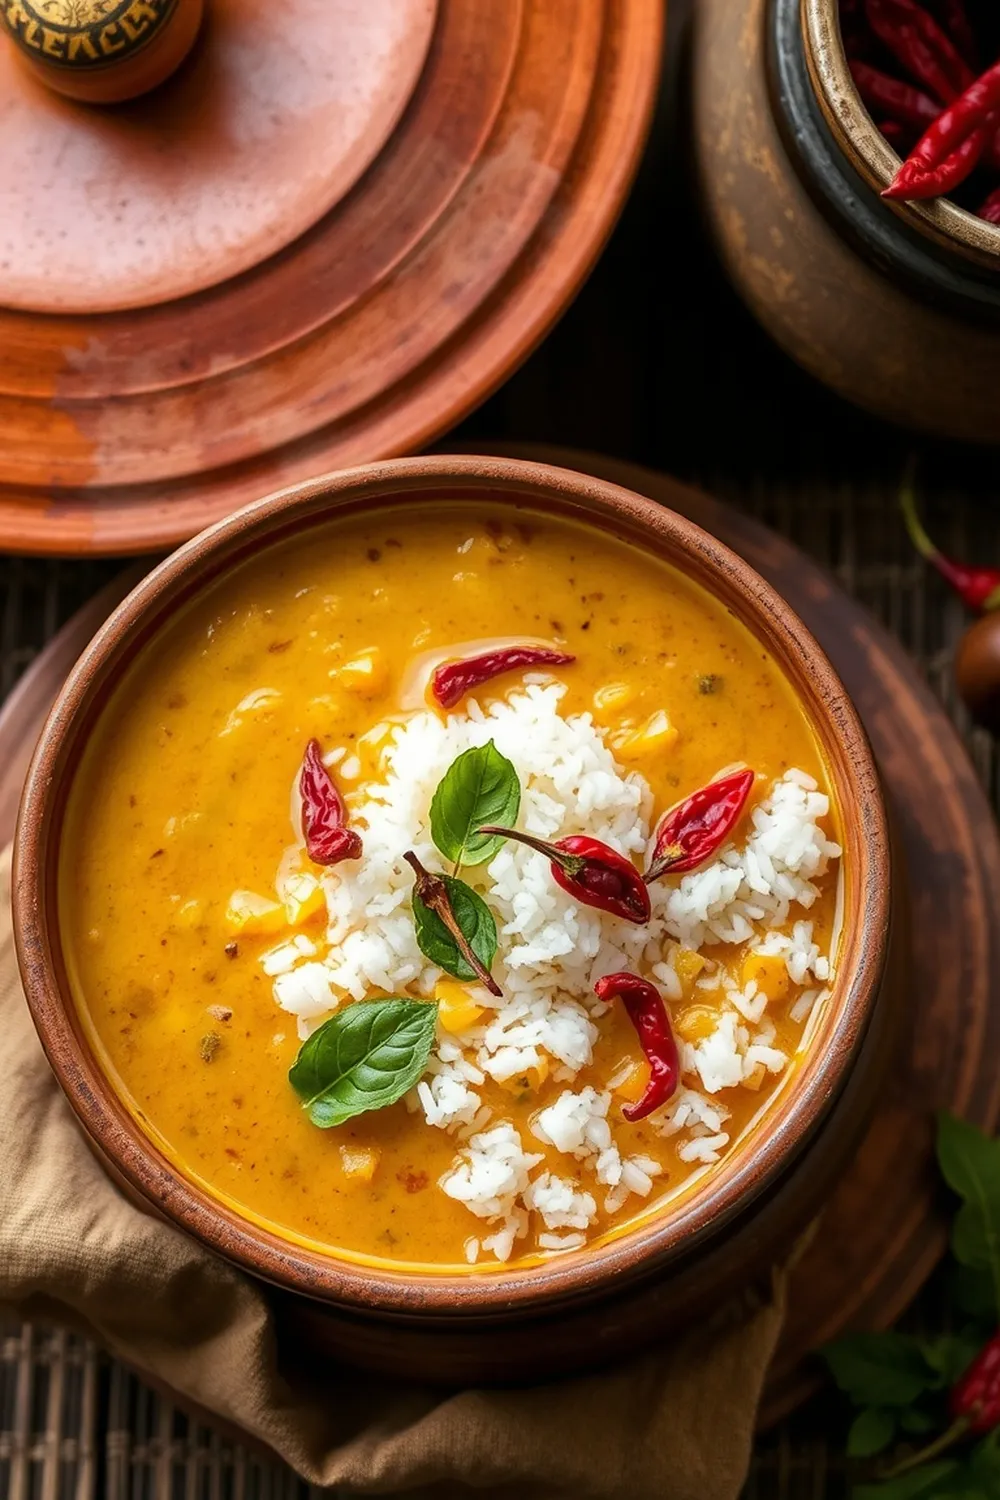
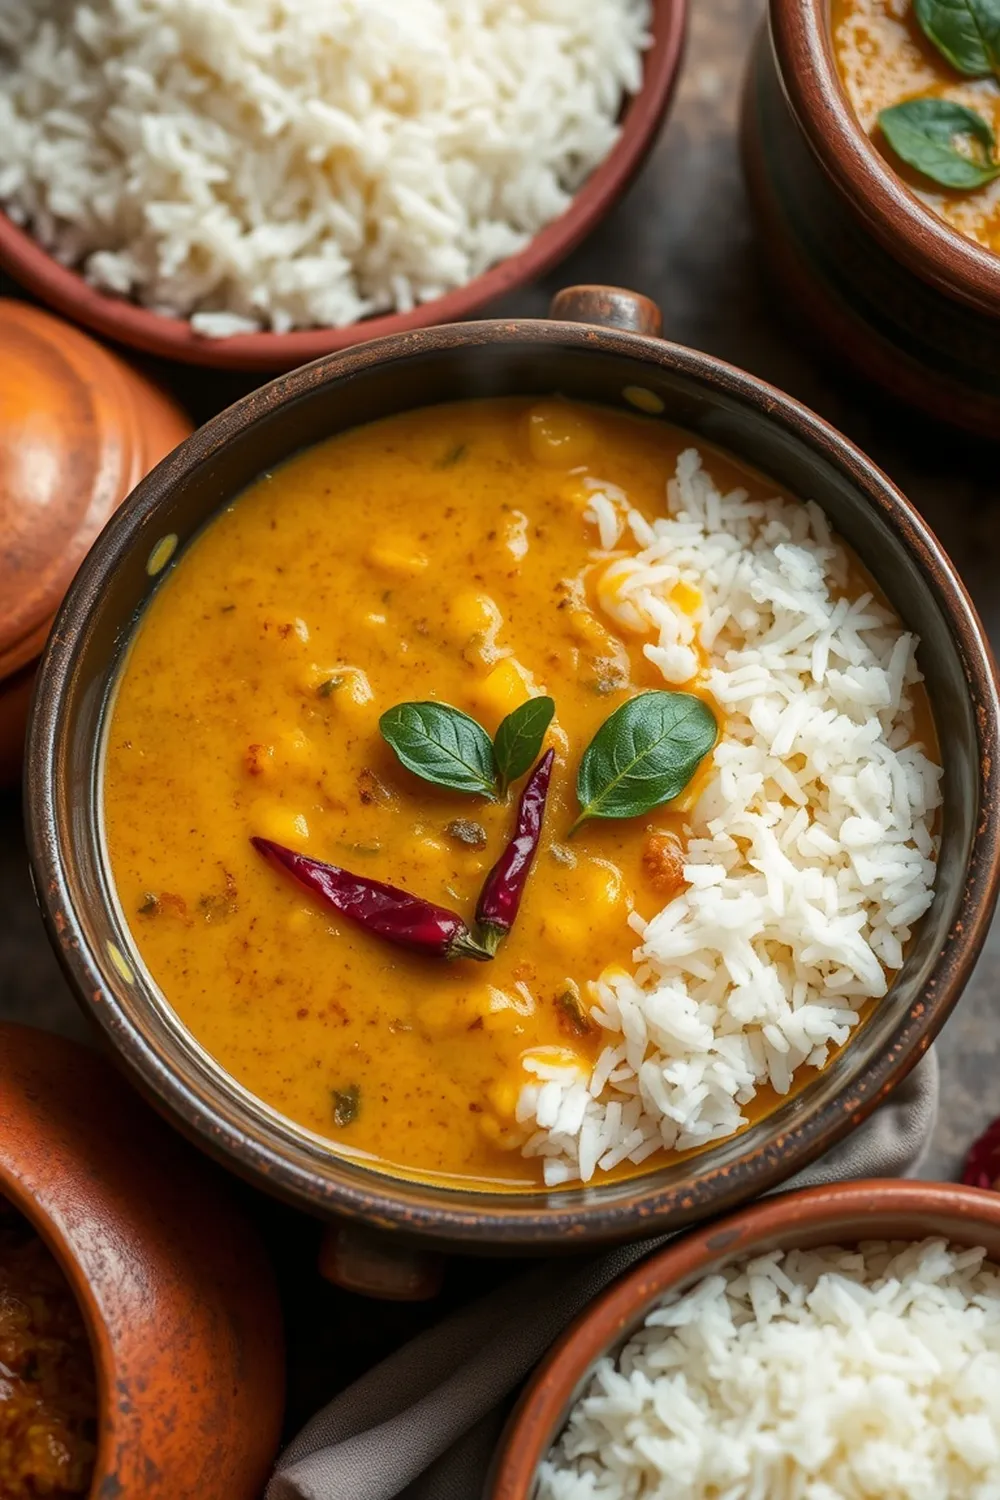
- Serve hot with steamed rice and accompaniments like ghee or pickle.
- Calories:200 kcal25%
- Energy:836 kJ22%
- Protein:20 g28%
- Carbohydrates:65 mg40%
- Sugar:8 mg8%
- Salt:800 g25%
- Fat:18 g20%
Last Updated on 6 months ago by Neha Deshmukh
Toor Dal & Bottle Gourd Recipe – Authentic Indian Comfort Food
Hey everyone! Today, I’m sharing a recipe that’s been a staple in my family for generations – a comforting and flavorful Toor Dal with Bottle Gourd. It’s the kind of dish my nani (grandmother) used to make, and honestly, it just feels like a warm hug in a bowl. It’s simple, healthy, and incredibly satisfying. Let’s get cooking!
Why You’ll Love This Recipe
This Toor Dal and Bottle Gourd isn’t just delicious; it’s a complete package. It’s quick to make (ready in under an hour!), packed with nutrients, and incredibly versatile. The bottle gourd adds a lovely subtle sweetness and texture to the earthy toor dal. Plus, it’s a fantastic way to sneak in some veggies! It’s perfect for a weeknight dinner or a comforting weekend meal.
Ingredients
Here’s what you’ll need to make this heartwarming dish:
- 1 cup Toor Dal/Toovar Dal/Pigeon Pea
- 2 cups Bottle Gourd (peeled, deseeded, chopped) – about 200g
- 1 medium Onion (finely chopped) – about 150g
- 1 medium Tomato (finely chopped) – about 120g
- 4-5 Green Chillies (chopped) – adjust to your spice preference
- 5-6 Tamarind Pieces
- 1 teaspoon Turmeric Powder (about 5g)
- 1 teaspoon Oil (for the initial sauté)
- 1 glass Water (about 240ml)
- Salt to taste
- 2 tablespoons Oil (for tempering)
- 1 teaspoon Cumin Seeds (about 5g)
- 1 teaspoon Mustard Seeds (about 5g)
- 4-5 Dried Red Chillies
- 6-7 Curry Leaves
Ingredient Notes
Let’s talk ingredients! A few little things can make a big difference.
Toor Dal Varieties & Quality
Toor dal is the star here! You can find different varieties, but any good quality toor dal will work. Look for dal that’s bright yellow and doesn’t have any stones or debris mixed in. I usually buy mine from an Indian grocery store for the best quality.
Bottle Gourd Selection – Choosing the Best
Bottle gourd, also known as lauki or dudhi, should feel firm and heavy for its size. Avoid gourds with soft spots or blemishes. A fresh bottle gourd will have a vibrant green color.
The Significance of Tamarind
Tamarind adds a lovely tanginess to the dal. I prefer using tamarind pieces as they give a more authentic flavor. If you only have tamarind paste, use about 1 tablespoon mixed with ½ cup of warm water.
Regional Variations in Spice Levels
Spice levels are super personal! Feel free to adjust the number of green chillies and dried red chillies to your liking. Some families in Maharashtra add a pinch of hing (asafoetida) to the tempering for extra flavour.
Oil Choices – Traditional vs. Modern
Traditionally, ghee (clarified butter) is used for tempering, which adds a beautiful richness. However, vegetable oil or sunflower oil work perfectly well too. I often use sunflower oil for everyday cooking.
Step-By-Step Instructions
Alright, let’s get down to business!
- First, in a pressure cooker, combine the toor dal, chopped bottle gourd, onion, tomato, green chillies, turmeric powder, 1 teaspoon of oil, tamarind pieces, and 1 glass of water.
- Close the pressure cooker and cook for 4-5 whistles until the dal is soft and the bottle gourd is tender. Let the steam release naturally – don’t force it!
- Once the pressure has released, open the cooker and gently mash the dal mixture with a spoon or a potato masher. Add salt to taste.
- Now, for the magic – the tempering! Heat 2 tablespoons of oil in a separate pan. Add the cumin seeds and mustard seeds. Let them crackle and splutter – that’s how you know they’re ready.
- Add the dried red chillies and curry leaves to the pan. Let them sizzle for a few seconds until the curry leaves are fragrant.
- Carefully pour the hot tempering over the dal and mix well. The aroma is incredible, right?
Expert Tips
A few little secrets to make this dal extra special:
Achieving the Perfect Dal Consistency
If the dal is too thick, add a little hot water to reach your desired consistency. I like mine slightly runny, but it’s all about preference!
Tempering Techniques for Maximum Flavor
Don’t rush the tempering! Let the spices bloom in the hot oil to release their full flavor. Keep a close eye on the red chillies – you don’t want them to burn.
Preventing Bottle Gourd from Becoming Mushy
Don’t overcook the dal! The bottle gourd cooks quickly, so keep an eye on it. You want it to be tender, but not mushy.
Adjusting Spice Levels to Your Preference
Start with fewer green chillies and add more if you like it spicier. You can also remove the seeds from the green chillies to reduce the heat.
Variations
Want to switch things up? Here are a few ideas:
Vegan Adaptation
This recipe is naturally vegan! Just ensure you’re using vegetable oil instead of ghee for the tempering.
Gluten-Free Confirmation
Good news! This recipe is naturally gluten-free.
Spice Level Adjustments (Mild, Medium, Hot)
- Mild: Use 1-2 green chillies and 2 dried red chillies.
- Medium: Use 3-4 green chillies and 3-4 dried red chillies.
- Hot: Use 5-6 green chillies and 5-6 dried red chillies.
Festival Adaptations (e.g., Makar Sankranti)
During Makar Sankranti, some families add a little bit of jaggery (gur) to the dal for a touch of sweetness.
Adding Other Vegetables
Feel free to add other vegetables like spinach, carrots, or beans to the dal. Just add them along with the bottle gourd. My friend, Priya, loves adding a handful of chopped spinach at the very end.
Serving Suggestions
Serve this Toor Dal & Bottle Gourd hot with steamed rice. A dollop of ghee and a side of pickle are the perfect accompaniments. It also tastes amazing with roti or paratha.
Storage Instructions
Leftovers can be stored in an airtight container in the refrigerator for up to 3 days. Reheat gently on the stovetop or in the microwave.
FAQs
Let’s answer some common questions:
What is Toor Dal and where can I find it?
Toor dal is a split pigeon pea lentil, a staple in Indian cuisine. You can find it at most Indian grocery stores or online.
Can I use a different gourd instead of bottle gourd?
Yes, you can! Ridge gourd (turai) or zucchini are good substitutes.
How can I adjust the sourness of the dal?
Adjust the amount of tamarind pieces. If you prefer a less sour dal, use fewer pieces.
What is the best way to temper dal for the most flavor?
Use good quality oil and let the spices crackle and bloom in the hot oil before adding them to the dal.
Can this dal be made ahead of time?
Yes, you can make the dal ahead of time and reheat it when you’re ready to serve. The tempering is best done just before serving.
Is it possible to make this in an Instant Pot?
Absolutely! Use the pressure cook/manual setting for about 12-15 minutes, followed by a natural pressure release.
Enjoy this recipe, and let me know how it turns out for you! I hope it brings a little bit of Indian comfort to your kitchen.
Neha Deshmukh
Neha holds a B.A. in History with a focus on Indian and world history, including ancient, medieval, and modern periods. At RecipesOfIndia.org — the world’s largest database of Indian recipes — she combines her love for food and history by exploring how India’s past has shaped its culinary traditions.


