- Powder kalkandu (sugar candy) and sugar together. Set aside.
- Heat a pressure cooker, add a drizzle of ghee and roast moong dal until aromatic.
- Wash rice thoroughly and add to the cooker with water in a 1:4 ratio (2 cups water for 1/2 cup rice).
- Pressure cook for 4 whistles. Once cooked, mash the rice-dal mixture with milk.
- Return the cooker to heat. Add the powdered kalkandu-sugar mixture and stir well.
- Optional: Add saffron (soaked in milk) and edible camphor for enhanced flavor.
- Cook on medium-low heat for 5-8 minutes, stirring continuously and adding ghee gradually.
- Mix in cardamom powder. Separately fry cashews and raisins in ghee and garnish before serving.
- Calories:350 kcal25%
- Energy:1464 kJ22%
- Protein:8 g28%
- Carbohydrates:60 mg40%
- Sugar:35 mg8%
- Salt:15 g25%
- Fat:12 g20%
Last Updated on 4 months by Neha Deshmukh
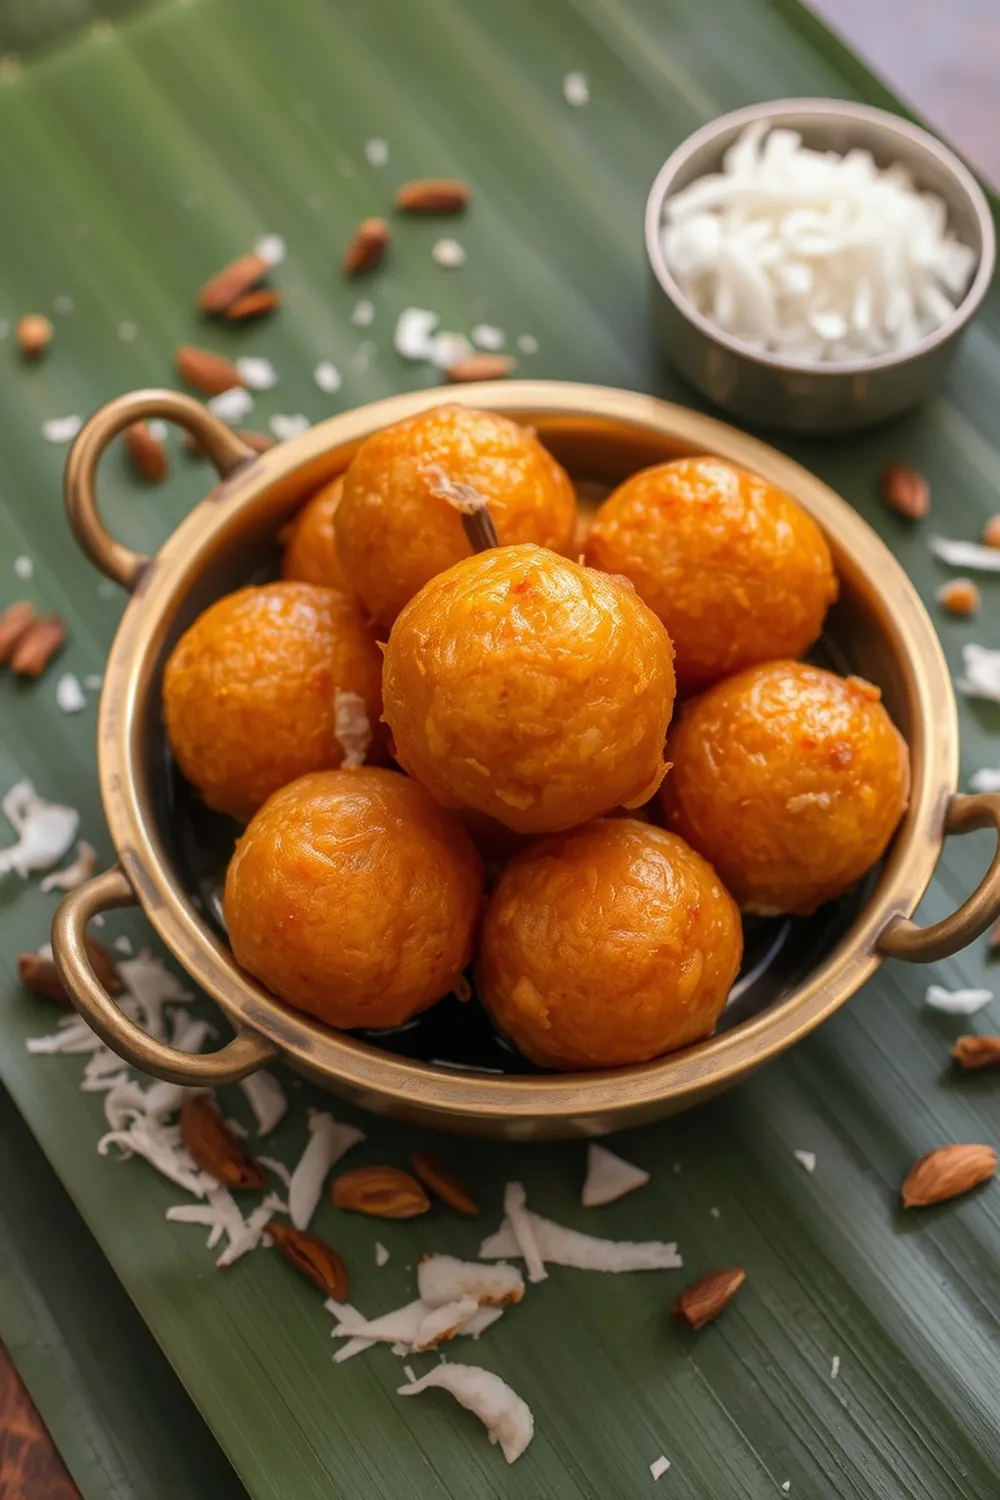
Traditional Kalkandu Sadam Recipe – Sweet Rice with Sugar Candy
Hey everyone! Today, I’m sharing a recipe that’s incredibly close to my heart – Kalkandu Sadam. It’s a sweet rice dish made with sugar candy (kalkandu) and is a staple in South Indian homes, especially during festivals. I remember my grandmother making this for me when I was little, and the aroma alone was enough to make my day. It’s comforting, subtly sweet, and just… magical. Let’s get cooking!
Why You’ll Love This Recipe
Kalkandu Sadam isn’t just a dessert; it’s a hug in a bowl. It’s incredibly soothing, easy to digest, and packed with flavour. Plus, the unique sweetness from the kalkandu is unlike anything else. It’s perfect for a festive treat, a comforting meal when you’re feeling under the weather, or simply a sweet indulgence.
Ingredients
Here’s what you’ll need to make this delightful Kalkandu Sadam:
- ?? cup Raw Rice (approximately 150g)
- 1 tablespoon Moong Dal (Paasi Paruppu) (approximately 15g)
- ?? cup Sugar + Sugar Candy (kalkandu) (approximately 100-150g, adjust to taste)
- ?? cup Ghee (approximately 60-80ml)
- ?? cup Milk (approximately 240ml)
- 1 Cardamom (powdered)
- 1 tablespoon Raisins (approximately 15g)
- 5 Cashew nuts
- 1 Edible camphor (mustard size)
- 5 Saffron strands
- 1 pinch Salt
Ingredient Notes
Let’s talk ingredients! A few little tips from my kitchen to yours:
- Raw Rice Varieties for Kalkandu Sadam: Traditionally, a short-grain rice like ponni or seeraga samba is used. These varieties become beautifully soft and fluffy when cooked. You can also use regular short-grain rice, but adjust the water ratio slightly if needed.
- The Significance of Moong Dal (Paasi Paruppu): Don’t skip the moong dal! It adds a lovely nutty flavour and a creamy texture to the sadam. It also aids in digestion, which is important with a sweeter dish.
- Understanding Kalkandu (Sugar Candy) – Benefits & Variations: Kalkandu is unrefined sugar, and it has a cooling effect on the body according to Ayurveda. You can find it in Indian grocery stores. If you can’t find it, you can increase the sugar quantity, but the flavour won’t be quite the same.
- Ghee: The Flavor Foundation: Ghee is essential for that rich, aromatic flavour. Don’t skimp on it! It really elevates the dish.
- Saffron & Edible Camphor – Traditional Enhancements: Saffron adds a beautiful colour and delicate flavour. Edible camphor is optional, but it adds a unique, subtle fragrance that’s traditionally used in this recipe. Use it sparingly – a little goes a long way!
Step-By-Step Instructions
Alright, let’s get cooking!
- First, powder the kalkandu and sugar together. Set this aside – we’ll need it later.
- Heat a pressure cooker over medium heat. Add a drizzle of ghee and roast the moong dal until it becomes fragrant. This usually takes about 2-3 minutes.
- Wash the raw rice thoroughly under cold water until the water runs clear. Add the washed rice to the pressure cooker along with 4 cups of water for every 1 cup of rice (so, if you’re using ½ cup rice, use 2 cups water). Add a pinch of salt.
- Pressure cook for 4 whistles. Once the pressure has released naturally, open the cooker. The rice and dal should be well cooked and slightly mashed. If it’s too dry, add a splash of milk.
- Mash the rice-dal mixture with about ½ cup of milk until it’s smooth and creamy.
- Return the cooker to medium-low heat. Add the powdered kalkandu-sugar mixture and stir well to combine.
- If you’re using saffron, soak the strands in a tablespoon of warm milk and add it to the cooker. Add the edible camphor now too, if using.
- Cook on medium-low heat for 5-8 minutes, stirring constantly to prevent sticking. Gradually add ghee, about a tablespoon at a time, while stirring. This is where the magic happens!
- Finally, mix in the powdered cardamom. Separately, fry the cashews and raisins in ghee until golden brown. Garnish the Kalkandu Sadam with the fried nuts and raisins before serving.
Expert Tips
Here are a few things I’ve learned over the years to make the perfect Kalkandu Sadam:
- Achieving the Perfect Consistency: The sadam should be creamy and slightly flowing, not too thick or too watery. Adjust the milk quantity accordingly.
- Preventing Sticking & Burning: Constant stirring is key! The sugar can easily stick to the bottom of the cooker.
- Roasting the Moong Dal for Optimal Aroma: Don’t rush the roasting process. Roasting the dal properly releases its flavour and adds a lovely depth to the dish.
Variations
Want to switch things up? Here are a few ideas:
- Vegan Kalkandu Sadam Adaptation: Substitute the ghee with coconut oil and the milk with plant-based milk (like almond or cashew milk).
- Gluten-Free Considerations: This recipe is naturally gluten-free! Just double-check that your ghee is pure and doesn’t contain any hidden gluten ingredients.
- Adjusting the Sweetness Level: Feel free to adjust the amount of sugar and kalkandu to your liking. I prefer a subtle sweetness, but you can definitely make it sweeter if you prefer.
- Festival Adaptations (Pongal, Onam): This dish is often made during Pongal and Onam. You can add a pinch of black pepper for a slightly spicy kick during these festivals.
Regional Variations in Kalkandu Sadam
Every family has their own little twist on this recipe! Some people add a bit of coconut milk for extra richness, while others use different types of nuts for garnish. My friend’s grandmother always added a tiny bit of nutmeg – it was delicious!
Serving Suggestions
Kalkandu Sadam is best served warm. It’s lovely on its own, but you can also serve it with a side of yogurt or a sprinkle of coconut flakes.
Storage Instructions
Leftover Kalkandu Sadam can be stored in an airtight container in the refrigerator for up to 2-3 days. Reheat gently on the stovetop with a splash of milk to restore its creamy consistency.
FAQs
Let’s answer some common questions:
- What type of rice is best for Kalkandu Sadam? Short-grain rice like ponni or seeraga samba is ideal, but regular short-grain rice works too.
- Can I substitute jaggery for sugar and kalkandu? You can, but it will change the flavour profile. Jaggery has a more earthy taste.
- What is the purpose of edible camphor in this recipe? It adds a unique, subtle fragrance that’s traditionally used in this recipe. It’s optional, though!
- How can I make Kalkandu Sadam ahead of time? You can cook the rice and dal ahead of time and store it in the refrigerator. Then, simply finish the recipe when you’re ready to serve.
- Is it possible to make a smaller batch of this recipe? Absolutely! Just halve or quarter the ingredients accordingly.
Enjoy making this traditional and comforting Kalkandu Sadam! I hope it brings as much joy to your table as it does to mine. Let me know how it turns out in the comments below!


Neha Deshmukh
Neha holds a B.A. in History with a focus on Indian and world history, including ancient, medieval, and modern periods. At RecipesOfIndia.org — the world’s largest database of Indian recipes — she combines her love for food and history by exploring how India’s past has shaped its culinary traditions.