- Preheat oven to 180°C (350°F). Lightly grease a 23x23cm square baking pan and line with parchment paper.
- Melt butter and chocolate chips in a microwave-safe bowl (50 seconds or until smooth). Set aside.
- Beat eggs, sugar, and vanilla extract with an electric mixer until doubled in volume (about 3 minutes).
- Gradually mix melted chocolate into the egg mixture until fully combined.
- Gently fold sifted flour and cocoa powder into the batter. Stir in chopped dark chocolate.
- Pour batter into the prepared pan. Bake for 30-35 minutes (30 for fudgy, 35 for cake-like texture).
- Cool completely in the pan before slicing into 16 squares.
- Calories:280 kcal25%
- Energy:1171 kJ22%
- Protein:5 g28%
- Carbohydrates:35 mg40%
- Sugar:25 mg8%
- Salt:150 g25%
- Fat:18 g20%
Last Updated on 4 months by Neha Deshmukh
Ultimate Chocolate Brownie Recipe – Dark Chocolate & Chips
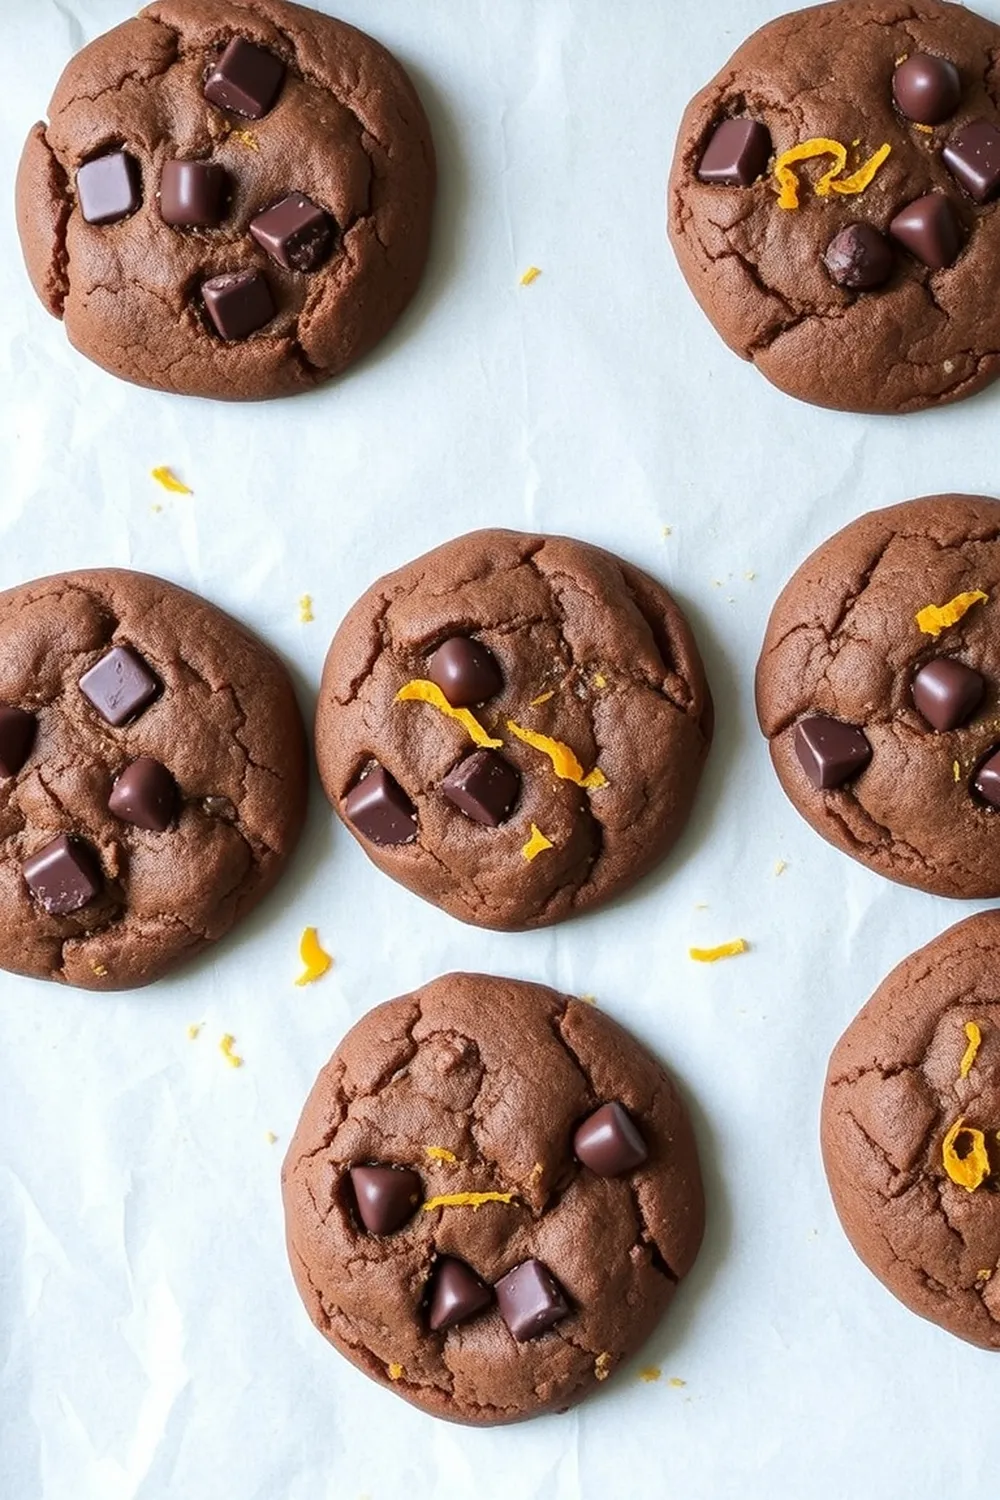
Hey everyone! If you’re anything like me, a good brownie can solve almost any problem. Seriously, is there anything more comforting than a warm, fudgy square of chocolatey goodness? I’ve been perfecting this recipe for years, and I’m so excited to finally share my ultimate chocolate brownie recipe with you all. It’s rich, decadent, and unbelievably easy to make. Get ready to bake!
Why You’ll Love This Recipe
This isn’t just another brownie recipe. This one delivers on everything you want in a brownie: a deeply chocolatey flavour, a perfectly chewy texture, and a satisfyingly rich finish. It’s the kind of brownie that disappears quickly, and the kind you’ll be asked to make again and again. Plus, it’s surprisingly simple – even if you’re a baking beginner!
Ingredients
Here’s what you’ll need to create these little squares of heaven:
- 175 grams butter
- ½ cup (approximately 85g) chocolate chips
- 4 large eggs
- 1 cup (200g) light brown sugar
- 2 teaspoons vanilla essence
- ¾ cup (90g) cake flour
- 2 tablespoons cocoa powder
- 150 grams dark chocolate
Ingredient Notes
Let’s talk ingredients – a few little things can make a big difference!
Butter – Choosing the Right Kind
I prefer using unsalted butter for baking, as it gives you more control over the overall saltiness. Make sure it’s softened to room temperature for easy creaming.
Chocolate Chips – Milk, Dark, or White?
This is where you can get creative! I love using dark chocolate chips for an extra intense chocolate flavour, but milk chocolate or even white chocolate chips work beautifully too. Feel free to mix and match!
Cake Flour – Why It Matters for Texture
Cake flour has a lower protein content than all-purpose flour, which results in a more tender and delicate crumb. It’s what gives these brownies that melt-in-your-mouth texture. Don’t skip it if you can help it!
Cocoa – Dutch-Processed vs. Natural Cocoa Powder
Both work, but Dutch-processed cocoa will give you a darker, more mellow flavour. Natural cocoa powder has a slightly more acidic taste. I personally prefer Dutch-processed for this recipe.
Dark Chocolate – Percentage & Quality Guide
The higher the percentage of cocoa solids in your dark chocolate, the more intense the flavour will be. I recommend using a dark chocolate with at least 70% cocoa for a really rich brownie. Quality matters here – a good quality dark chocolate will make all the difference.
Vanilla Essence – Real vs. Artificial
Real vanilla essence adds a depth of flavour that artificial vanilla just can’t match. If you can, splurge on the real stuff!
Step-By-Step Instructions
Alright, let’s get baking!
- Preheat your oven to 180°C (350°F). Grease and line a 23x23cm square baking pan with parchment paper. This makes removing the brownies so much easier.
- In a microwave-safe bowl, melt the butter and chocolate chips together in 50-second intervals, stirring until smooth. Be careful not to burn the chocolate! Set aside to cool slightly.
- In a separate bowl, beat the eggs, sugar, and vanilla essence with an electric mixer until the mixture is light and fluffy – about 3 minutes. You want it to have almost doubled in volume.
- Gradually mix the melted chocolate into the egg mixture, ensuring everything is fully combined. Don’t rush this step!
- Gently fold in the sifted flour and cocoa powder. Then, stir in the chopped dark chocolate. Be gentle – you don’t want to overmix the batter.
- Pour the batter into the prepared pan and spread it evenly.
- Bake for 30-35 minutes. I like mine fudgy, so I usually go for 30 minutes. If you prefer a more cake-like texture, bake for the full 35 minutes. A toothpick inserted into the centre should come out with moist crumbs attached.
- Let the brownies cool completely in the pan before slicing into 16 squares. This is the hardest part, I know!
Expert Tips
- Don’t overbake! This is the key to fudgy brownies.
- Use a toothpick to check for doneness. It should come out with moist crumbs, not clean.
- Let the brownies cool completely before slicing. This will prevent them from crumbling.
- For extra flavour, add a pinch of salt to the batter. It enhances the chocolate flavour beautifully.
Variations
Want to switch things up? Here are a few ideas:
Vegan Chocolate Brownies
My friend Priya swears by using applesauce as an egg replacement and vegan butter. I haven’t tried it myself yet, but she says it works wonders!
Gluten-Free Chocolate Brownies
Simply substitute the cake flour with a gluten-free all-purpose flour blend. Make sure it contains xanthan gum for binding.
Spice Level Adaptations (Chili Chocolate Brownies)
My brother loves a little kick! Add ½ – 1 teaspoon of chili powder to the batter for a spicy chocolate treat.
Festival Adaptations (Diwali Chocolate Brownie Gifts)
Cut the cooled brownies into smaller squares and package them beautifully with ribbon and a Diwali greeting for a delicious homemade gift.
Serving Suggestions
These brownies are delicious on their own, but they’re even better with a scoop of vanilla ice cream or a dollop of whipped cream. A sprinkle of sea salt on top adds a lovely contrast of flavours.
Storage Instructions
Store leftover brownies in an airtight container at room temperature for up to 3 days, or in the refrigerator for up to a week. They also freeze well – just wrap them individually in plastic wrap and store them in a freezer-safe bag for up to 2 months.
FAQs
What is the best way to prevent my brownies from drying out?
Don’t overbake them! And store them in an airtight container.
Can I use all-purpose flour instead of cake flour?
You can, but the brownies will be slightly denser.
How can I tell when my brownies are perfectly baked – fudgy vs. cakey?
A toothpick inserted into the centre should come out with moist crumbs for fudgy brownies, and clean for cakey brownies.
Can I make these brownies ahead of time?
Yes! You can bake them a day or two in advance and store them in an airtight container.
What’s the best way to store leftover brownies to keep them fresh?
In an airtight container at room temperature or in the refrigerator.
Can I add nuts to this brownie recipe?
Absolutely! Walnuts, pecans, or almonds would all be delicious. Add about ½ cup of chopped nuts to the batter.
Enjoy baking (and eating!) these incredible chocolate brownies. Let me know how they turn out in the comments below!


