- Preheat oven to 180°C (350°F). Grease an 8-inch square baking pan and line with parchment paper.
- Melt butter and chocolate in a heatproof bowl over simmering water. Stir until smooth, then let cool slightly.
- In a separate bowl, whisk eggs, sugar, vanilla, and salt until fully combined.
- Gradually whisk the cooled chocolate mixture into the egg mixture.
- Fold sifted flour into the batter until just incorporated.
- Pour batter into the prepared pan and bake for 30-35 minutes, until set but slightly soft in the center.
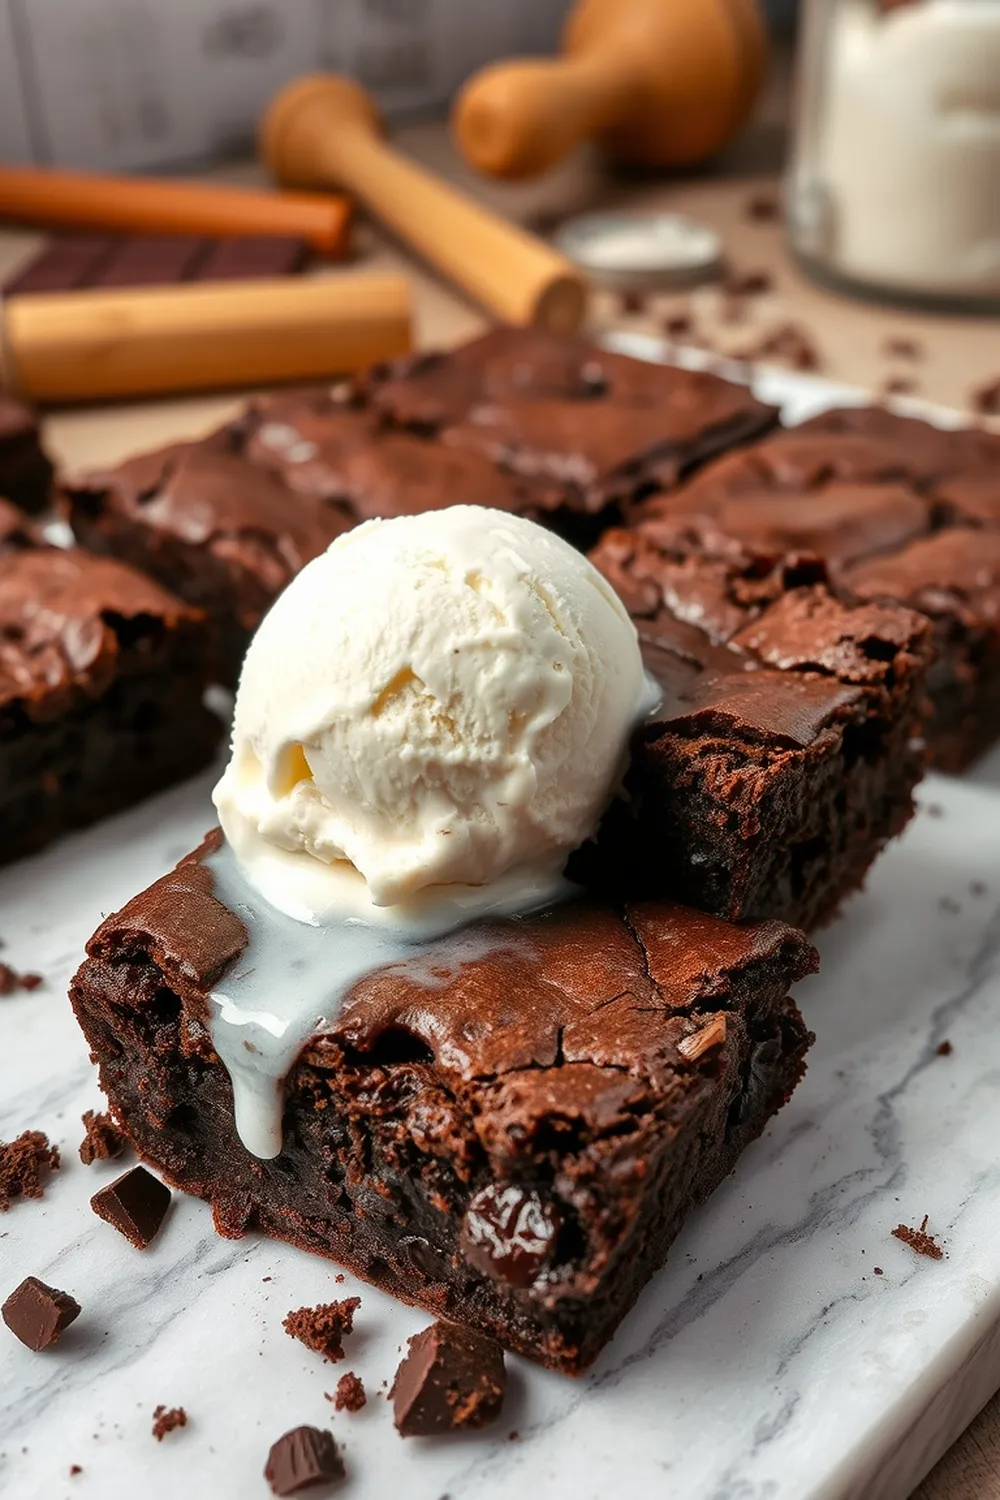
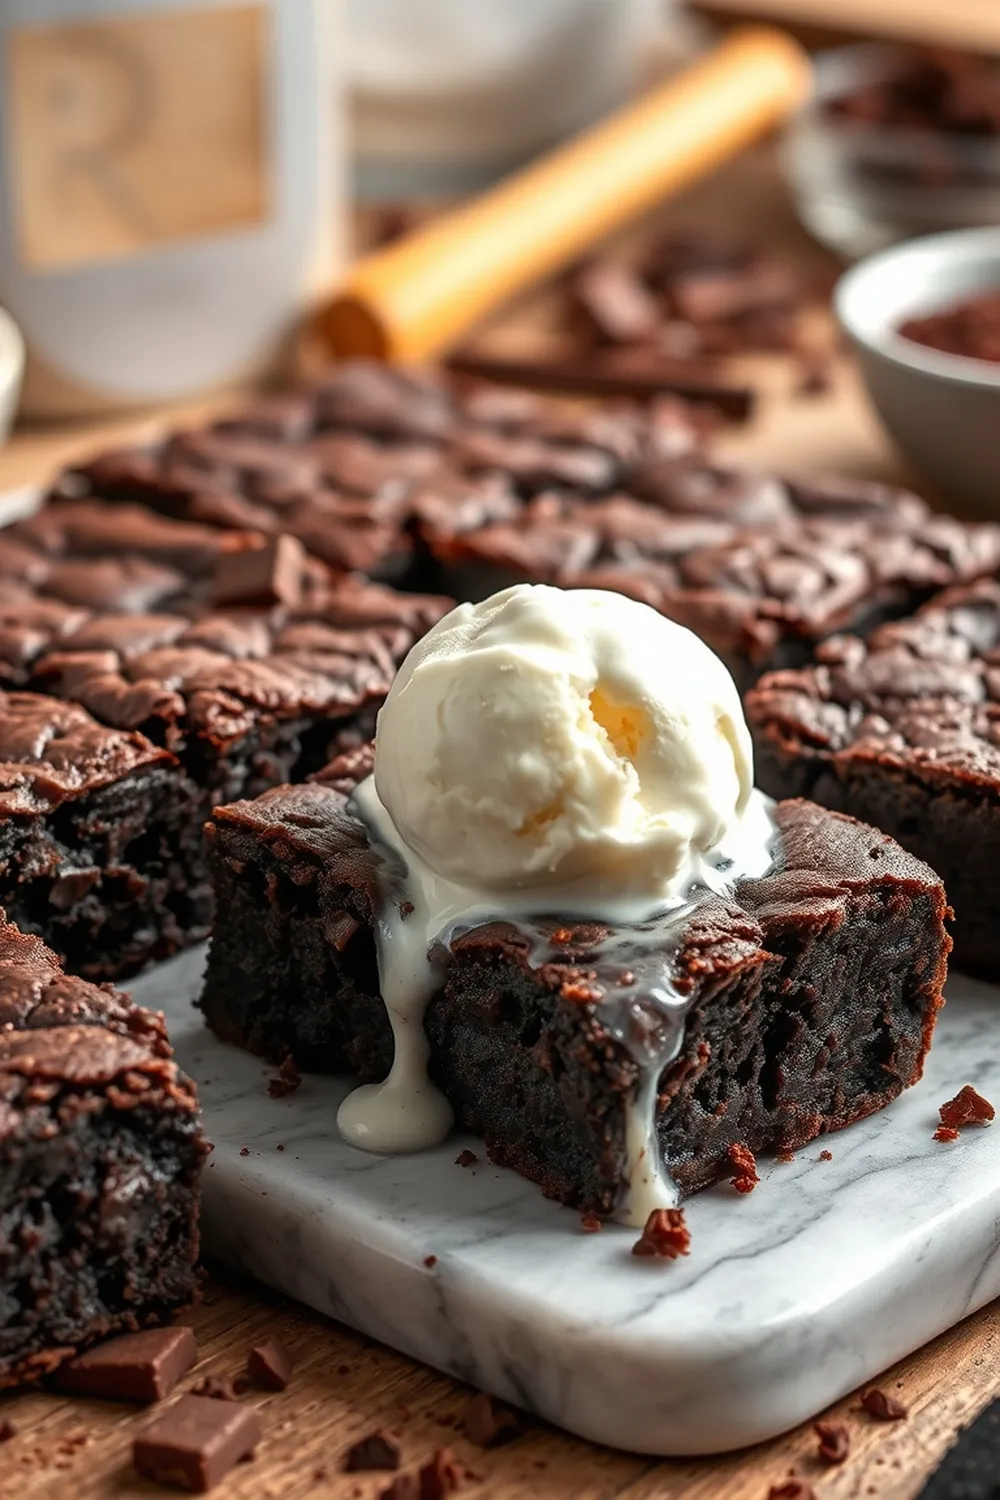
- Cool completely on a wire rack before cutting into squares. Serve with ice cream or chocolate sauce.
- Calories:300 kcal25%
- Energy:1255 kJ22%
- Protein:4 g28%
- Carbohydrates:40 mg40%
- Sugar:30 mg8%
- Salt:150 g25%
- Fat:15 g20%
Last Updated on 6 months ago by Neha Deshmukh
Ultimate Chocolate Brownies Recipe – Easy Step-By-Step Guide
Hey everyone! If you’re anything like me, a good chocolate brownie can solve almost any problem. Seriously, is there anything more comforting? I’ve been making these brownies for years – I first baked them for a friend’s birthday, and they were a huge hit! They’re rich, fudgy (or cakey, depending on how you like them – more on that later!), and surprisingly easy to make. Let’s get baking!
Why You’ll Love This Recipe
These aren’t just any brownies. This recipe delivers seriously decadent, intensely chocolatey brownies every single time. They’re perfect for a quick dessert, a potluck, or just a cozy night in. Plus, they’re pretty adaptable – I’ll share tons of variations later on! You’ll love how simple the process is, and the incredible results you get.
Ingredients
Here’s what you’ll need to create these chocolate masterpieces:
- 0.5 cup (113g) unsalted butter
- 5 ounces (142g) unsweetened chocolate
- 1 cup (120g) all-purpose flour
- 1.5 cups (300g) sugar
- 3 large eggs
- 2 tsp pure vanilla extract
- 0.5 tsp salt
Ingredient Notes
Let’s talk ingredients for a sec! Using good quality chocolate really makes a difference here. I prefer using a dark, 70% cacao chocolate for a really intense flavour, but feel free to use your favourite.
Vanilla extract? Don’t skimp! Pure vanilla extract adds so much depth. I always have a bottle of Nielsen-Massey on hand.
And about the flour… all-purpose works great, but you can experiment! Cake flour will give you a softer, more tender brownie, while whole wheat pastry flour adds a lovely nutty flavour. You can even try a gluten-free blend if needed (see variations!).
Step-By-Step Instructions
Alright, let’s get down to business!
- First, preheat your oven to 180°C (350°F). Grease an 8-inch square baking pan and line it with parchment paper. This makes getting the brownies out so much easier. Trust me!
- Now, melt the butter and chocolate together. I like to do this over simmering water in a heatproof bowl – just make sure the bowl doesn’t touch the water! Stir until everything is smooth and glossy, then let it cool slightly.
- In a separate bowl, whisk together the eggs, sugar, vanilla extract, and salt until everything is nicely combined. You want it to be light and frothy.
- Gradually whisk the cooled chocolate mixture into the egg mixture. Take your time and make sure everything is well incorporated.
- Gently fold in the sifted flour until just combined. Be careful not to overmix – that’s the key to tender brownies!
- Pour the batter into your prepared pan and bake for 30-35 minutes. You want the edges to be set, but the center should still be slightly soft.
- Let the brownies cool completely on a wire rack before cutting into squares. This is the hardest part, I know! But it’s worth the wait. Serve with a scoop of ice cream or a drizzle of chocolate sauce for extra indulgence.
Expert Tips
Want to take your brownies to the next level? Here are a few of my favourite tricks:
- Fudgy vs. Cakey: For fudgy brownies, underbake them slightly. For cakey brownies, bake them a little longer. It’s all about preference!
- Preventing Overbaking: Keep a close eye on the brownies during the last few minutes of baking. A toothpick inserted into the center should come out with a few moist crumbs attached.
- Cooling is Key: Letting the brownies cool completely before cutting is essential. It allows them to set properly and makes for cleaner squares.
Variations
Okay, this is where things get fun! Here are a few ways to customize this recipe:
- Vegan Brownies: Substitute the butter with vegan butter, the eggs with flax eggs (1 tbsp flaxseed meal + 3 tbsp water per egg), and ensure your chocolate is dairy-free.
- Gluten-Free Brownies: Use a gluten-free all-purpose flour blend. Bob’s Red Mill 1-to-1 Baking Flour works really well.
- Dark Chocolate vs. Milk Chocolate: Experiment with different types of chocolate! Milk chocolate will give you a sweeter, milder brownie, while dark chocolate will be more intense.
- Nut Additions: My family loves adding chopped walnuts or pecans to the batter. About ½ cup is perfect.
- Spice Level – Chocolate Chili Brownies: A pinch of cayenne pepper (about ¼ tsp) adds a surprising kick! My friend Sarah swears by this.
Serving Suggestions
These brownies are delicious on their own, but they’re even better with:
- A scoop of vanilla ice cream
- A drizzle of chocolate sauce
- Fresh berries
- A sprinkle of powdered sugar
- A hot cup of coffee or tea
Storage Instructions
Store leftover brownies in an airtight container at room temperature for up to 3 days, or in the refrigerator for up to a week. You can also freeze them for up to 2 months! Just wrap them tightly in plastic wrap and then in foil.
FAQs
Got questions? I’ve got answers!
1. Can I use cocoa powder instead of unsweetened chocolate?
You can, but it won’t be quite the same. You’ll need about ¾ cup of cocoa powder plus 3 tablespoons of melted butter to replace the 5 ounces of unsweetened chocolate.
2. How do I know when the brownies are done?
A toothpick inserted into the center should come out with a few moist crumbs attached. Remember, you want them to be slightly underbaked for a fudgy texture.
3. Can I make these brownies ahead of time?
Absolutely! You can bake them a day or two in advance and store them in an airtight container.
4. What’s the best way to cut clean brownie squares?
Use a sharp knife and wipe it clean with a damp cloth between each cut. You can also chill the brownies in the refrigerator for a bit before cutting.
5. Can I add nuts or other mix-ins to this recipe?
Definitely! Feel free to add chopped nuts, chocolate chips, dried fruit, or anything else your heart desires.
6. How does altitude affect brownie baking?
At higher altitudes, you may need to increase the liquid slightly and reduce the baking time. Start by checking the brownies a few minutes earlier than the recipe suggests.
Enjoy baking (and eating!) these delicious brownies! Let me know in the comments how they turn out for you. Happy baking!


