- Pressure cook peeled potatoes and mixed vegetables with water for 3 whistles. Mash thoroughly and set aside.
- Heat butter in a pan and sauté onions until translucent. Add ginger-garlic paste and cook until fragrant.
- Add chopped capsicum and fry for 1 minute. Stir in tomatoes, salt, pav bhaji masala, and red chili powder. Cook until tomatoes soften.
- Mix in boiled vegetables and simmer for 5-7 minutes, mashing continuously to blend flavors.
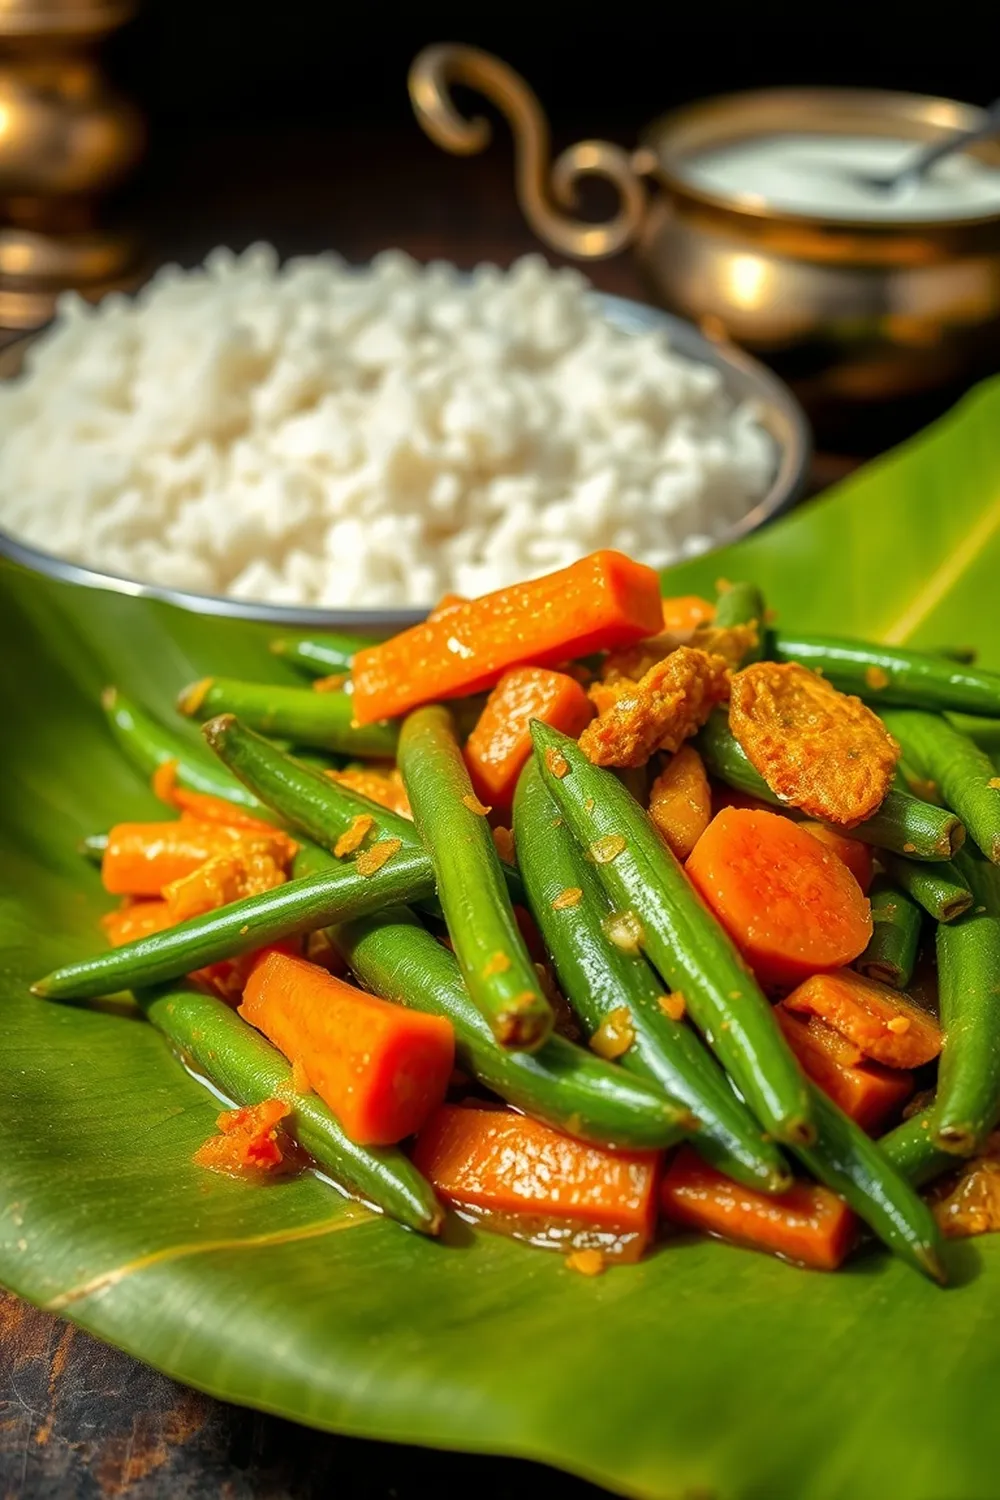
- Finish with a dollop of butter and lemon juice. Serve hot with toasted pav buns, garnished with onions and coriander.
- Calories:350 kcal25%
- Energy:1464 kJ22%
- Protein:8 g28%
- Carbohydrates:55 mg40%
- Sugar:10 mg8%
- Salt:800 g25%
- Fat:12 g20%
Last Updated on 2 months by Neha Deshmukh
Ultimate Pav Bhaji Recipe – Potatoes, Capsicum & Masala
Hello friends! If you’ve ever craved that vibrant, flavorful street food experience right in your kitchen, you’re in the right place. Pav Bhaji is the ultimate comfort food for me – a spicy, buttery, mashed vegetable curry served with soft, toasted pav buns. I remember the first time I tried to make it… it was a bit of a disaster! But after years of tweaking and perfecting, I’m so excited to share my go-to recipe with you. Get ready for a flavour explosion!
Why You’ll Love This Recipe
This Pav Bhaji recipe is all about bold flavours and a satisfying texture. It’s surprisingly easy to make at home, and honestly, tastes even better than what you get on the streets (don’t tell anyone I said that!). It’s perfect for a quick weeknight dinner, a weekend treat, or even a festive gathering. Plus, it’s totally customizable – you can adjust the spice level to your liking and add your favourite veggies.
Ingredients
Here’s what you’ll need to create this magic:
- 2 Potato
- 1.5 cups Mixed vegetables (Beans, carrot, green peas, beetroot, cauliflower)
- 1 Onion
- 1 Capsicum
- 2 Tomato
- 2 Green chilli
- 1 teaspoon Ginger garlic paste
- 3 tablespoon Butter
- ?? teaspoon Red Chilli powder
- 2 teaspoon Pav Bhaji masala
- Salt (to taste)
- Lemon wedges (for serving)
- Pav Buns (for serving)
Ingredient Notes
Let’s talk ingredients! A few little things can make a big difference:
- Pav Bhaji Masala: This is the heart and soul of the dish! You can find good quality blends at most Indian grocery stores. Look for brands that have a vibrant colour and a fragrant aroma. Some blends are spicier than others, so start with less and add more to taste.
- Vegetables: Feel free to get creative with your veggies! I love the classic mix, but you can also add mushrooms, peas, or even spinach. Just make sure everything is chopped into roughly the same size for even cooking.
- Butter: Don’t skimp on the butter! It really adds to the richness and flavour. I prefer using unsalted butter so I can control the saltiness of the dish.
- Spice Levels: Pav Bhaji can range from mild to fiery. Traditionally, it’s quite spicy! Adjust the amount of green chillies and red chilli powder to suit your preference. My family likes it with a good kick, but my friends prefer it milder.
- Regional Variations: You’ll find that Pav Bhaji varies from region to region in India. Some versions include cashew paste for extra creaminess, while others use more tomatoes for a tangier flavour.
Step-By-Step Instructions
Alright, let’s get cooking!
- First, let’s get the potatoes and veggies sorted. Pressure cook the peeled potatoes and mixed vegetables with enough water to cover them for about 3 whistles. Once cooled, mash them thoroughly and set aside. This is where a good potato masher comes in handy!
- Now, heat the butter in a large pan or kadhai over medium heat. Add the chopped onion and sauté until it turns translucent and slightly golden.
- Add the ginger-garlic paste and cook for a minute until fragrant. This is when your kitchen will start smelling amazing!
- Throw in the chopped capsicum and fry for about a minute. Then, add the chopped tomatoes, salt, pav bhaji masala, and red chilli powder. Cook until the tomatoes soften and break down, creating a lovely base for the curry.
- Time to bring it all together! Add the mashed vegetables to the pan and stir well to combine. Simmer for 5-7 minutes, continuously mashing the mixture to blend all the flavours. This is the key to that perfect Pav Bhaji texture.
- Finally, finish with a generous dollop of butter and a squeeze of lemon juice. Give it one last stir and it’s ready to serve!
Expert Tips
- Mashing is Key: Don’t be afraid to really mash the vegetables! The smoother the mash, the better the texture.
- Don’t Rush the Sautéing: Taking the time to properly sauté the onions and tomatoes builds a deep flavour base.
- Taste as You Go: Pav Bhaji is all about balance. Taste and adjust the seasoning as you cook.
Variations
Want to switch things up? Here are a few ideas:
- Vegan Pav Bhaji: Swap the butter for vegan butter or oil, and you’re good to go!
- Gluten-Free Pav Bhaji: Simply use gluten-free pav buns. They’re becoming easier to find these days.
- Spice Level Adjustments: Add more or less green chilli and red chilli powder to control the heat.
- Festival Adaptations: During Navratri or Janmashtami, you can skip the onion and garlic for a satvik version. My grandmother always made it this way during fasting periods.
Serving Suggestions
Serve your Pav Bhaji hot with toasted pav buns. Don’t forget a generous side of chopped onions and fresh coriander for garnish. A squeeze of lemon juice adds a lovely zing! It’s also delicious with a side of raita (yogurt dip) to cool things down.
Storage Instructions
Leftover Pav Bhaji can be stored in an airtight container in the refrigerator for up to 2 days. Reheat gently on the stovetop or in the microwave. It might thicken up a bit, so add a splash of water or butter while reheating.
FAQs
Let’s answer some common questions:
- What is the best type of potato to use for Pav Bhaji? I recommend using starchy potatoes like Yukon Gold or Russet. They mash beautifully and give the Pav Bhaji a lovely texture.
- Can I make Pav Bhaji ahead of time? Yes, you can! It actually tastes even better the next day as the flavours meld together.
- How do I adjust the spice level of Pav Bhaji? Start with a small amount of green chilli and red chilli powder, and add more to taste.
- What is Pav Bhaji Masala made of? It’s a blend of spices like coriander, cumin, turmeric, red chilli, and amchur (dried mango powder).
- Can I use a different type of bread instead of Pav? While pav is traditional, you can use dinner rolls or even naan bread in a pinch.
Enjoy making this delicious Pav Bhaji! I hope it brings a little bit of Indian street food magic to your home. Let me know how it turns out in the comments below!


Neha Deshmukh
Neha holds a B.A. in History with a focus on Indian and world history, including ancient, medieval, and modern periods. At RecipesOfIndia.org — the world’s largest database of Indian recipes — she combines her love for food and history by exploring how India’s past has shaped its culinary traditions.