- Soak urad dal in water for at least 4 hours, then pressure cook for 3-4 whistles. Mash into a smooth paste.
- Combine rice flour, salt, ajwain seeds, sesame seeds, and cooked urad dal. Mix thoroughly.
- Gradually add warm water to form a smooth, crack-free dough. Knead for 5-7 minutes.
- Shape dough into logs and fill a murukku press with the three-hole mould.
- Heat oil to medium-hot. Press murukku directly into hot oil, forming desired length. Fry until golden brown and crisp.
- Drain on paper towels and store in an airtight container for up to 2 weeks.
- Calories:350 kcal25%
- Energy:1464 kJ22%
- Protein:6 g28%
- Carbohydrates:45 mg40%
- Sugar:1 mg8%
- Salt:200 g25%
- Fat:15 g20%
Last Updated on 6 months ago by Neha Deshmukh
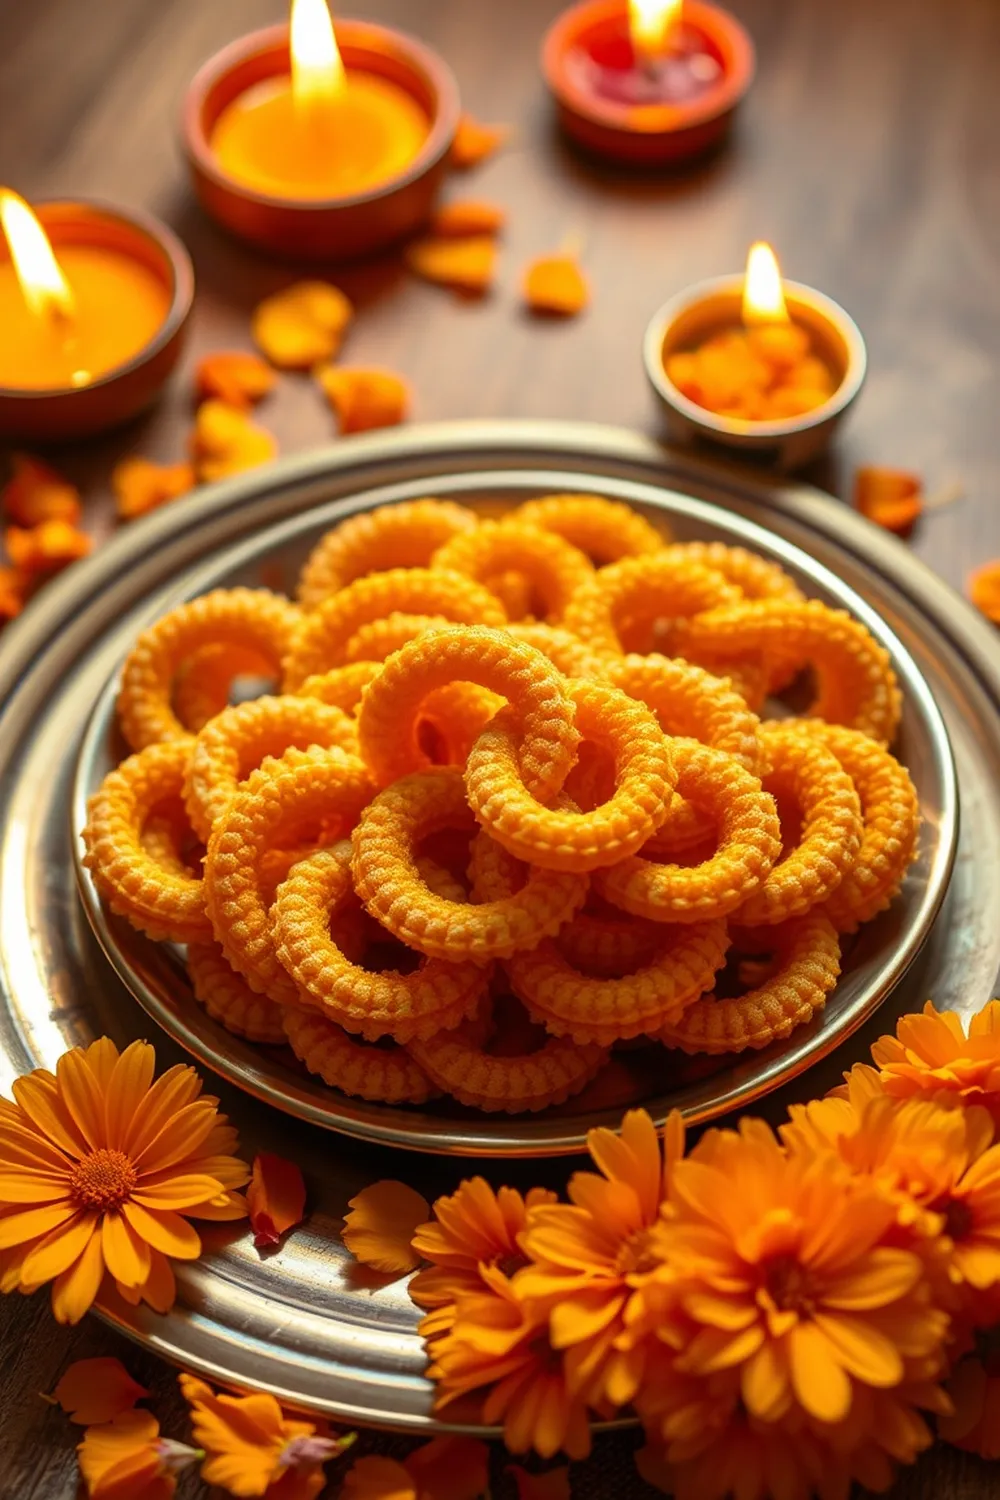
Urad Dal Murukku Recipe – Crispy South Indian Snack with Sesame Seeds
Introduction
Oh, Murukku! Just the name brings back childhood memories of festive seasons and my grandmother’s kitchen filled with the aroma of frying snacks. This Urad Dal Murukku is a family favorite – perfectly crispy, subtly savory, and utterly addictive. It’s a South Indian staple, and honestly, once you make it at home, you’ll never reach for the store-bought version again. I’m so excited to share this recipe with you!
Why You’ll Love This Recipe
This Urad Dal Murukku recipe is special because it uses urad dal (black gram) which gives it a unique flavour and a lovely melt-in-your-mouth texture. It’s surprisingly easy to make, even if you’re new to working with a murukku press. Plus, it’s a fantastic make-ahead snack – perfect for parties, festivals, or just a cozy evening with chai.
Ingredients
Here’s what you’ll need to create these delightful crispy treats:
- 1/2 cup urad dal (approximately 100g)
- 2.5 cups rice flour (store bought – approximately 300g)
- 1/4 teaspoon Ajwain seeds (Omam Seeds)
- 1/2 teaspoon Black Sesame Seeds (Ellu)
- 1 teaspoon salt
- 1 tablespoon butter (approximately 15g)
- 2-3 cups water (approximately 480-720ml)
- 750 ml Vegetable Oil / Refined Peanut Oil (for frying)
Ingredient Notes
Let’s talk ingredients – a few little tips can make all the difference!
Urad Dal: The Heart of the Murukku
Urad dal is what gives this murukku its distinctive flavour and slightly softer bite. Make sure you use good quality urad dal for the best results.
Rice Flour: Choosing the Right Kind
I recommend using store-bought rice flour specifically labelled for making snacks. It usually has a finer texture which is ideal for murukku. You can make your own, but it requires a bit more effort to get the right consistency.
Ajwain Seeds (Omam): Aromatic and Digestive Benefits
Ajwain seeds aren’t just about flavour! They also have amazing digestive properties, which is a bonus when enjoying a delicious snack. Don’t skip them!
Black Sesame Seeds (Ellu): Flavor and Nutritional Boost
Black sesame seeds add a wonderful nutty flavour and a beautiful visual appeal. Plus, they’re packed with nutrients. White sesame seeds can be used if you prefer, but I love the look of the black ones.
Oil Selection: Vegetable vs. Peanut Oil – What’s Best?
Both vegetable oil and refined peanut oil work well for frying. Peanut oil imparts a slightly more traditional flavour, but vegetable oil is a perfectly good substitute. Just ensure the oil is hot enough before you start frying.
Step-By-Step Instructions
Alright, let’s get cooking!
- First, soak the urad dal in water for about 20 minutes. This helps it cook faster and become nice and soft.
- Drain the soaked urad dal and pressure cook it for around 6 whistles. Once cooled, mash the dal into a really smooth paste. No lumps allowed!
- In a large bowl, combine the rice flour, salt, ajwain seeds, and black sesame seeds. Add the butter and mix well.
- Now, add the cooked and mashed urad dal to the flour mixture.
- Gradually add water, a little at a time, and start mixing. You want to form a smooth, pliable dough that isn’t sticky.
- Knead the dough for about 30 seconds. This helps bring everything together.
- Heat the oil in a deep frying pan or kadhai over medium heat.
- Fill a murukku press with the dough, using the three-hole mould.
- Hold a ladle over the hot oil and press the murukku directly onto it. Gently lower the murukku into the oil.
- Fry until golden brown and crispy, about 2-3 minutes per batch. The bubbles should subside.
- Remove the murukku and drain on paper towels.
- Once cooled, store in an airtight container.
Expert Tips
Let’s make sure your murukku turns out perfect!
Achieving the Perfect Murukku Shape
Practice makes perfect! It might take a few tries to get the hang of pressing the murukku. Keep a steady hand and apply even pressure.
Troubleshooting: Dealing with Cracks in the Dough
If your dough is cracking, it means it’s too dry. Add a teaspoon of water at a time until it comes together.
Oil Temperature: The Key to Crispy Murukku
The oil needs to be hot enough, but not smoking. A good test is to drop a tiny piece of dough into the oil – it should sizzle and rise to the surface immediately.
Kneading the Dough: How Long is Enough?
You don’t need to knead the dough for ages. Just 30 seconds is enough to combine everything. Over-kneading can make the murukku tough.
Variations
Want to get creative? Here are a few ideas:
Vegan Murukku Adaptation
Simply substitute the butter with an equal amount of vegan butter or a neutral-flavored oil like sunflower oil.
Gluten-Free Confirmation
This recipe is naturally gluten-free, as long as you use gluten-free rice flour!
Spice Level Adjustment: Adding Chili Powder
My friend loves a little kick, so I sometimes add 1/2 teaspoon of chili powder to the dough.
Festival Adaptations: Special Occasion Murukku
During Diwali, my family likes to add a pinch of saffron to the dough for a beautiful colour and subtle flavour.
Serving Suggestions
Murukku is delicious on its own with a cup of hot chai. It also pairs well with sambar or chutney. It’s a perfect snack for any time of day!
Storage Instructions
Store the cooled murukku in an airtight container at room temperature. It should stay crispy for up to 2 weeks.
FAQs
Got questions? I’ve got answers!
What is the best way to store Murukku to maintain its crispness?
Airtight is key! Make sure the container is completely sealed to prevent moisture from getting in.
Can I make the dough ahead of time? If so, how should I store it?
Yes, you can! Store the dough in an airtight container in the refrigerator for up to 2 days. Bring it to room temperature before using.
I don’t have a murukku press. Can I still make this recipe?
It’s tricky, but you could try piping the dough onto the hot oil using a piping bag with a large round nozzle. It won’t have the traditional shape, but it will still taste delicious!
What can I substitute for butter in this recipe?
You can use an equal amount of vegetable oil or ghee.
My murukku turned out soft, not crispy. What went wrong?
The oil wasn’t hot enough, or the dough was too moist. Make sure the oil is at the right temperature and adjust the water in the dough accordingly.


Neha Deshmukh
Neha holds a B.A. in History with a focus on Indian and world history, including ancient, medieval, and modern periods. At RecipesOfIndia.org — the world’s largest database of Indian recipes — she combines her love for food and history by exploring how India’s past has shaped its culinary traditions.


