- Wash and soak basmati rice in 2 cups of water for 20 minutes.
- Heat 1 tsp oil in a pan, sauté capsicum for 2 minutes, and set aside.
- Blanch cauliflower florets, then sauté in a pan for 5 minutes with a pinch of salt. Set aside.
- Grind mint leaves, coriander leaves, green chili, ginger, fennel seeds, and turmeric into a fine paste (add minimal water if needed).
- Heat oil and ghee in a pressure cooker. Add the ground paste and sauté for 2 minutes.
- Add mixed vegetables and cook for 1 minute.
- Drain soaked rice and add to the cooker along with the soaking water. Adjust salt.
- Close the lid and pressure cook for 1 whistle on medium heat, then simmer for 10 minutes.
- Let the pressure release naturally. Gently fluff rice with a fork.
- Mix in sautéed capsicum and cauliflower. Serve hot with raita.
- Calories:320 kcal25%
- Energy:1338 kJ22%
- Protein:6 g28%
- Carbohydrates:55 mg40%
- Sugar:3 mg8%
- Salt:150 g25%
- Fat:8 g20%
Last Updated on 2 months by Neha Deshmukh
Vegetable Biryani Recipe – Authentic Indian Rice & Spice Delight
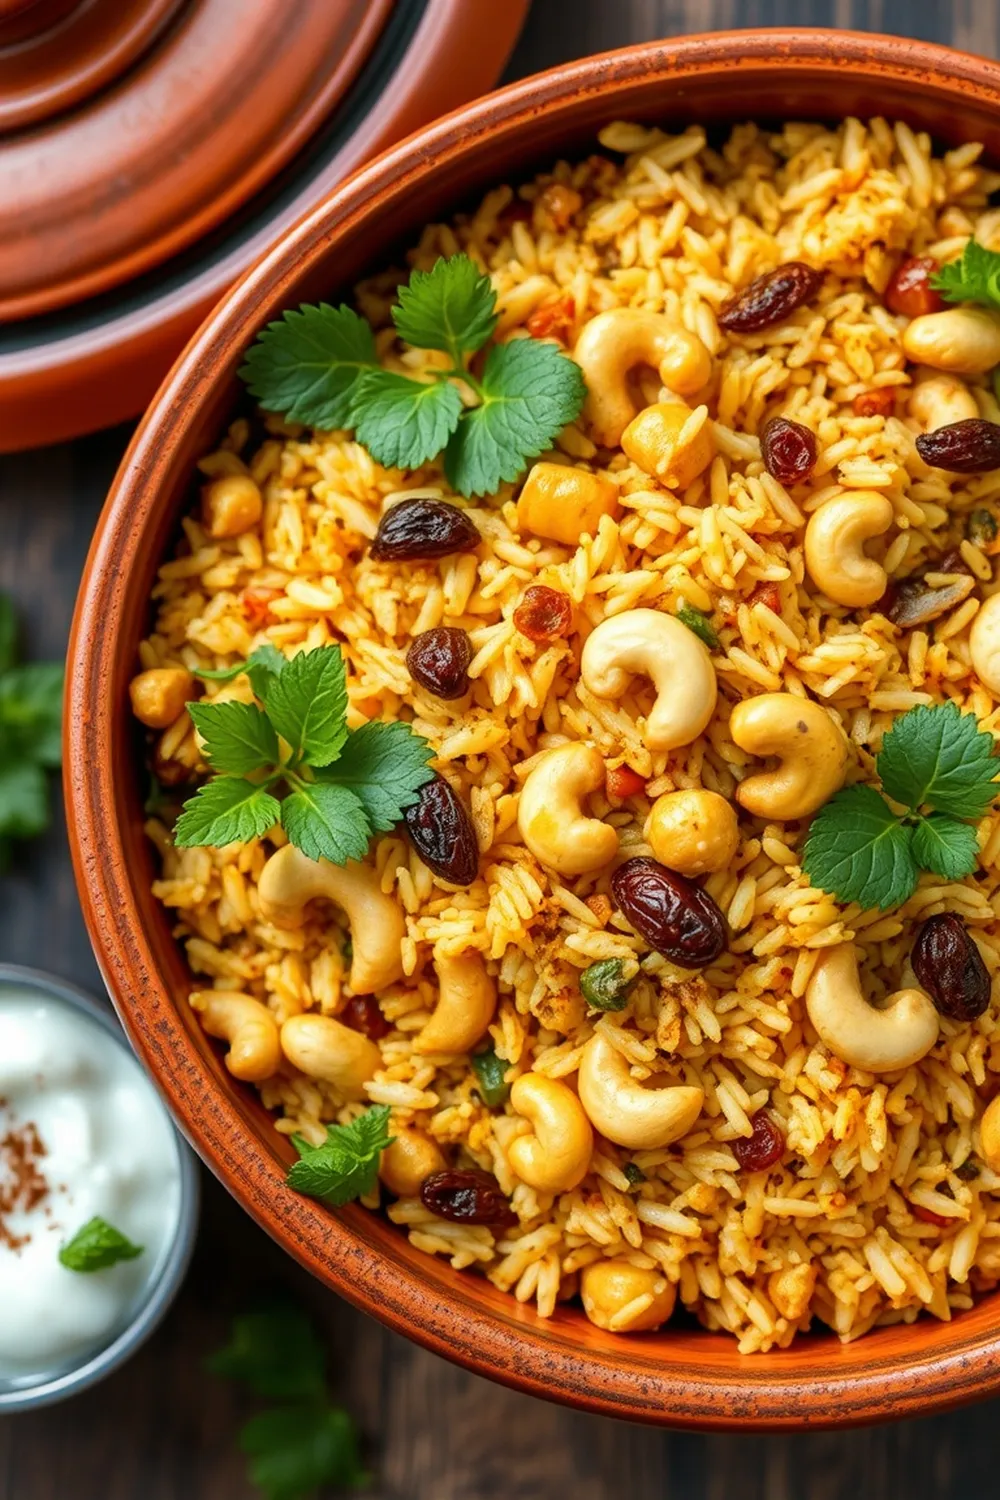
Hey everyone! If you’re anything like me, the aroma of biryani instantly transports you to a happy place. It’s the celebratory dish in so many Indian households, and for good reason. Today, I’m sharing my go-to Vegetable Biryani recipe – a fragrant, flavorful, and surprisingly easy-to-make dish that’s perfect for a weeknight dinner or a special occasion. I first made this for a potluck with friends, and it disappeared in minutes!
Why You’ll Love This Recipe
This Vegetable Biryani isn’t just about deliciousness; it’s about comfort and bringing people together. It’s packed with wholesome veggies, aromatic spices, and fluffy basmati rice. Plus, it’s a fantastic way to enjoy a flavorful vegetarian meal. You’ll love how relatively simple it is to create such a complex and satisfying dish.
Ingredients
Here’s what you’ll need to create this magic:
- 1.5 cup basmati rice
- 2 cups water (for soaking rice)
- 2 tbsp oil
- 2 tsp ghee
- As needed salt
- 1.5 cup mixed vegetables (carrot, beans, peas)
- 0.25 cup cauliflower florets
- 0.5 cup capsicum (bell pepper)
- 1 cup mint leaves (loosely packed)
- 1 cup coriander leaves (loosely packed)
- 2 green chili
- 1 small piece ginger
- 1 tsp fennel seeds
- 0.5 tsp turmeric powder
Ingredient Notes
Let’s talk ingredients – a few little things that make a big difference!
Basmati Rice: Choosing the Right Grain
Basmati is key! Look for aged basmati rice – it’s longer, fluffier, and has a more pronounced aroma. I usually get the Daawat or India Gate brands. A good quality basmati will make all the difference in the final texture.
Oil & Ghee: The Perfect Blend for Flavor
We’re using both oil and ghee. The oil helps prevent sticking, while the ghee adds a beautiful richness and flavor. Don’t skip the ghee if you can help it!
Unique Spice Blend: Fennel Seeds & Turmeric’s Role
Fennel seeds (saunf) are a bit of a secret weapon in biryani. They add a subtle sweetness and anise-like flavor that’s just divine. Turmeric not only gives it that beautiful golden color but also has amazing health benefits.
Regional Variations in Vegetable Choices
Feel free to get creative with your veggies! Traditionally, you’ll find potatoes, carrots, peas, and beans. But I’ve also seen people add mushrooms, zucchini, or even paneer (Indian cheese).
Step-By-Step Instructions
Alright, let’s get cooking!
- First, wash the basmati rice gently and soak it in 2 cups of water for about 20 minutes. This helps the grains cook evenly and become nice and fluffy.
- While the rice is soaking, heat 1 tsp of oil in a pan and sauté the chopped capsicum for about 2 minutes. It doesn’t need to be fully cooked, just slightly softened. Set it aside.
- Next, blanch the cauliflower florets for a minute or two in boiling water. Then, sauté them in a pan with a pinch of salt for about 5 minutes. Set aside with the capsicum.
- Now for the flavor bomb! Grind the mint leaves, coriander leaves, green chilies, ginger, fennel seeds, and turmeric powder into a fine paste. Add minimal water – you want a thick paste, not a watery sauce.
- Heat the oil and ghee in a pressure cooker. Add the green paste and sauté for 2 minutes, until fragrant. This is where the magic really starts to happen!
- Add the mixed vegetables and cook for another minute, stirring well to coat them in the spice paste.
- Drain the soaked rice and add it to the cooker along with the soaking water. Add salt to taste.
- Close the lid of the pressure cooker and cook for 1 whistle on medium heat. Then, reduce the heat to low and simmer for 10 minutes.
- Let the pressure release naturally. This is important – don’t force it! Gently fluff the rice with a fork.
- Finally, mix in the sautéed capsicum and cauliflower. Serve hot with raita!
Expert Tips
A few little things I’ve learned over the years…
Achieving Fluffy Biryani Rice
The soaking step is crucial! Also, avoid overcooking the rice. You want each grain to be separate and distinct.
Balancing the Spice Levels
Adjust the number of green chilies to your liking. If you’re sensitive to spice, start with just one.
Perfecting the Green Paste Consistency
A thick paste is key. If it’s too watery, the biryani will be mushy. Add a few more mint or coriander leaves to thicken it up.
Variations
Let’s get creative!
Vegan Vegetable Biryani
Simply substitute the ghee with a plant-based oil like coconut oil or sunflower oil.
Gluten-Free Vegetable Biryani
This recipe is naturally gluten-free! Just double-check that your spices are sourced from a gluten-free facility if you have a severe allergy.
Spice Level Adjustments (Mild, Medium, Hot)
- Mild: Use 1 green chili or omit it altogether.
- Medium: Use 2 green chilies.
- Hot: Use 3-4 green chilies or add a pinch of cayenne pepper.
Festival Adaptations (Eid, Diwali)
During festivals, I sometimes add a handful of fried onions (birista) for extra flavor and texture. It’s a real treat!
Serving Suggestions
Raita Pairings
Biryani and raita are a match made in heaven! Cucumber raita, onion raita, or even a simple yogurt raita are all fantastic choices.
Accompaniments (Salads, Curries)
A simple salad with sliced cucumbers and tomatoes, or a side of dal (lentil curry) complements the biryani beautifully.
Storage Instructions
Refrigerating Leftover Biryani
Store leftover biryani in an airtight container in the refrigerator for up to 3 days.
Freezing Vegetable Biryani
Biryani freezes surprisingly well! Let it cool completely, then transfer it to a freezer-safe container. It will keep for up to 2 months.
Reheating Instructions
Reheat in the microwave or on the stovetop. Add a splash of water to prevent it from drying out.
FAQs
What type of rice is best for biryani?
Basmati rice is the gold standard for biryani. Its long grains and fragrant aroma are perfect for this dish.
Can I use a different cooking method if I don’t have a pressure cooker?
Yes! You can cook the biryani in a heavy-bottomed pot on the stovetop. It will take longer, and you’ll need to be careful to prevent sticking.
How can I adjust the spice level of this biryani?
Adjust the number of green chilies or add a pinch of cayenne pepper for extra heat.
What vegetables can I substitute in this recipe?
Feel free to use your favorite vegetables! Potatoes, mushrooms, zucchini, and peas all work well.
How do I prevent the biryani from sticking to the bottom of the pot?
Using a good quality non-stick pot and a combination of oil and ghee will help prevent sticking.
Can this biryani be made ahead of time?
You can prepare the green paste and sauté the vegetables ahead of time. But it’s best to cook the rice and assemble the biryani just before serving for the best texture.
Enjoy! I hope this Vegetable Biryani becomes a staple in your kitchen, just like it is in mine. Let me know in the comments how it turns out for you!


