- Add wheat flour and salt to the KitchenAid bowl.
- Attach the dough hook and mix on low speed until combined.
- Gradually pour water into the bowl while mixing on low speed.
- Add oil and continue mixing until the dough forms a cohesive ball.
- Adjust with extra flour or water (1 tablespoon at a time) if needed.
- Knead the dough briefly by hand to achieve the desired consistency.
- Let the dough rest for 10-15 minutes before rolling and cooking.
- Calories:90 kcal25%
- Energy:376 kJ22%
- Protein:3 g28%
- Carbohydrates:18 mg40%
- Sugar:mg8%
- Salt:80 g25%
- Fat:1 g20%
Last Updated on 2 months by Neha Deshmukh
Wheat Atta Roti Recipe – Easy Indian Flatbread For Beginners
Hey everyone! If you’ve ever wanted to learn how to make roti – that soft, warm, everyday Indian flatbread – you’re in the right place. I remember the first time I tried making roti; it felt a little daunting, honestly! But trust me, it’s way easier than it looks, and the reward of a freshly made roti is so worth it. This recipe is perfect for beginners, and I’ll walk you through every step.
Why You’ll Love This Recipe
This roti recipe is a staple in Indian households for a reason. It’s simple, uses just a few ingredients, and comes together quickly. Plus, there’s nothing quite like the taste of homemade roti with a comforting curry or a dollop of ghee. It’s a little piece of home, no matter where you are.
Ingredients
Here’s what you’ll need to make these delicious rotis:
- 1.5 cup wheat flour / atta (about 195g)
- 0.5 cup water (about 120ml)
- 0.5 tsp salt (about 2.5g)
- 1 tsp oil or soft butter (about 5ml)
Ingredient Notes
Let’s talk about these ingredients for a sec, because a few little things can make a big difference!
Wheat Flour / Atta: Types and Uses
Atta is a whole wheat flour specifically milled for making Indian breads like roti, chapati, and paratha. You can find it at most Indian grocery stores, and increasingly in the international aisles of larger supermarkets. There are different types of atta – fine, coarse, and even multigrain. For beginners, a fine or medium atta works best.
Water Temperature for Roti Dough
I usually use room temperature water for my roti dough. Some people prefer slightly warm water, especially in colder months, as it helps with gluten development. But honestly, room temp works perfectly well!
The Role of Oil/Butter in Roti
Adding a little oil or softened butter makes the roti softer and more pliable. It also helps prevent it from becoming too dry. You can use either – I sometimes use butter for a richer flavor, but oil works just as well.
Salt: Enhancing Flavor
Don’t skip the salt! It might seem like a small thing, but it really enhances the flavor of the roti.
Step-By-Step Instructions
Alright, let’s get cooking!
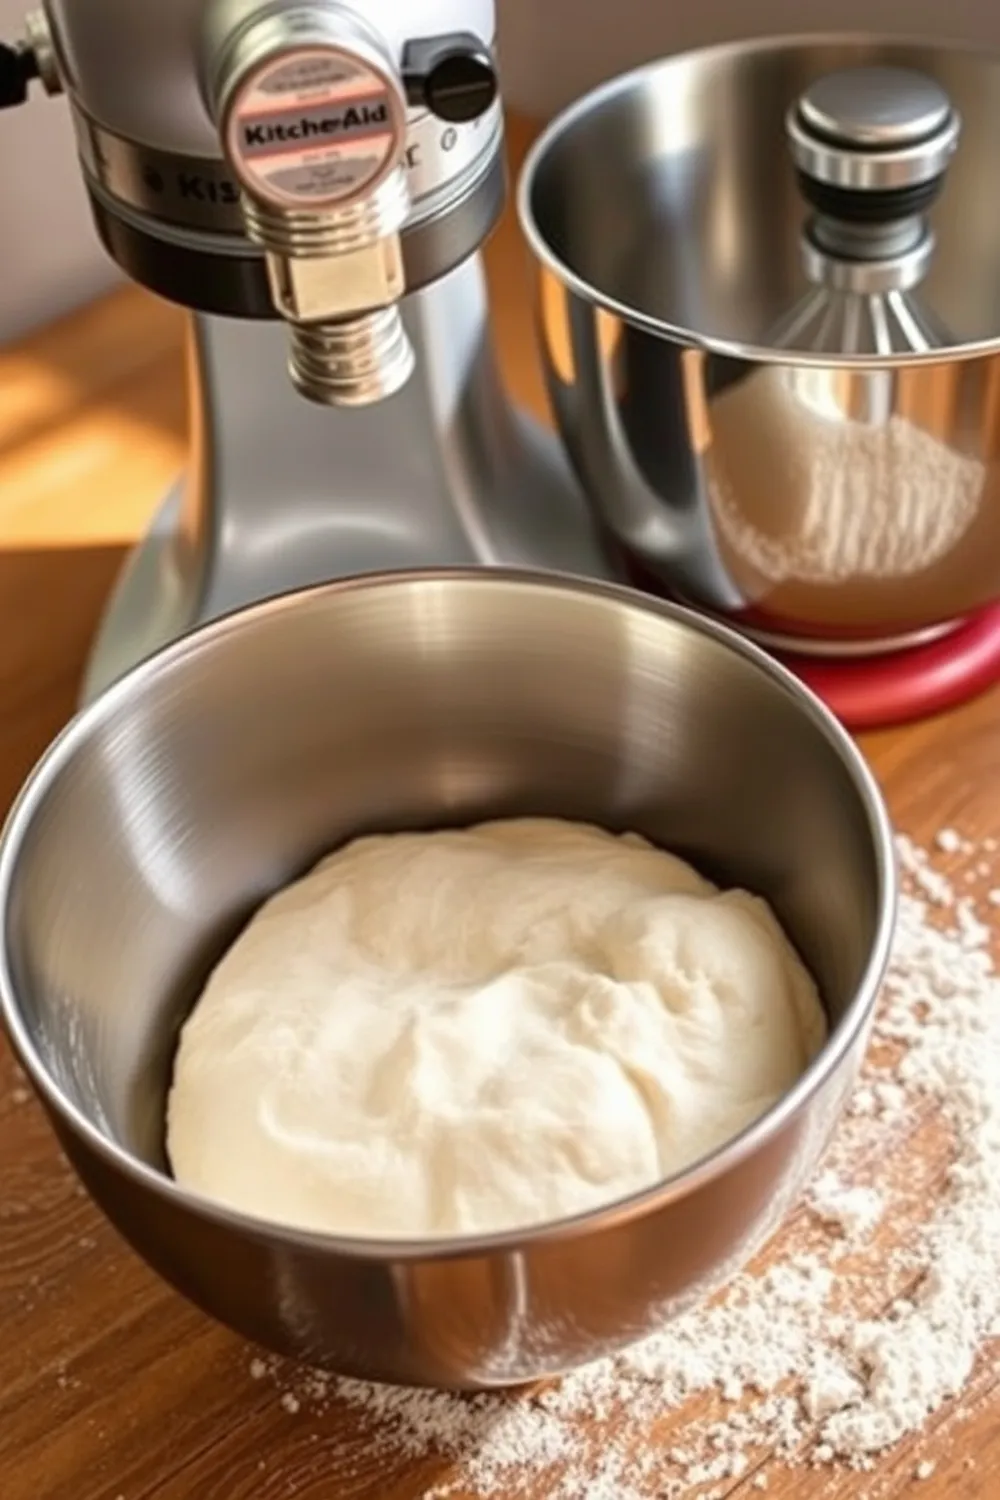
- Add the wheat flour and salt to your mixing bowl. I love using my KitchenAid for this, but a regular bowl works great too.
- Attach the dough hook (if using a KitchenAid) and mix on low speed until everything is combined.
- Now, gradually pour in the water while the mixer is running on low. This is key – adding the water slowly prevents a messy splash!
- Add the oil or softened butter and continue mixing until a cohesive ball of dough forms.
- This is where you might need to adjust things a bit. If the dough is too dry, add a tablespoon of water at a time. If it’s too sticky, add a tablespoon of flour.
- Once the dough comes together, knead it briefly by hand for a minute or two. This helps develop the gluten and gives you a nice, smooth texture.
- Finally, let the dough rest for 10-15 minutes. This allows the gluten to relax, making the roti easier to roll.
Expert Tips
Here are a few things I’ve learned over the years that will help you make perfect rotis:
- Don’t overknead the dough. You just want it to come together – overkneading can make the roti tough.
- Resting is important! Seriously, don’t skip the resting step. It makes a huge difference.
- Keep the dough covered while it’s resting to prevent it from drying out. A damp cloth works perfectly.
Achieving the Perfect Roti Texture
The goal is a soft, pliable roti that’s slightly chewy. This comes down to the right dough consistency and cooking technique. A well-kneaded, rested dough is the foundation.
Troubleshooting Sticky or Dry Dough
- Sticky Dough: Add flour, one tablespoon at a time, kneading well after each addition.
- Dry Dough: Add water, one tablespoon at a time, kneading well after each addition.
Rolling Roti: Techniques for Even Circles
Okay, this is where some people get intimidated! Don’t worry, practice makes perfect.
- Divide the dough into equal-sized portions (about golf ball size).
- Roll each portion into a smooth ball.
- Lightly dust your rolling surface with flour.
- Using a rolling pin, roll the dough into a circle, rotating it as you go. Don’t worry if it’s not perfect – rustic rotis are charming too!
Cooking Roti: Recognizing Doneness
Heat a flat griddle or tawa over medium-high heat.
- Place the rolled roti on the hot griddle.
- Cook for about 30-60 seconds on each side, until small bubbles start to appear.
- Flip the roti and cook the other side.
- You can optionally puff up the roti by placing it directly over a medium flame for a few seconds (be careful!). This isn’t essential, but it gives it a nice, airy texture.
Variations
Want to get creative? Here are a few ideas:
Vegan Roti
Simply ensure your oil is plant-based! This recipe is naturally vegan otherwise.
Whole Wheat vs. Refined Flour Roti
I always use whole wheat atta for the added fiber and nutrients. You can use refined flour (maida) for a softer, more pliable roti, but it’s less healthy.
Spice Level Variations (e.g., Chili Roti)
Add a pinch of chili flakes or finely chopped green chilies to the dough for a spicy kick. My friend loves adding a little turmeric powder too!
Festival Adaptations (e.g., Roti for Lohri/Makar Sankranti)
During festivals like Lohri and Makar Sankranti, rotis are often made with a little bit of sesame seeds and jaggery (unrefined sugar) added to the dough.
Serving Suggestions
Roti is incredibly versatile! It goes with just about anything. Here are a few of my favorites:
- Dal (lentil soup)
- Vegetable curry
- Chicken curry
- Paneer butter masala
- Simply with a dollop of ghee and a sprinkle of salt
Storage Instructions
- Leftover Rotis: Store in an airtight container at room temperature for up to 2 days. Reheat on a griddle or in a microwave.
- Roti Dough: You can store roti dough in the refrigerator for up to 3 days. Bring it to room temperature before rolling.
FAQs
What type of flour is best for making roti?
Whole wheat atta is the traditional and healthiest choice. Look for a fine or medium grind for best results.
Can I make roti dough in advance?
Yes! You can make the dough up to 3 days in advance and store it in the refrigerator.
How do I know when the roti is cooked properly?
The roti should be lightly browned with small bubbles appearing on both sides. It should be soft and pliable.
What if my roti becomes hard after cooking?
This usually happens if the dough is too dry or if the roti is overcooked. Make sure to add enough water to the dough and don’t cook the roti for too long.
Can I use a rolling pin if I’m a beginner?
Absolutely! A rolling pin is perfectly fine, and it will help you get the hang of rolling out the rotis. Don’t worry about making perfect circles at first – just focus on getting the dough thin and even.


Neha Deshmukh
Neha holds a B.A. in History with a focus on Indian and world history, including ancient, medieval, and modern periods. At RecipesOfIndia.org — the world’s largest database of Indian recipes — she combines her love for food and history by exploring how India’s past has shaped its culinary traditions.


